Mmm…pavlova. One half crunchy, marshmallow-y meringue, the other half fluffy, decadent whipped cream — and all topped with fresh, juicy fruit and sweet fruit syrup….It’s no wonder that many consider this to be the national dish of New Zealand!
Pavlova is one of those things that, once you’ve tried it, you will never, ever forget. I fantasize about it. It is so light it is like eating clouds of fruity, delicious happiness (Hmm…maybe I do have emotional eating issues…), and yet it is totally indulgent and satisfying. This is the perfect summer dessert for sure, but is great anytime you want a light dessert, or something really special and sure to impress. And yet, it is super-easy! Seriously, this has to be one of the all-time easiest desserts to make, though looking at it you would never guess that.
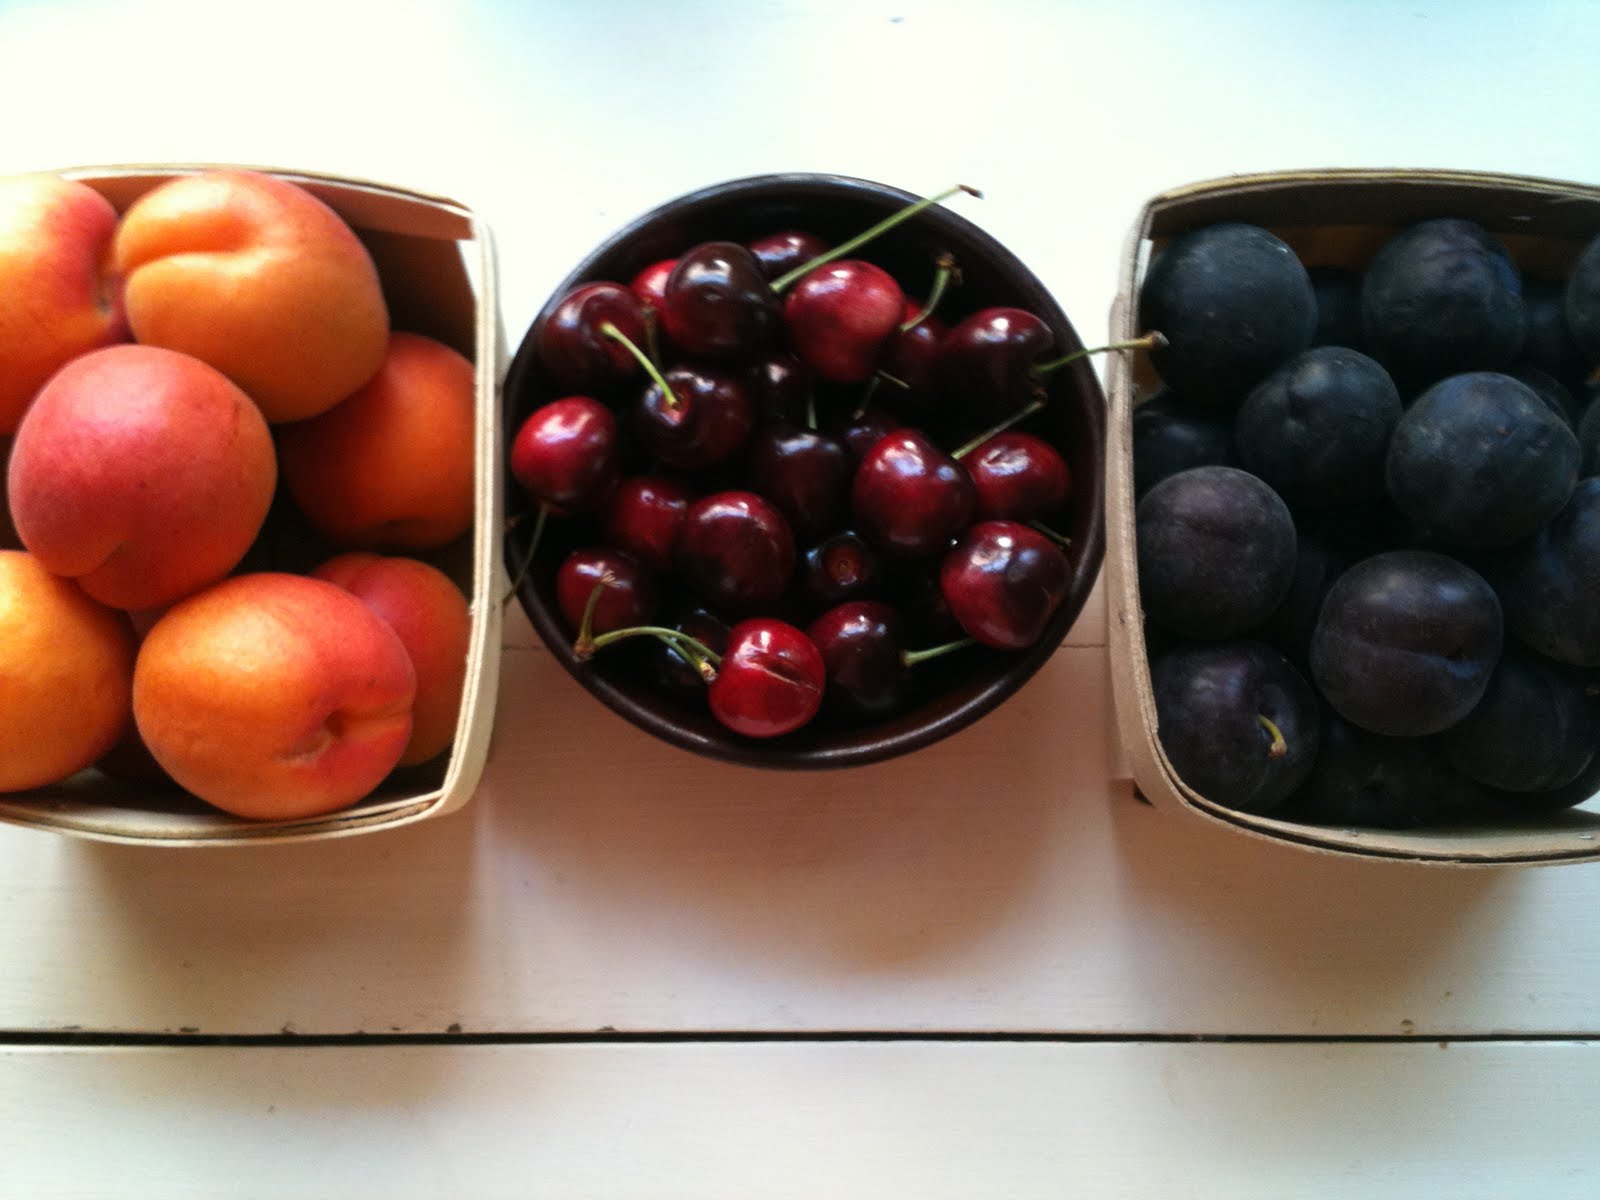
The most traditional fruits used for pavlova are kiwi, strawberry, and passion fruit, but here I have used an assortment of red berries — namely raspberries, strawberries, and black cherry. (Okay, so cherries aren’t actually berries, but if you want to get technical, neither is a strawberry…I just used “Red Berry Pavlova” for convenience.) However, you could use any soft, juicy fruit. Some other excellent choices would be mango, papaya, blueberries, blackberries, peaches, or even pineapple. Similarly, the syrup can be made using any kind of unsweetened juice.
Ingredients:
For the meringue:
– 4 large egg whites
– 1 c. sugar
– 1 tsp. vanilla
– 1 tsp. white vinegar
– 1 tsp. cornstarch
For the whipped cream:
– 1 c. cold heavy whipping cream (or buy pre-made)
For the berries:
– 1 1/2 c. fresh raspberries, strawberries, cherries, or currants
– 1 c. unsweetened black cherry or pomegranate juice (it is very important that you use unsweetened juice here)
– 1/4 c. sugar
Directions:
1. Put unsweetened cherry or pomegranate juice into a small sauce pan and warm over medium heat. Bring just to a boil.
2. Add sugar to juice, stirring constantly, and return to a boil. Reduce heat to low and reduce by about half, stirring often (about 15 – 20 minutes). Remove from heat and allow to cool.
3. Preheat oven to 300F
4. Line a baking sheet with wax paper and trace a 9” circle onto paper -OR- the method I prefer is to cut a 9” circle of wax paper and place it into the bottom of a 9” lightly greased spring-form cake tin
5. In the large bowl of an electric mixer beat egg whites until just beginning to stiffen, but not dry. Be sure not to get any pieces of shell in with your whites!

6. At medium-high speed, add your sugar to the egg whites one tablespoon full at a time while. Beat until stiff and creamy, and mixture forms stiff peaks. Do not over-beat.

7. Gently fold vanilla, vinegar, and cornstarch into meringue
8. Spread meringue evenly over your circle, or at bottom of spring-form pan
9. Bake meringue in 300F oven for one hour

10. Remove baked meringue from oven and allow to cool 15-20 minutes. Gently remove from tin/paper and place on a flat serving plate. Allow to continue cooling.

11. While meringue is cooling, whip 1 c. cold cream on high speed, until thick and fluffy
12. Spread whipped cream over cooled meringue

13. Top pavlova with fresh berries (or other fruit)

14. Drizzle cherry or pomegranate syrup over the top. Serve immediately.


*Although you can keep any leftover pavlova in your refrigerator (like there will be any left over! 🙂 ) it is something much better eaten straight away as the whipped cream and the syrup quickly begin to soften the meringue. If you don’t think you will eat the entire recipe when you make it, you can always divide your raw meringue into two portions to bake two mini pavlovas, assemble one, and save the other for later use.