Tag Archives: farmhouse

Caramel Custard Bread Pudding

Its going to be difficult for me to describe just how delicious this is without using expletives…..Let’s just say that this is the kind of thing that you may want to eat in private because there will probably be sufficient eye-fluttering and moaning to cause some embarrassment in mixed company. It’s what would happen if creme brulee, caramel, and French toast had a menage a trois…Yeah, it’s that good…

I never liked sweets. Given the choice of a cheese plate or popcorn (or a cocktail) versus dessert, the savory option would win every time. And then I got pregnant. Aside from wanting to put cream cheese on everything, I also craved sugar. Hard core. There was a key lime pie phase, a lemon bar phase, a chocolate-raspberry truffle phase, a peanut brittle phase, and a cinnamon ice cream phase. Not that I was turning down any other sweets available amidst the cravings….I had assumed that once my daughter was born the cravings, and the sweet tooth, would go away. Incorrect. It seems that the sweet tooth that was neglected for so many years is here to stay, and wants to make up for lost time…

Now, despite my newfound love of all things dessert, I’ve never been a big fan of bread pudding; but, my sweet, wonderful sister recently brought me some amazing local eggs and raw milk from the farm she works on, and I wanted to put them to good use.

(Quick note: Sea Island Eggs are a much-coveted Charleston delicacy. Known locally as “Celeste Eggs” they are found on the menus of all of the best local restaurants. Why? Because they are delicious — nothing like the eggs you find in the grocery store. Next time you’re at your local farmer’s market, see if you can find a local egg purveyor. You’ll never be able to go back to supermarket eggs again, I promise.) I also just baked a loaf of bread yesterday, so putting the eggs, milk, and bread together for an easy dessert seemed like a no-brainer, but how to make it more appealing was another question entirely. I considered strawberries briefly — and then, out of nowhere, it hit me: caramel.

One of my favorite sweet things in the world is caramel. I LOVE caramel. Like, love it the way peanut butter loves jelly, like Ricky loves Lucy (bad analogy: my love for caramel is waaaay more affectionate), like a fat kid loves cake…or caramel for that matter… Eating caramel is an other-worldly experience, but for all of the complexity of its flavor it is astonishingly simple to make: milk (or cream), butter, brown sugar. That’s it — three simple ingredients. For this recipe the milk, butter, and sugar are all baked together with the bread, rather than separately making a caramel sauce, so it’s just about as easy as could possibly be.

Ingredients:

Yields 6-8 servings

– 2 2/3 c.  whole milk

– 1/4 c. butter

– 1 c. brown sugar, plus 2 Tbsp.

– 3 eggs

– 1 tsp. vanilla

– 1/4 tsp. salt

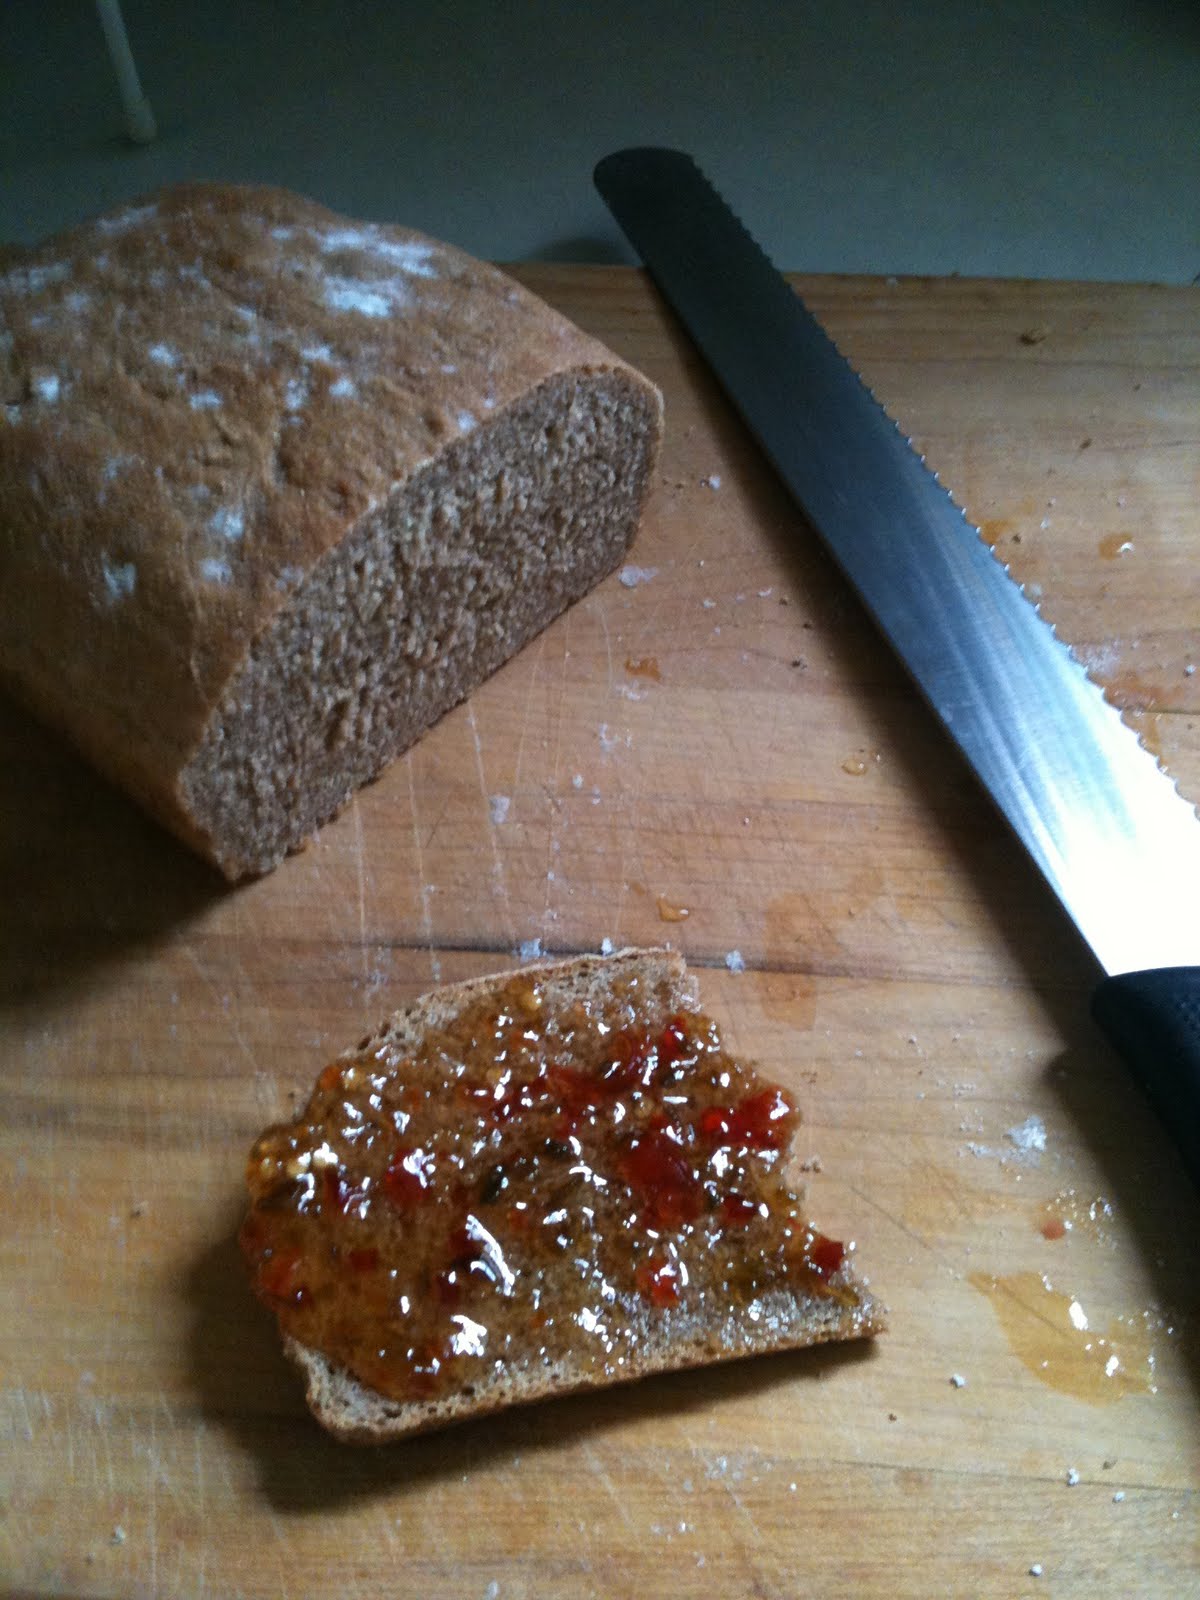
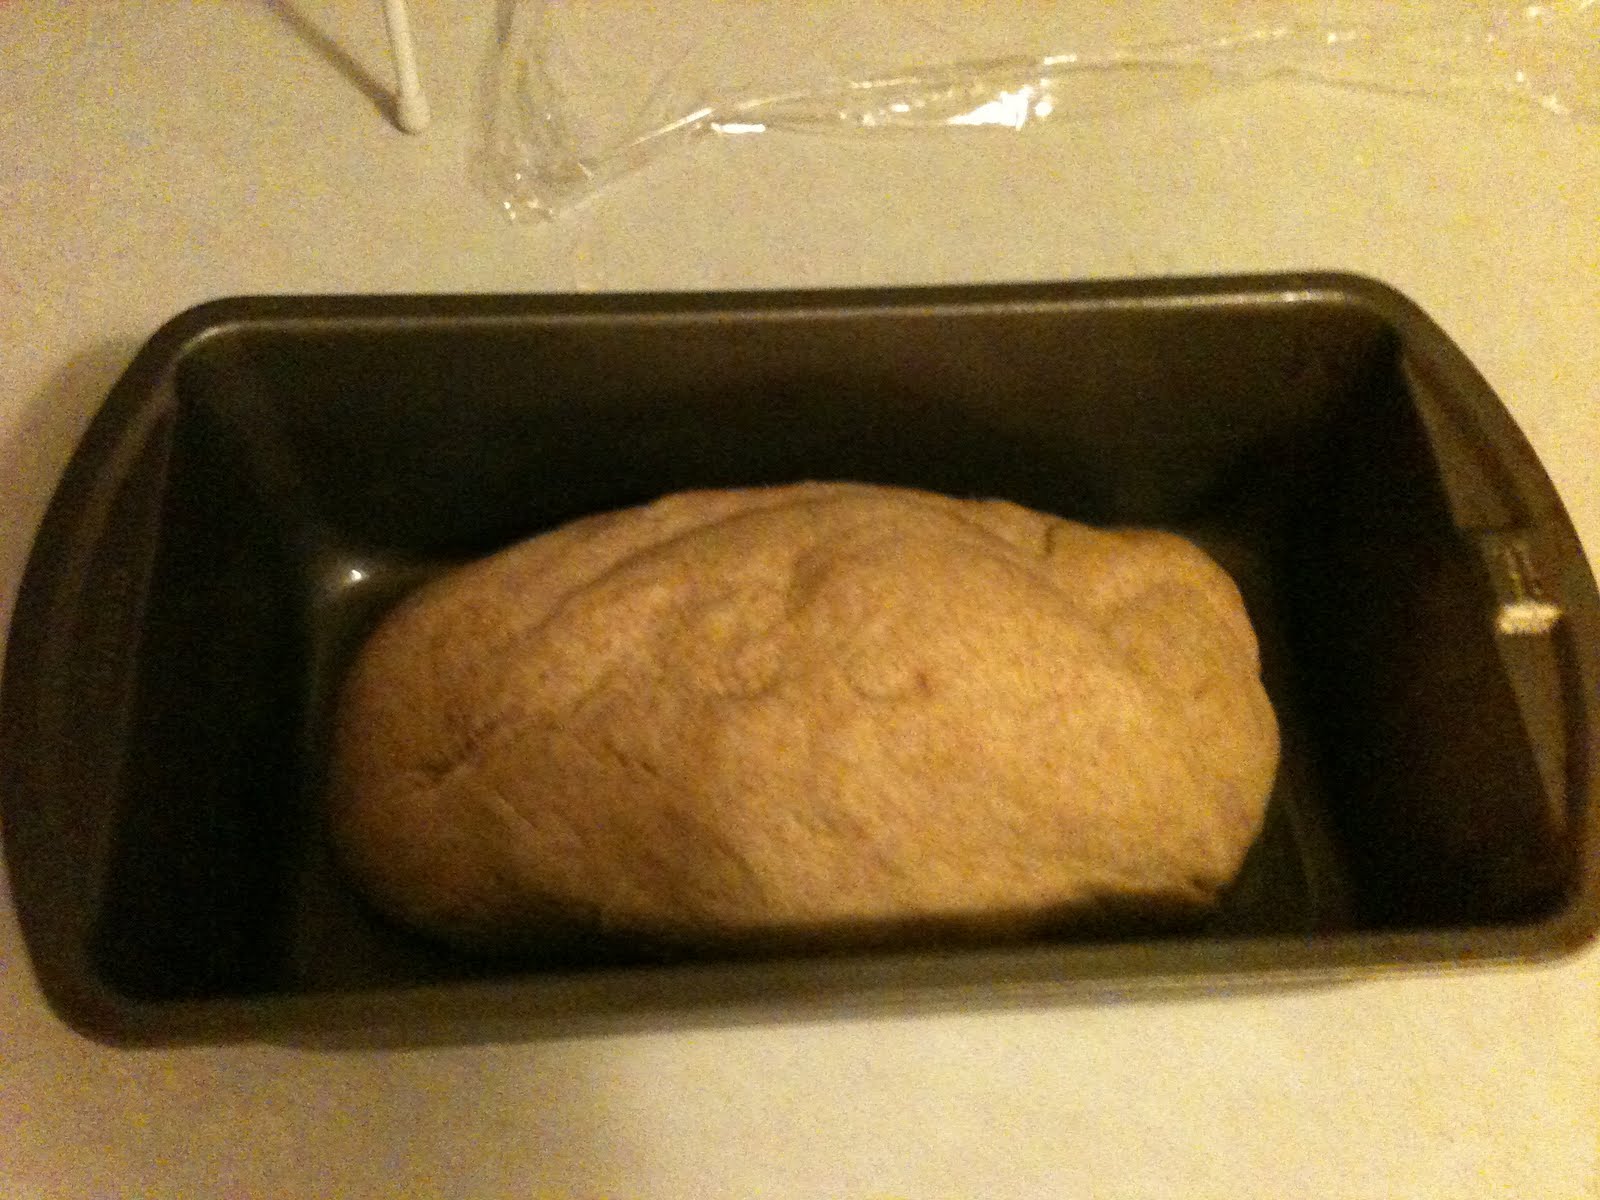
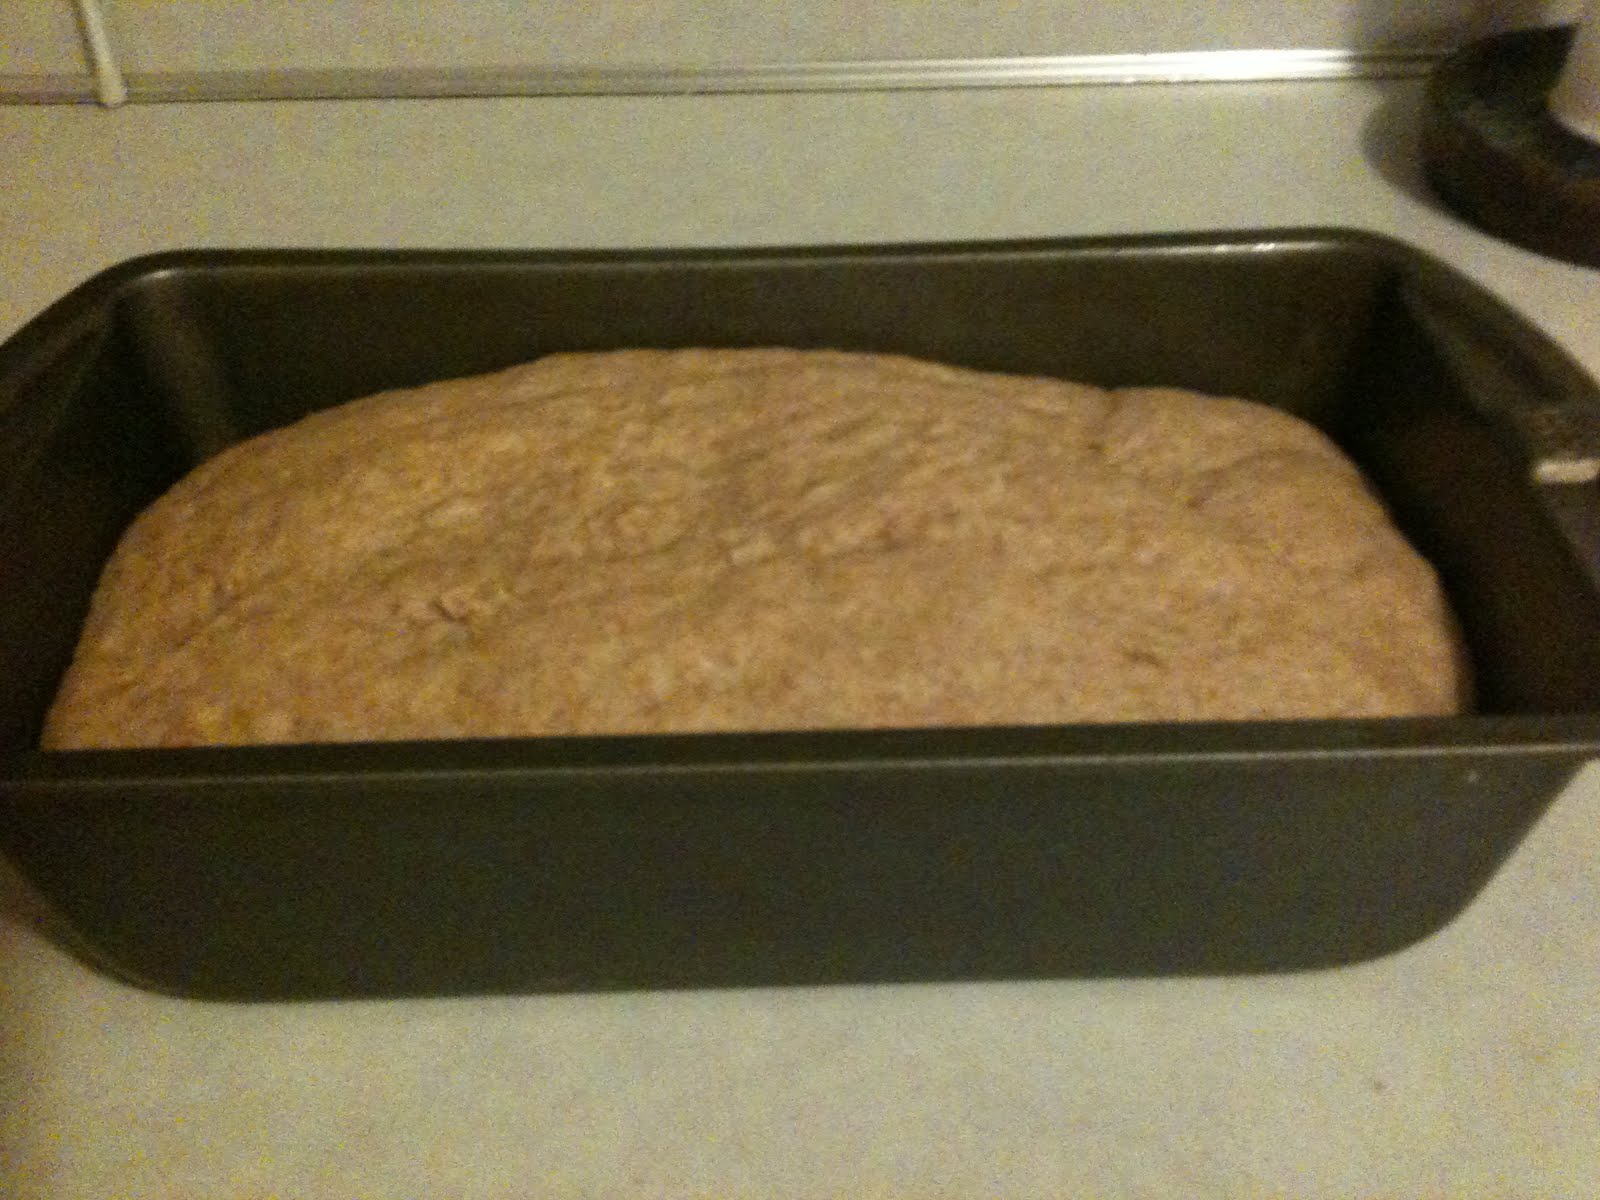
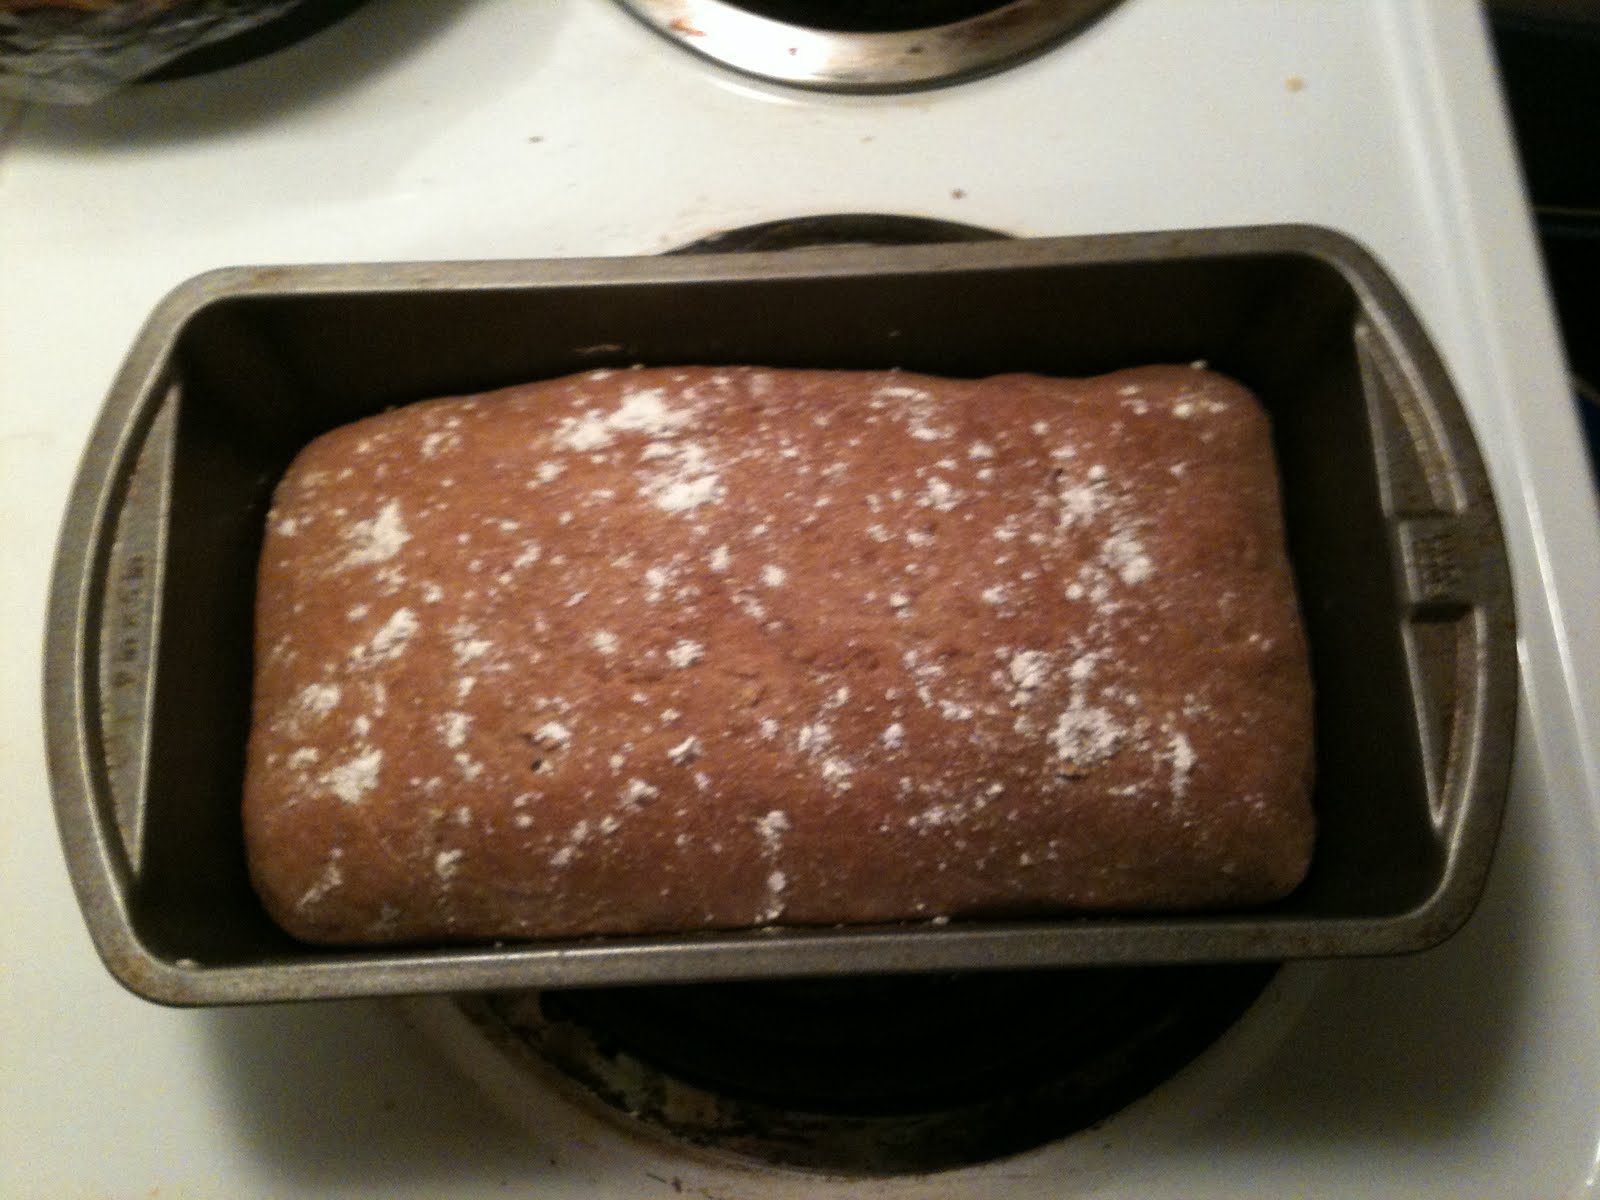
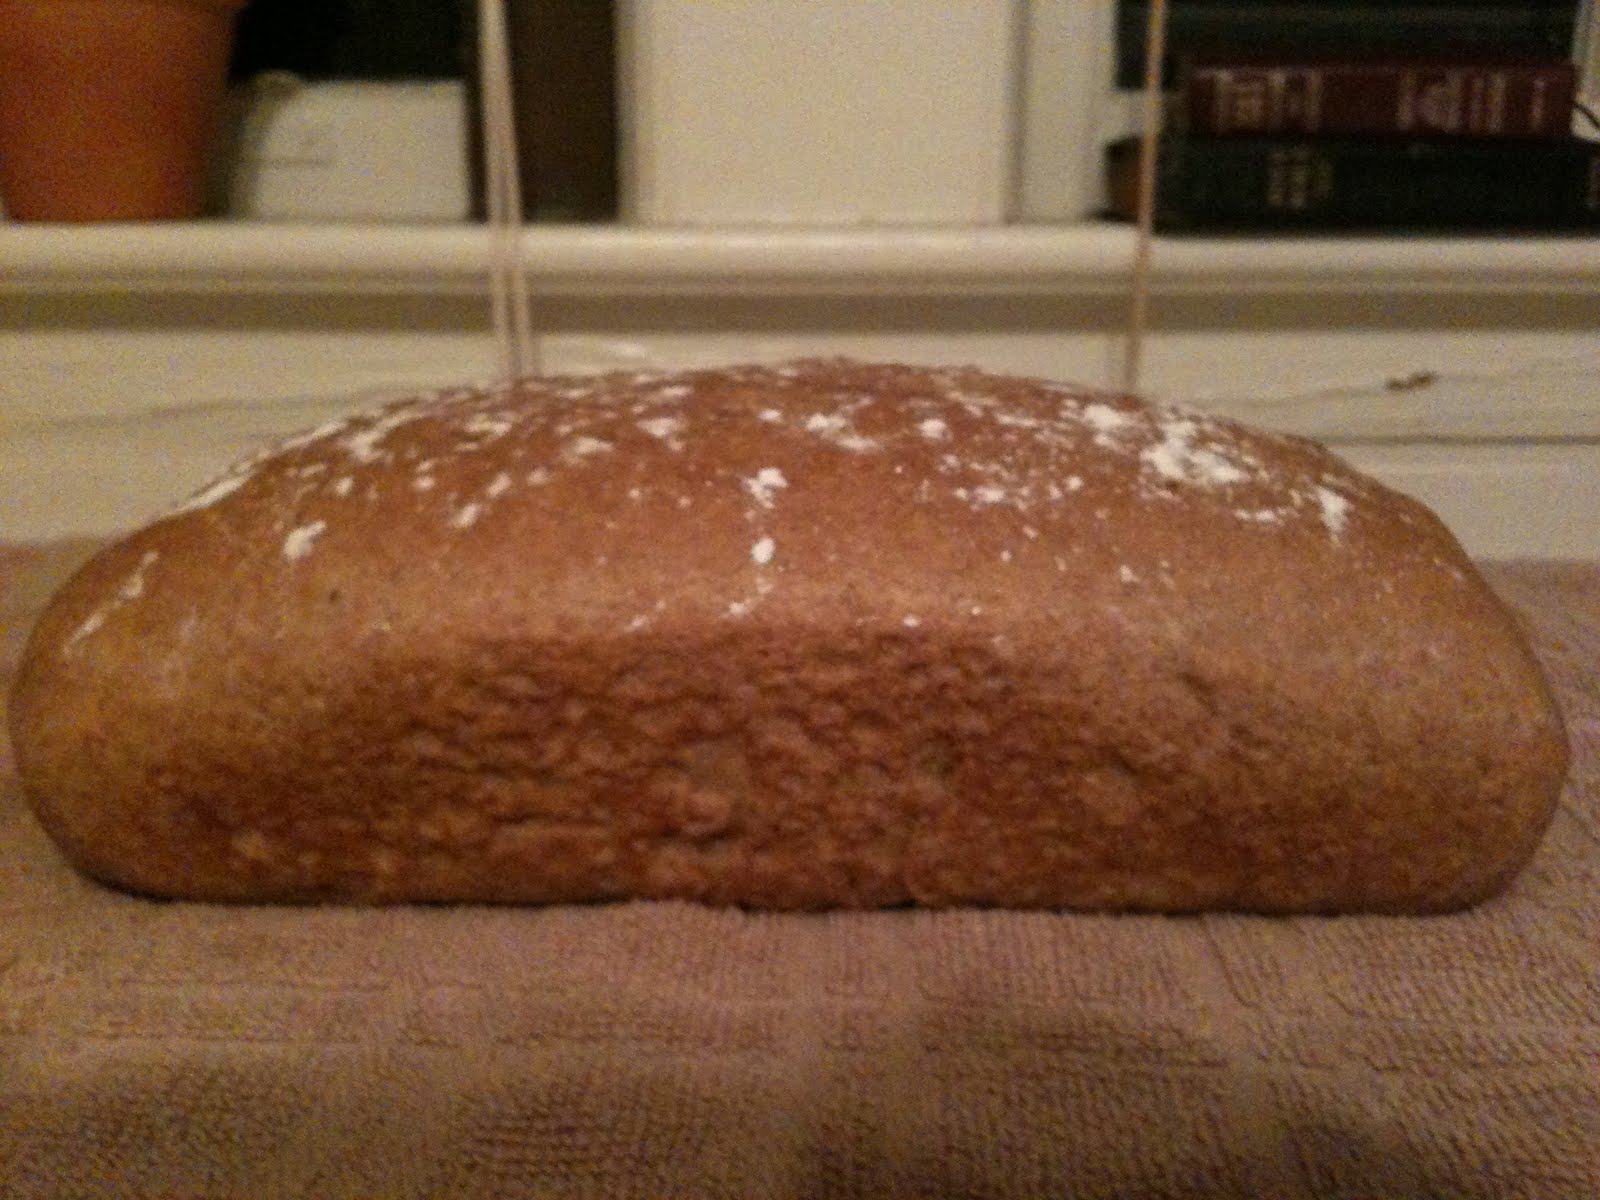
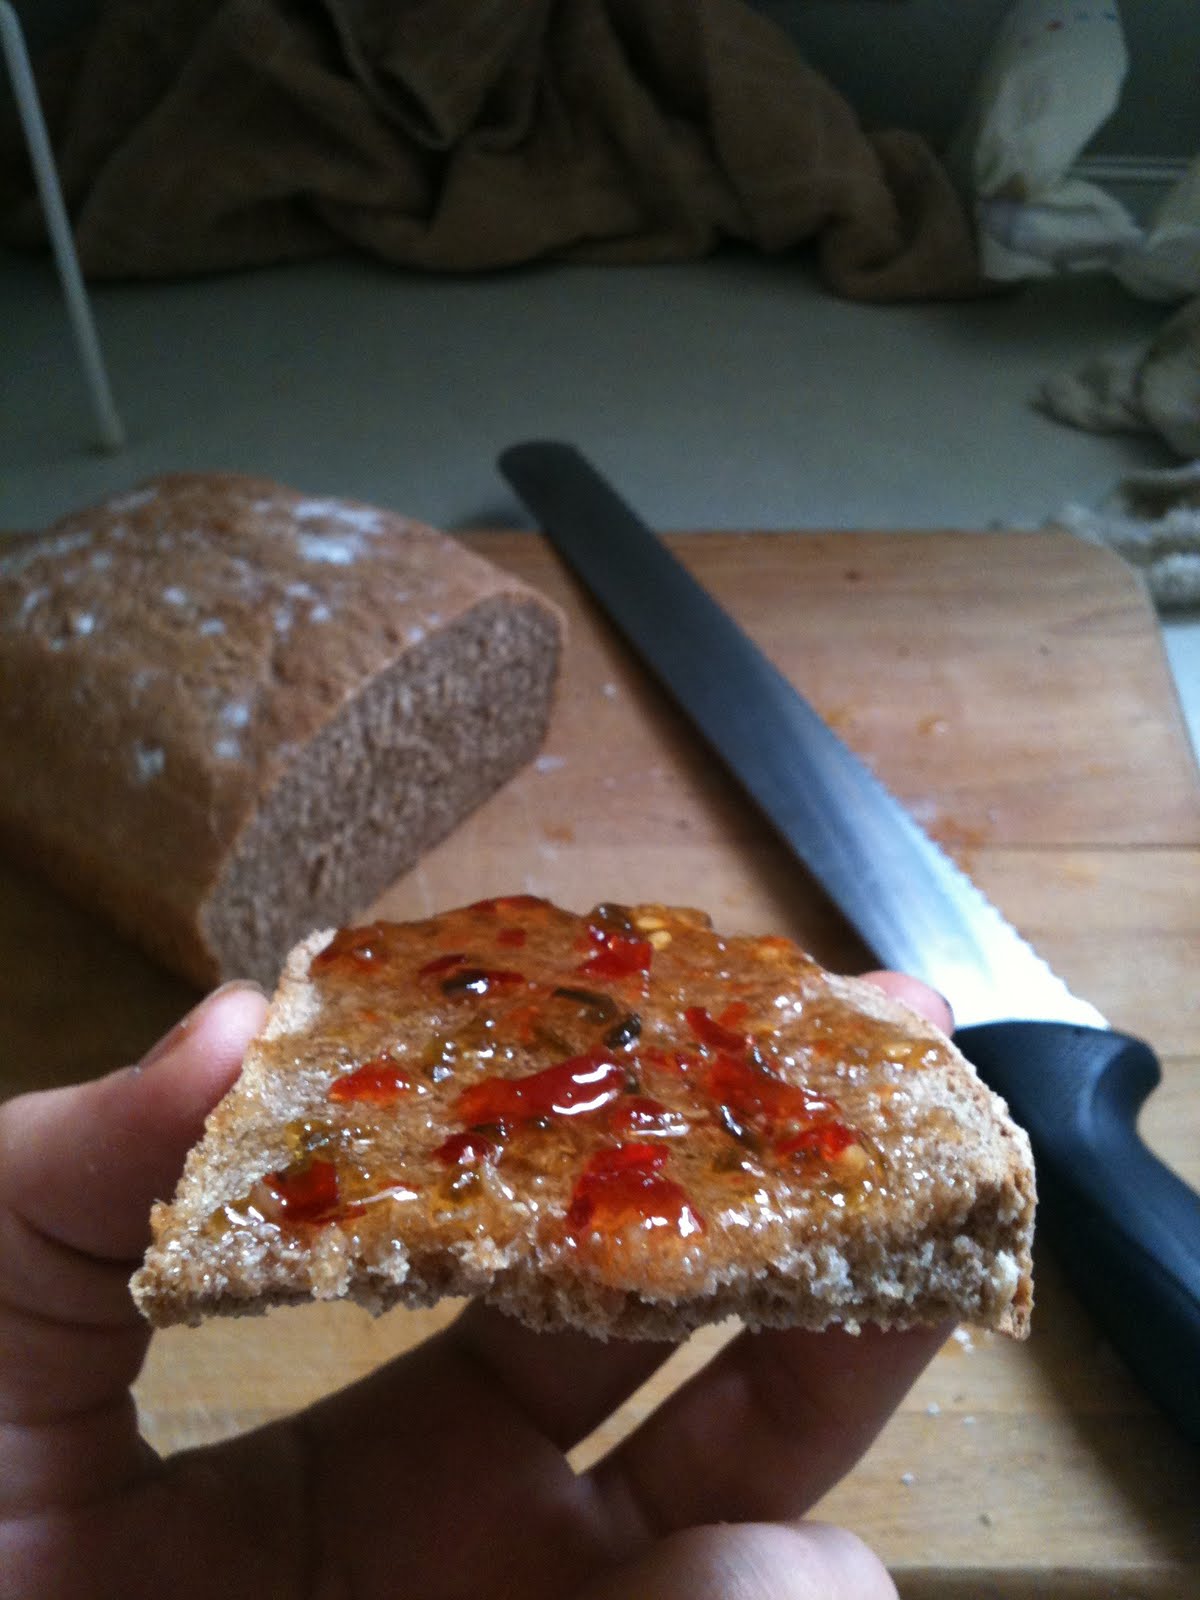
– 3 c. cubed (about 1”) day-old bread — use the rest of that baguette left over from last night’s dinner, or some crusty French bread, or use my easy recipe to bake your own, but don’t use pre-sliced sandwich bread — your results will be disappointing

– 1/4 tsp. vanilla

– 2 Tbsp. ground cinnamon

Directions:

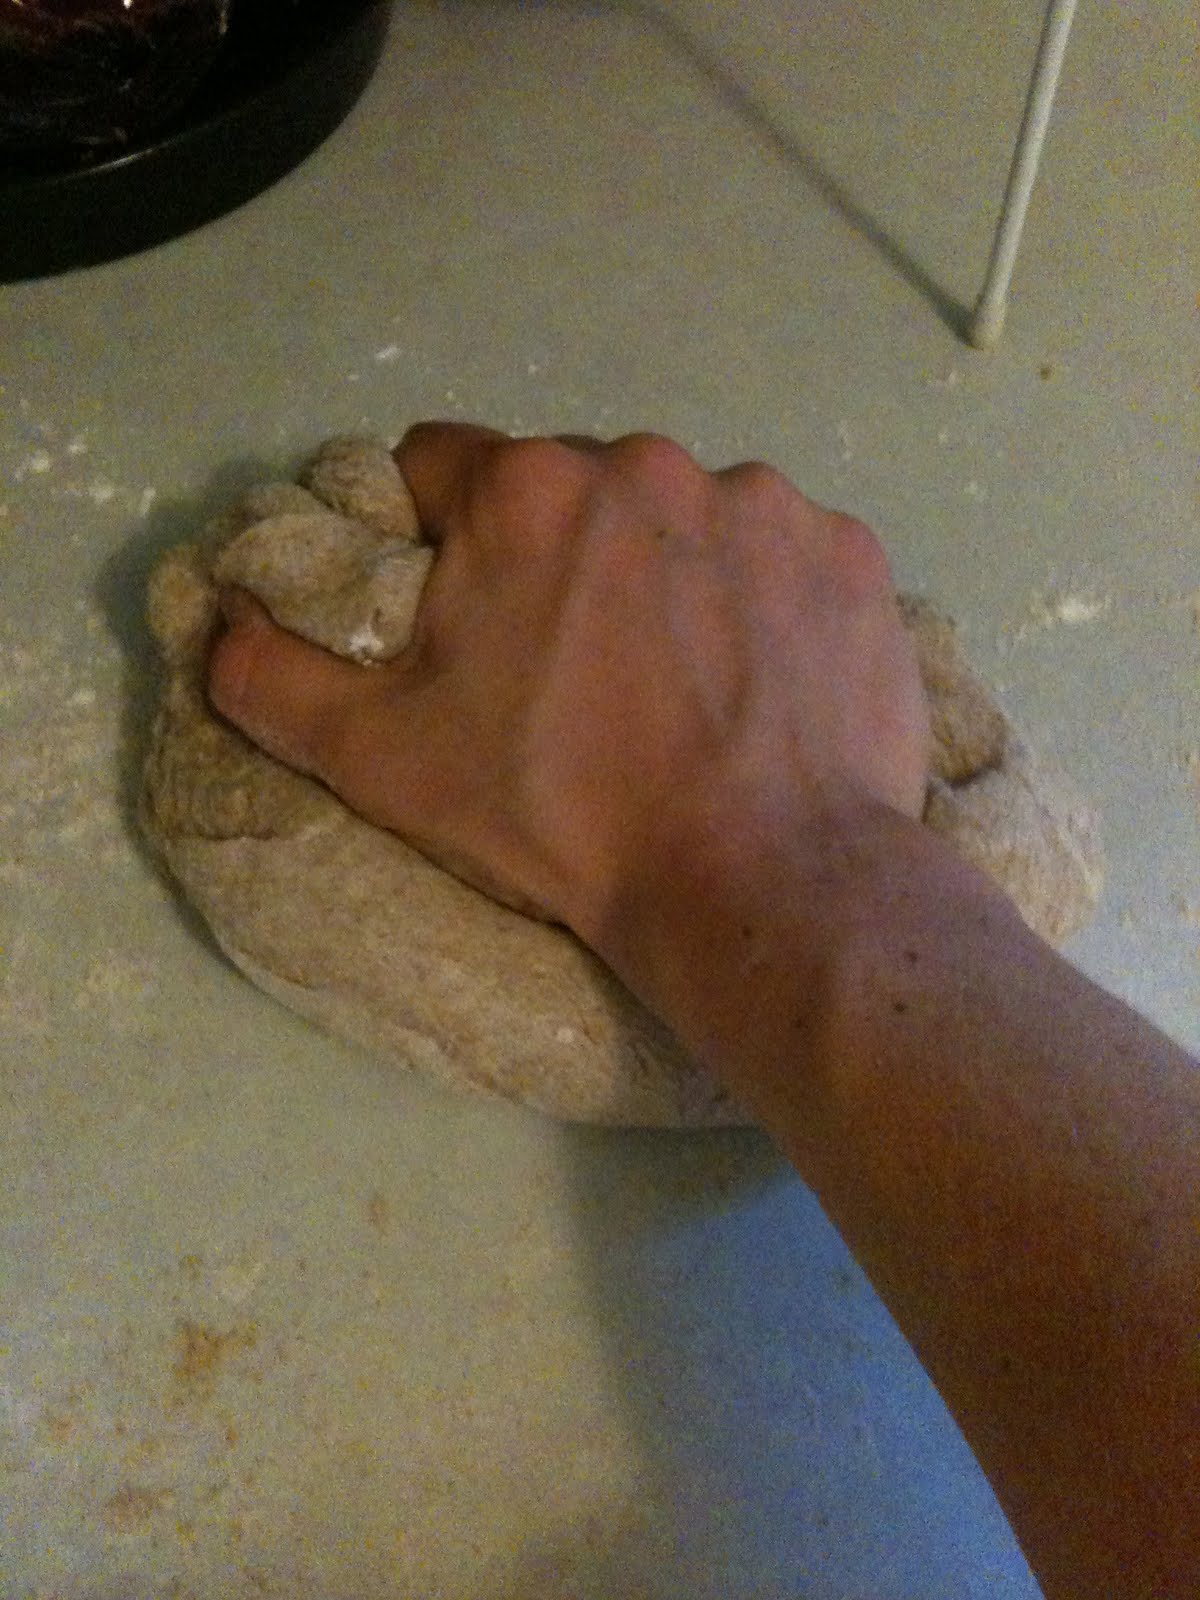
1. Cut bread into cubes, removing crusts

2. Toast bread briefly under broiler, until crisp. I tossed mine in about a tablespoon of melted butter, but it’s not necessary

3. Set oven to 350F

4. Scald milk*

*Scalding milk is not a common practice anymore. It used to be crucial when baking, but now that our milk is pretty much all pasteurized there’s not the same concern about bacteria. However, when working with breads it is a good idea to scald your milk to keep the bread fluffy. To scald milk:

– Heat milk over medium-low heat

– Stir frequently

– Cook until just beginning to bubble and steam, but DO NOT boil

– Remove from heat

5. Add butter to scalded milk and let cool

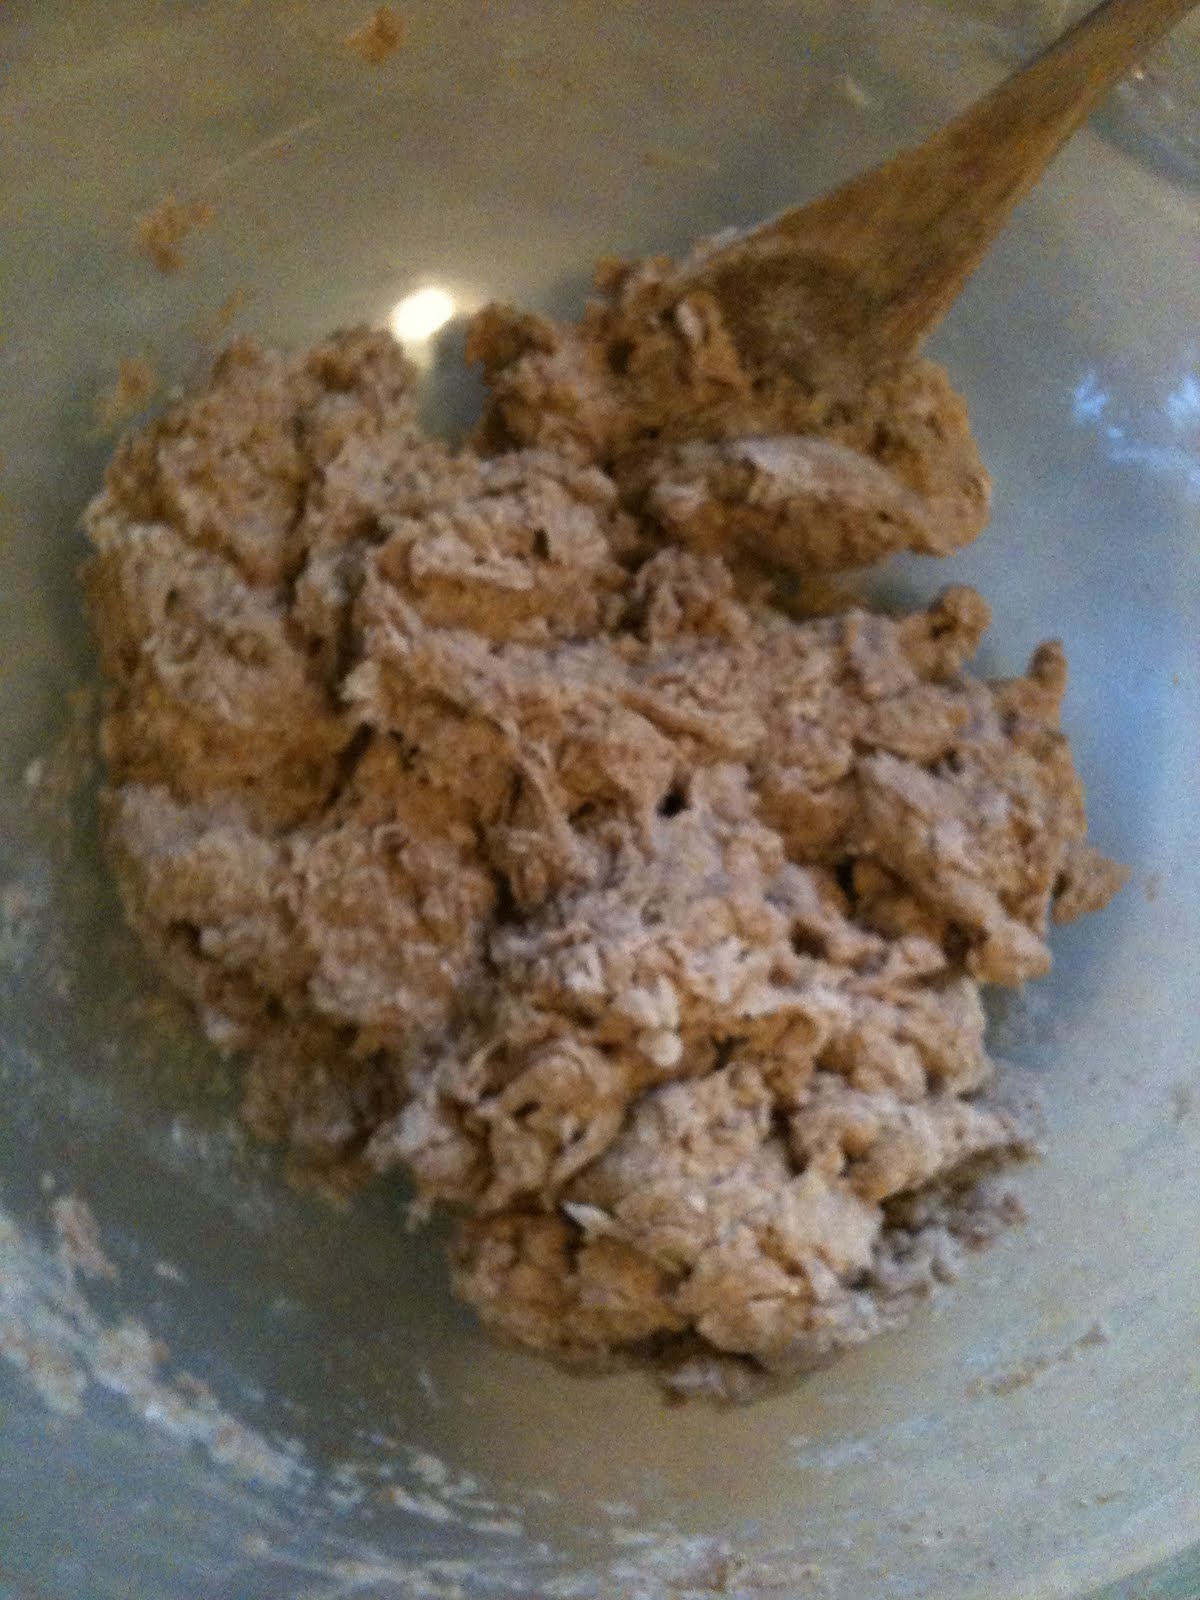
6. Add two eggs, plus one egg yolk to one cup of the brown sugar. Mix well.

7. Place bread cubes in a greased bread tin or a 1 1/2 quart casserole dish

8. Add cooled milk to egg/sugar mixture. Add vanilla and salt. Mix well.

9. Pour liquid mixture over bread cubes

10. Sprinkle cinnamon and remaining 2 Tbsp. brown sugar over top of bread

11. Set casserole/bread tin in a pan containing about 2” of water

12. Bake in oven at 350F for 50 minutes or until a skewer or knife inserted into the center comes out clean

* Be very careful removing the pan from the oven! That water is HOT — strain it carefully into the sink before attempting to remove your casserole or bread tin from the pan.

Serve warm or cold.

I was kicking myself for not having any vanilla ice cream or whipped cream in the house — that would have been unbelievable. I topped it instead with a little bit of powdered sugar and a splash of raw milk. So good I had two pieces and had to stop myself from eating more…

It also occurred to me that adding chopped apple, pear, or banana into this would be absolutely insane. In a good way. Or chunks of dark chocolate?!? Craziness! It might be too much to handle…

Adapted from Farm Journal’s Country Cookbook, 1959

Leave a comment

Filed under Uncategorized

Best Blueberry Pancakes

Blueberry pancakes are the perfect lazy Sunday breakfast, though, I would gladly eat these for dinner any night of the week…These pancakes are substantial and yet somehow light at the same time, and showcase one of summer’s best fruits.


Ingredients:

Makes about 1 dozen pancakes, depending on size

– 1 c. flour

– 2 1/2 tsp. baking powder

– 1/2 tsp. salt

– 2 Tbsp. sugar

– 1 egg, beaten (or 1/4 c. applesauce)

– 1 c. milk (or almond milk) — 1/4 c.  more can be added if you desire thinner pancakes

– 4 Tbsp. melted vegetable shortening or butter

– 3/4 fresh blueberries

*ingredients in parentheses are for vegan recipe


Directions:

1. Heat skillet or griddle over medium heat

2. In a large bowl combine flour, baking powder, salt, and sugar

3. In another bowl, add milk to beaten egg and mix well

4. Stir melted shortening or butter into milk-egg mixture

5. Combine flour and liquids at once and beat until perfectly smooth

6. Fold in blueberries

7. Grease griddle

8. Using a soup ladle or 1/4 measuring cup, pour batter into center of heated pan

9. Bake until you see air bubbles appear on the top of the batter, then flip until both sides are golden brown

10. Continue with remainder of batter

11. Serve immediately with maple syrup, fruit reduction, honey, butter, or jam

12. Enjoy!

Adapted from The Modern Family Cookbook, 1942

1 Comment

Filed under Uncategorized

Sweet and Salty Peanut Butter Cookies

My brother’s birthday is on Monday. Unfortunately (for me, anyway) he is spending the summer working on Nantucket. So, since I will not be able to celebrate the anniversary of his arrival into this world in-person, I’ve opted instead to send him a care package. Along with road atlases of the American Southwest, Chile, and Mexico, a Moleskin journal, and break-away piece of amazing dark chocolate, I am also sending homemade peanut butter cookies; his favorite. I’m a big fan of the sweet/salty flavor combo, so I decided to add some crushed salted peanuts to my usual recipe. These were delicious! I think next time I’ll try making these using cashew butter and salted cashews….and maybe sprinkling a little sea salt over the top before baking too…

Ingredients:

Makes 2 dozen large cookies

– 2 1/2 c. flour

– 1/2 tsp. baking soda

– 1 tsp. baking powder

– 1 c. butter or butter substitute

– 1 c. sugar

– 1 c. brown sugar

– 2 eggs, beaten (or 1/2 c. applesauce if making vegan)

– 1 c. peanut butter

– 2 tsp. vanilla

– 3/4 c. crushed, salted peanuts

Directions:

1. Preheat oven to 375F

2. Measure flour, baking soda, and baking powder into a large bowl

3. In a separate bowl, cream together butter (substitute) and both sugars. Beat until well blended, but not fluffy

4. Add eggs (or applesauce), peanut butter*, and vanilla to creamed sugars

* Tip: To prevent peanut butter from sticking to your measuring cup, spray cup first with a little cooking spray — it minimizes mess and frustration!

5. Add peanut butter mixture to your flour and incorporate fully

6. Add crushed peanuts to dough. I just put my peanuts into a large ziploc bag and used a pestle to crush them…

7. Mix well

8. Using your hands and/or a spoon, roll pieces of the dough to form smooth balls. I made these cookies rather on the large side, but the size you make them is totally up to you

9. Place cookies on an ungreased cookie sheet, with at least 2” between each

10. If desired, press tops of cookies with the tines of a fork to get that old-fashioned PB cookie look

11. Bake for 10 minutes, or until golden

12. Let cool on cookie sheet about 5 minutes, and then transfer to a wire rack or paper towels to finish cooling. I find I get the best results when I bake 1 tray at a time…

And, of course, I had to do a taste test before sending these. Delicious!

1 Comment

Filed under Uncategorized

Peach-Poppyseed Fruit Kuchen

Kuchen is the German word for cake, though it is used to describe an assortment of desserts and pastries. This recipe for Peach-Poppyseed Fruit Kuchen is indeed cake-like, but truly has more in common with bread. With coffee or tea this lemony kuchen makes a perfect summer breakfast; with fresh whipped cream it is a lovely light, and health-conscious, dessert.

Ingredients:

– 2 1/2 c. flour

– 2 Tbsp. butter

– 1/4 tsp. salt

– 2 Tbsp. sugar

– Zest from one whole lemon

– 3/4 tsp. fast-action dried yeast

– 1 egg, beaten

– 2/3 c. warm water

– 2 Tbsp. poppyseed, prepared dessert filling (available in the baking aisle of most grocery stores)

Topping:

– 1 lb. fresh peaches – about three large fruits (though really you could use any stone fruit in this recipe and it would be fantastic)

– 2 Tbsp. butter

– 2 Tbsp. raw or demerara sugar

Directions:

1. Put the flour in a large bowl. Rub 2 Tbsp. butter in with fingertips, until the mixture resembles fine breadcrumbs.

2. Stir in the salt, sugar, zest, and yeast.

3. Add the beaten egg, prepared poppyseed, and enough water to make a soft dough.

4. Knead well on a clean and lightly floured surface for at least five minutes — dough should be smooth and elastic.

5. Put the dough back in to the bowl and cover with a piece of oil cling-film. Let rise at least 1 hour, or until doubled in size. It is very important that you place the bowl somewhere warm or the dough will not rise.

6. Once risen, tip dough out onto a floured surface and knead well again. Press dough into a buttered spring-form pan or a loose-bottomed flan tin. I used a 9” pan, but if you have a larger one (like 11”) I think it may better suit this kuchen to be a little thinner.

7. Halve, stone, and thickly slice the peaches. Arrange them over the top of your dough.

8. Leave uncovered to rise in a warm place for 45 minutes, or until doubled in size

9. Preheat oven to 400F

10. Brush the fruit with melted butter and sprinkle with sugar

11. Bake in oven at 400F for 15 minutes

12. Remove from oven, cover with foil, reduce heat to 350F and bake for another 35-40 minutes.

13. After finished baking, removing from oven and let cool for 10-15 minutes. Using a knife or thin spatula loosen the edges and remove kuchen from tin.

14. Transfer to a serving plate and sprinkle extra sugar over top, if desired.

15. Serve warm or cold, cut into slices. This is especially good warm with some sweet cream butter slathered over it…but then again, what isn’t?


Adapted from The Bread Book by Sara Lewis

1 Comment

Filed under Uncategorized

Raspberry Jam

This recipe for Homemade Raspberry Jam is not only delicious, but surprisingly quick and easy to make. Raspberries won’t be in season much longer, so preserve some while you can!

This recipe is for a small batch of jam, but you could certainly multiply the measurements to make larger quantities.

Ingredients:

– 2 cups of mashed raspberries

– 1/2 c. honey or 1 c. sugar

– 3 Tbsp. water

– 1 tsp. fruit pectin*


*Pectin is a thickening agent, usually extracted from citrus fruits or apples and is available in many grocery stores and most health food stores.


Directions:

1.  Select the jar you wish to put your jam in. It can be a mason jar, or an old pickle or jelly jar — whatever you have available. This recipe will yield about 16 oz. of jam, so you do want whatever jar you choose for this to be pint-sized.

2. Wash and rinse your jar; let stand in hot water. Meanwhile, boil your lid and ring in a large pot to sanitize. Let stand in hot water also.

3. Wash and mash your raspberries. You can use a pestle, fork, a hand-juicer — whatever you have handy!

4. Put fruit into a saucepan with the water and cook at medium heat, stirring frequently. Bring to a boil


5. Measure out honey or sugar; thoroughly mix pectin into sweetener


6. Add pectin-sweetener mixture to boiling fruit. Stir vigorously for 2 minutes to dissolve the pectin.


7. Return to a boil and remove from heat


8. Remove your jar lid and ring from your large pot and return water to a boil


9. While waiting for water to boil fill your jar to 1/4” of top and wipe clean. Do not overfill or jar will not seal properly.

10. Screw on lid (with ring) tightly. Place jar into boiling water to cover. Boil for 10 minutes.

11. Remove jar (carefully!) from water. Let cool. Check seal — lid should be sucked down/un-popped.

12. Label and enjoy! Jam should last about 3 weeks once opened.

3 Comments

Filed under Uncategorized

Blackberry Shortcakes with Lemon Biscuits

I was so excited to find what appeared to be ripe, gorgeous local blackberries at the market the other today. Upon getting them home however, I discovered them to be horribly sour. Like, so sour as to almost be inedible. I assure you, my disappointment was immense… Since they couldn’t very well be eaten alone, I figured that the best thing to do was to make something sweet and delicious out of them. Inspired, I decided to do a spin on the classic strawberry shortcake. I love citrus in desserts, and berries with citrus are one of my favorite flavor combinations, so I decided to add lemon zest to the biscuits. The result was a bright, and surprisingly light dessert, and incredibly easy to make.

Ingredients:

Yields 6 Shortcakes

Berries:

– 5 c. blackberries

– 2/3 c. powdered sugar

– 2 Tbsp. water


Biscuits:

– 3/4 c. chilled buttermilk

– 2 Tbsp. lemon zest

– 2 1/4 c. flour

– 1/2 c. packed light brown sugar

– 1 1/2 tsp. baking powder

– 1 tsp. baking soda

– 1/4 tsp. salt

– 6 Tbsp. chilled unsalted butter (3/4 stick)

– 1 Tbsp. raw or demerara sugar


Directions:

Berries:

1. Combine all ingredients in a saucepan

2. Stir over medium heat until berries soften and become syrupy — about 10-15 minutes

3. Remove from heat and let cool. Berries should be served at room temperature. Can be made up to 3 days ahead and refrigerated.


Biscuits:

1. Preheat oven to 425F

2. Line a large baking sheet with parchment paper

3. Combine buttermilk and lemon zest in a small bowl

4. In a large bowl mix flour, brown sugar, baking powder, soda, and salt. Be sure to break up any large clumps of sugar

5. Cut butter into small cubes and add to four mixture

6. Rub butter into flour with your fingertips until the mixture resembles coarse breadcrumbs

7. Add the buttermilk mixture and combine with a fork until just blended. Dough will be sticky and may seem “loose” but don’t add more flour!

8. Transfer dough to a clean, lightly floured surface. Knead 4-5 times, but be careful not to overwork (over-handling will make your biscuits tough)

9. Pat dough out until about 3/4” thick

10. Using a 3” cookie cutter (you could also use a greased drinking glass or mug if you don’t own a cookie cutter), cut dough into rounds

11. Combine dough scraps, pat out, and cut into rounds until no dough remains. You should have 6-7 in total

12. Place rounds on your lined baking sheet and sprinkle with sugar

13. Bake biscuits at 425F for 15 minutes, or until golden and a toothpick or knife inserted into the center comes out clean

14. Cool slightly — about 15 minutes

15. Using a serrated knife, cut each biscuit in half. Spread blackberry mixture over each bottom-half, dividing equally. Place top half of biscuits on blackberries, then top each with an equal portion of the remaining blackberry mixture.

16. Top shortcakes with vanilla ice cream or whipped cream. Serve and enjoy!

Adapted from Bon Appetit, June 2009

2 Comments

Filed under Uncategorized

How to Make Bread by Hand

I was really intimidated at first by the idea of making my own bread, but now that I have been doing it for a while I really enjoy it. There is something almost therapeutic about baking — especially about baking breads. The precision and patience it requires is almost zen….and kneading the dough helps to work out a little aggression too! I’ve never used a bread machine and bake bread by hand at least once a week — though sometimes as often as three times (my husband has been known to eat bread with every meal…). This is a really good basic recipe for a farmhouse-style loaf that you can make with white or whole wheat flour, and is a great bread for beginning bakers. Don’t be daunted: making your own bread is really quite easy, much better for you, way cheaper, and how cool is it to be able to say that you bake all of your own bread?! Give it a try!

Ingredients:

– 2 2/3 cups white or whole wheat flour
– 1 tablespoon butter, butter substitute, or oil
– 1 tsp. sugar
– 1 pinch salt
– 1 tsp. active dry yeast
– 3/4 – 1 cup warm water

Directions:

1. Measure flour into a large bowl

2. Add butter or oil. If using butter cut into small pieces and work in to flour with your hands until it resembles fine bread crumbs:

3. Mix in salt, sugar, and yeast

4. Add water slowly while stirring with a spoon. Use 3/4 c. if working with white flour, 1 cup if using whole wheat. It is very important that the water be quite warm as this is what begins to activate the yeast.

5. Flour your work surface.

6. Move dough onto floured surface and knead vigorously for 5 minutes. Dough should become smooth and elastic. You may have to continue to add more flour to prevent dough from sticking

 It’s hard to take a picture of yourself kneading bread!

7. After 5 minutes of kneading, shape dough into a ball and return it to your bowl. Cover with oiled cling-film or a damp dishtowel and place somewhere warm. Again, warmth is very important as you dough will not rise properly if you place it somewhere too cool. Let rise for 45 minutes or until doubled in size.

8. Remove from bowl and knead for 2 minutes. Don’t worry — your dough is supposed to shrink back down as you knead it!

9. Place dough in a lightly greased 9in x 5in bread tin. Cover with oiled cling-film or towel and let rise for another 30 minutes or until it reaches the edges and top of the tin.
Before:

After:

10. Remove film or towel, sprinkle top with flour, and bake in a preheated oven at 400F for 25 minutes

11. Let cool for 5 minutes then flip out of tin and finish cooling on a towel or wire rack:

12. Slice and enjoy!

Toasted with some hot pepper jelly….Hello!

1 Comment

Filed under Uncategorized