Tag Archives: gift

Natural Stained Glass

I am doing a lot of homemade gifts for the holidays this year: picture frames, TONS of baked goods, a music-writing journal for my dad, and this artsy-crafty piece for my sister. The idea was to create an art piece, a “stained glass” if you will, by utilizing the beauty of the natural world. I pressed autumn leaves to make this piece, and when the sunlight comes through it the effect is rather like a stained glass window.

However, this project can not only be done with pressed leaves, but with many things found in nature — flowers, pine needles, grasses, insects, sand, etc. It could also be done with inorganic things to a similar effect, such as crepe paper, gossamer or other thin fabrics, etc. Get creative!

This entry outlines my method for this project, which you can easily follow or adapt according to your chosen materials.

What You Will Need:

– An old picture frame or window — I used an old sign with a glass panel that I found at the Habitat for Humanity Re-Store, but you can use anything that has a pane of glass (or that you can put a pain of glass into). If you use an old window you can pour resin directly onto glass panels, if you use a frame, remove glass and refit to frame once epoxy is dry

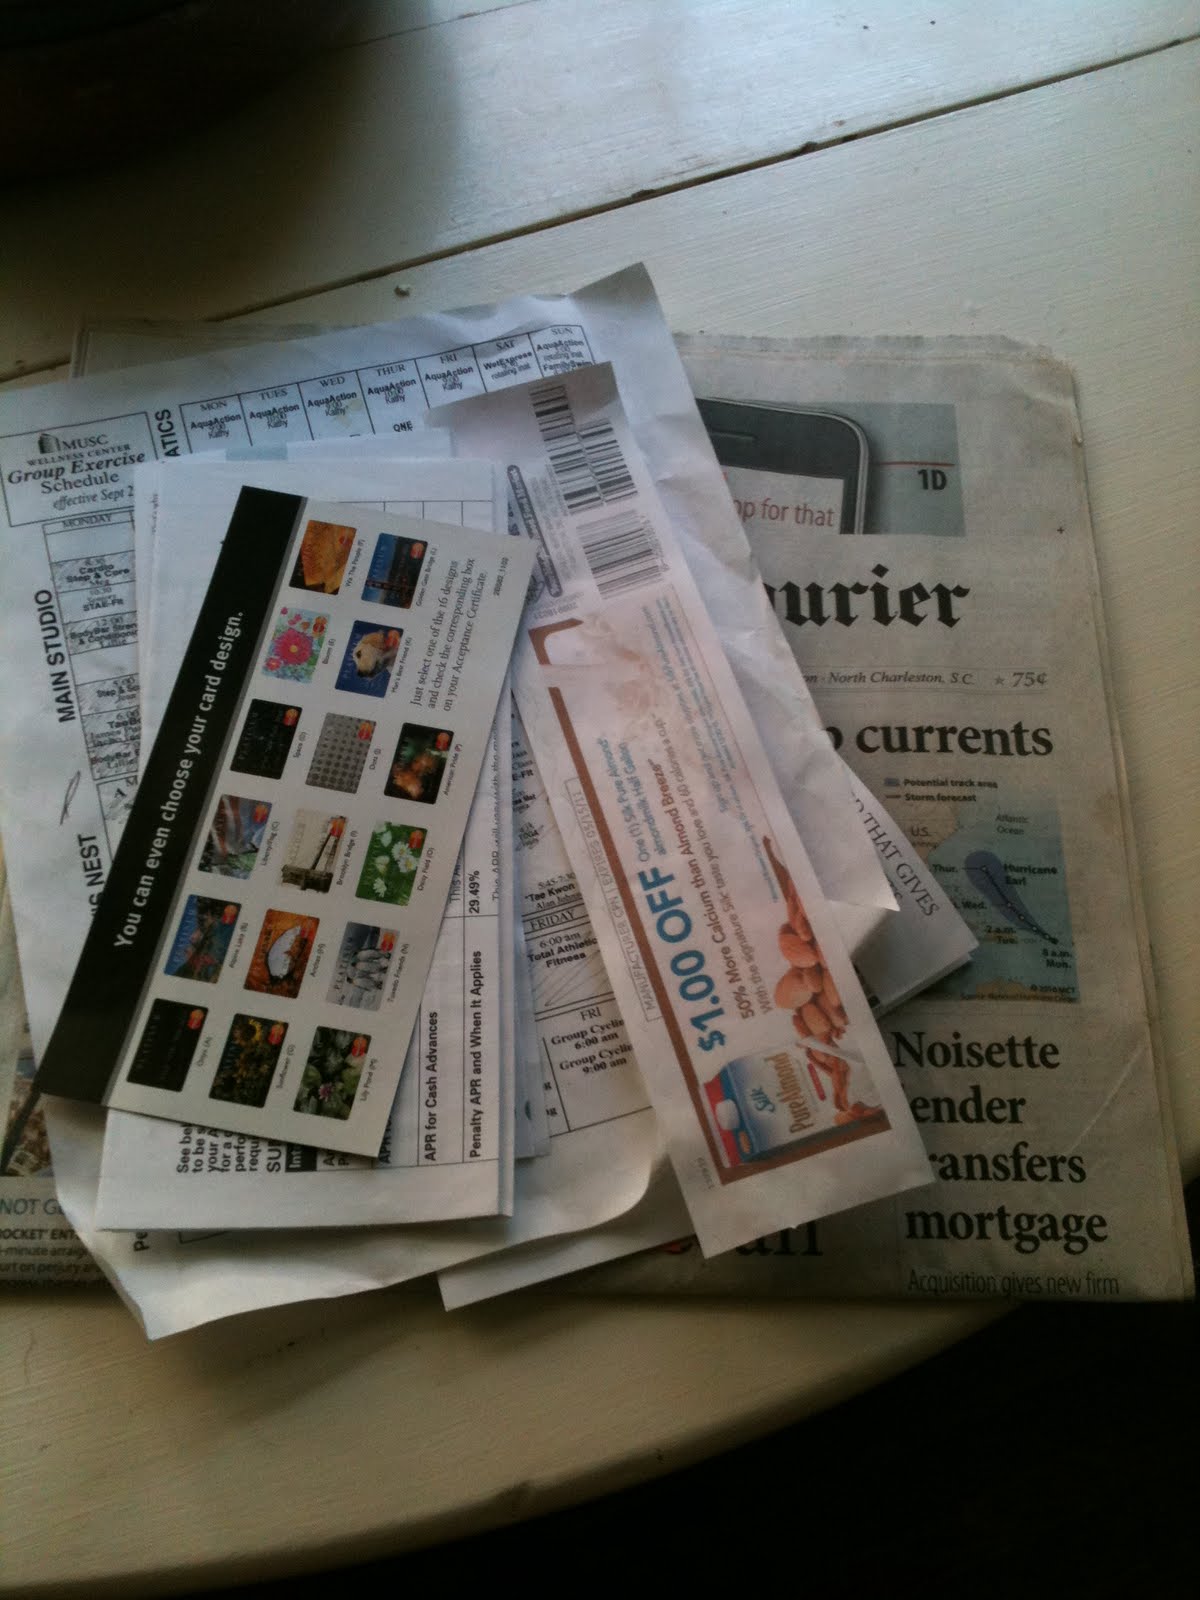
– Your decorative materials — leaves, flowers, paper, etc.

– Pour-on high-gloss epoxy resin and polyamine hardener — I prefer EnviroTex Lite, which can be found in many artist supply and craft stores. A note of caution here: it is better to overestimate how much of this you need, than to underestimate and run out!

Directions:

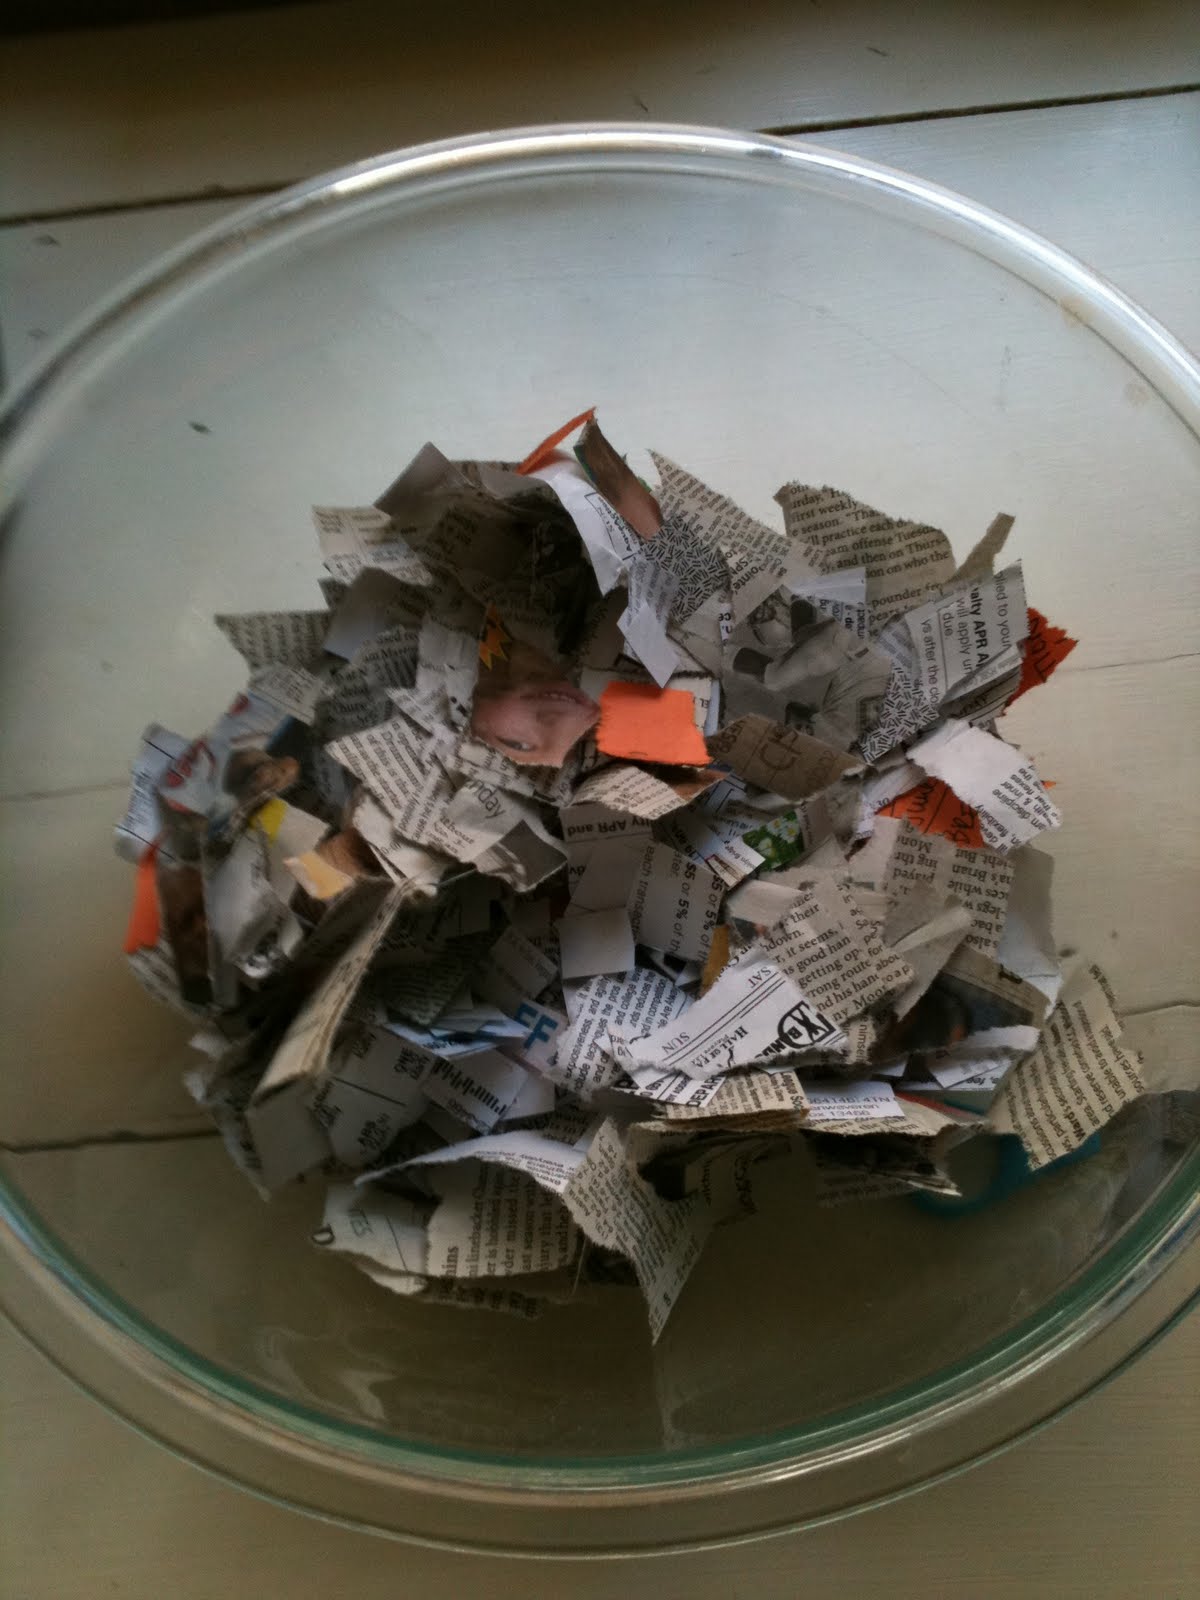
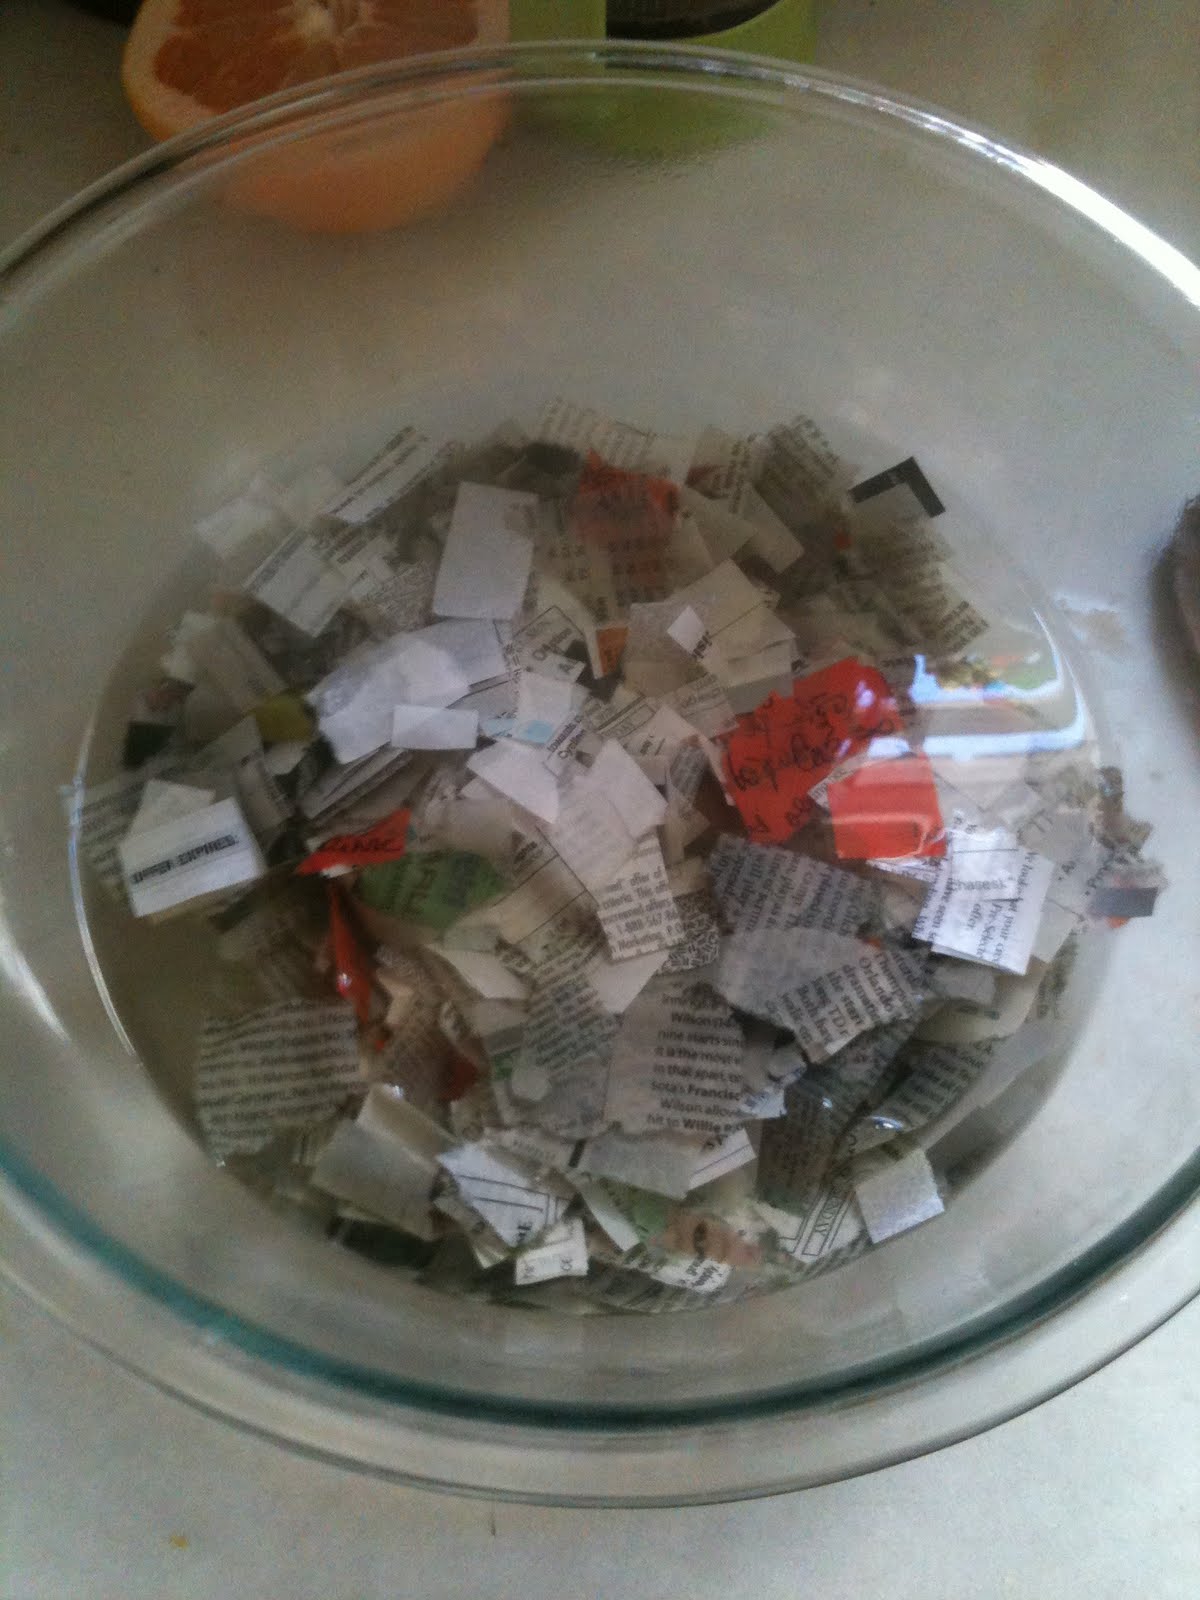
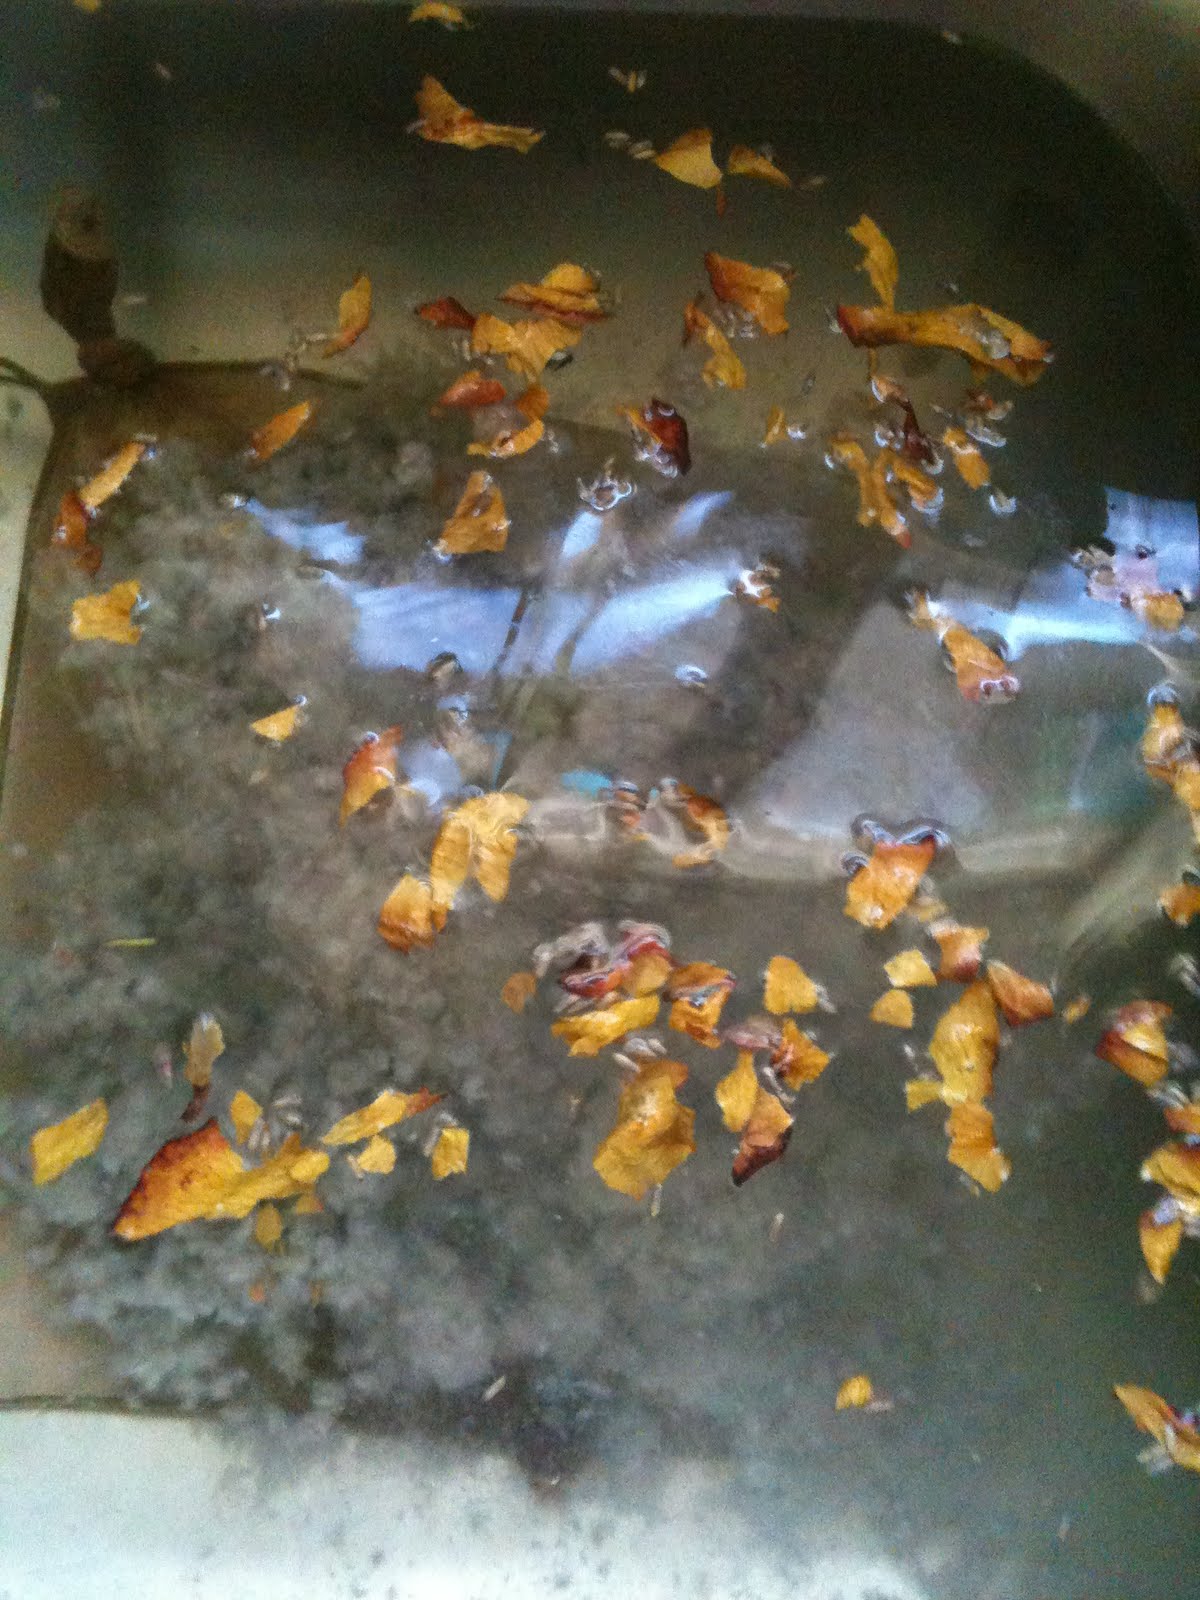
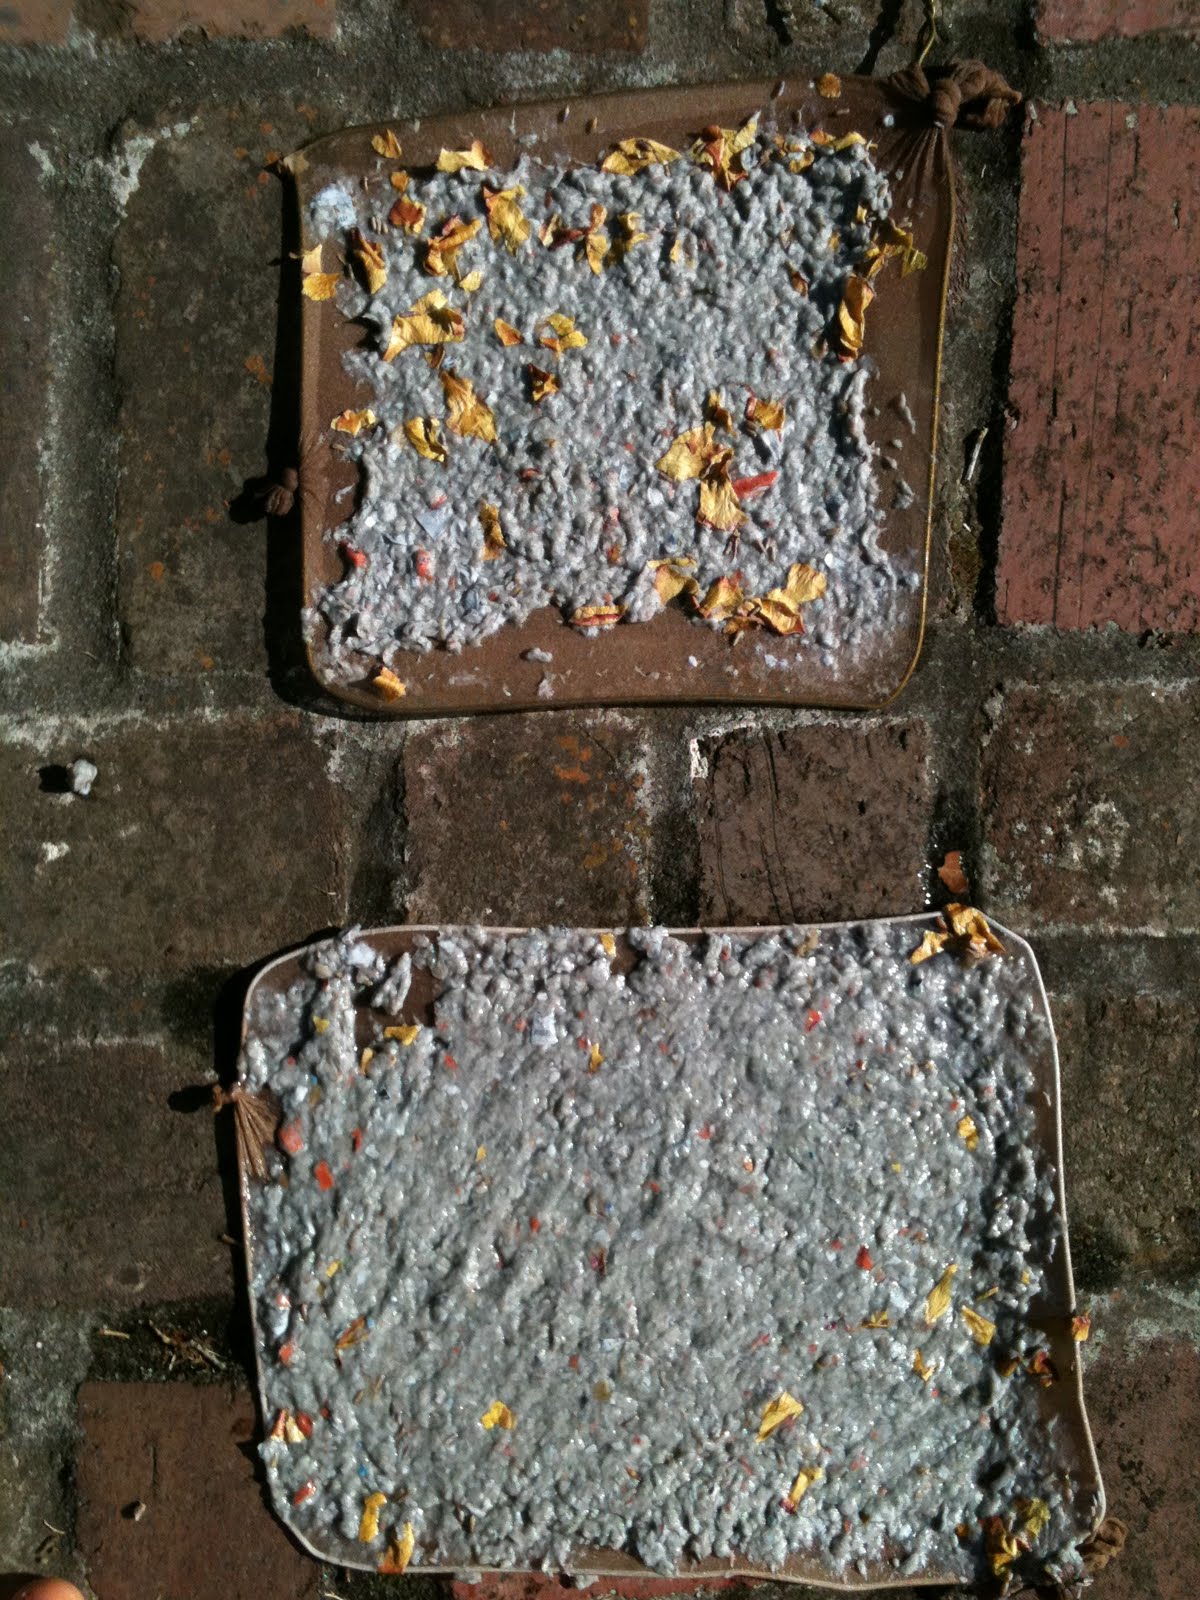
1. Collect and prepare your materials. I took a long walk with my daughter one afternoon, stopping to collect anything that caught my eye and wound up with a bag full of leaves! I pressed these between two pieces of cardboard, weighted down with heavy items and left them for two weeks. The process is shown below, but not everything requires this amount of time and preparation — if you are using things that do not need to be pressed to be preserved you can get right to work!

And stored safely out of the way, under the bed

2. Clean your frame/window. Make sure glass is clean and smudge-free

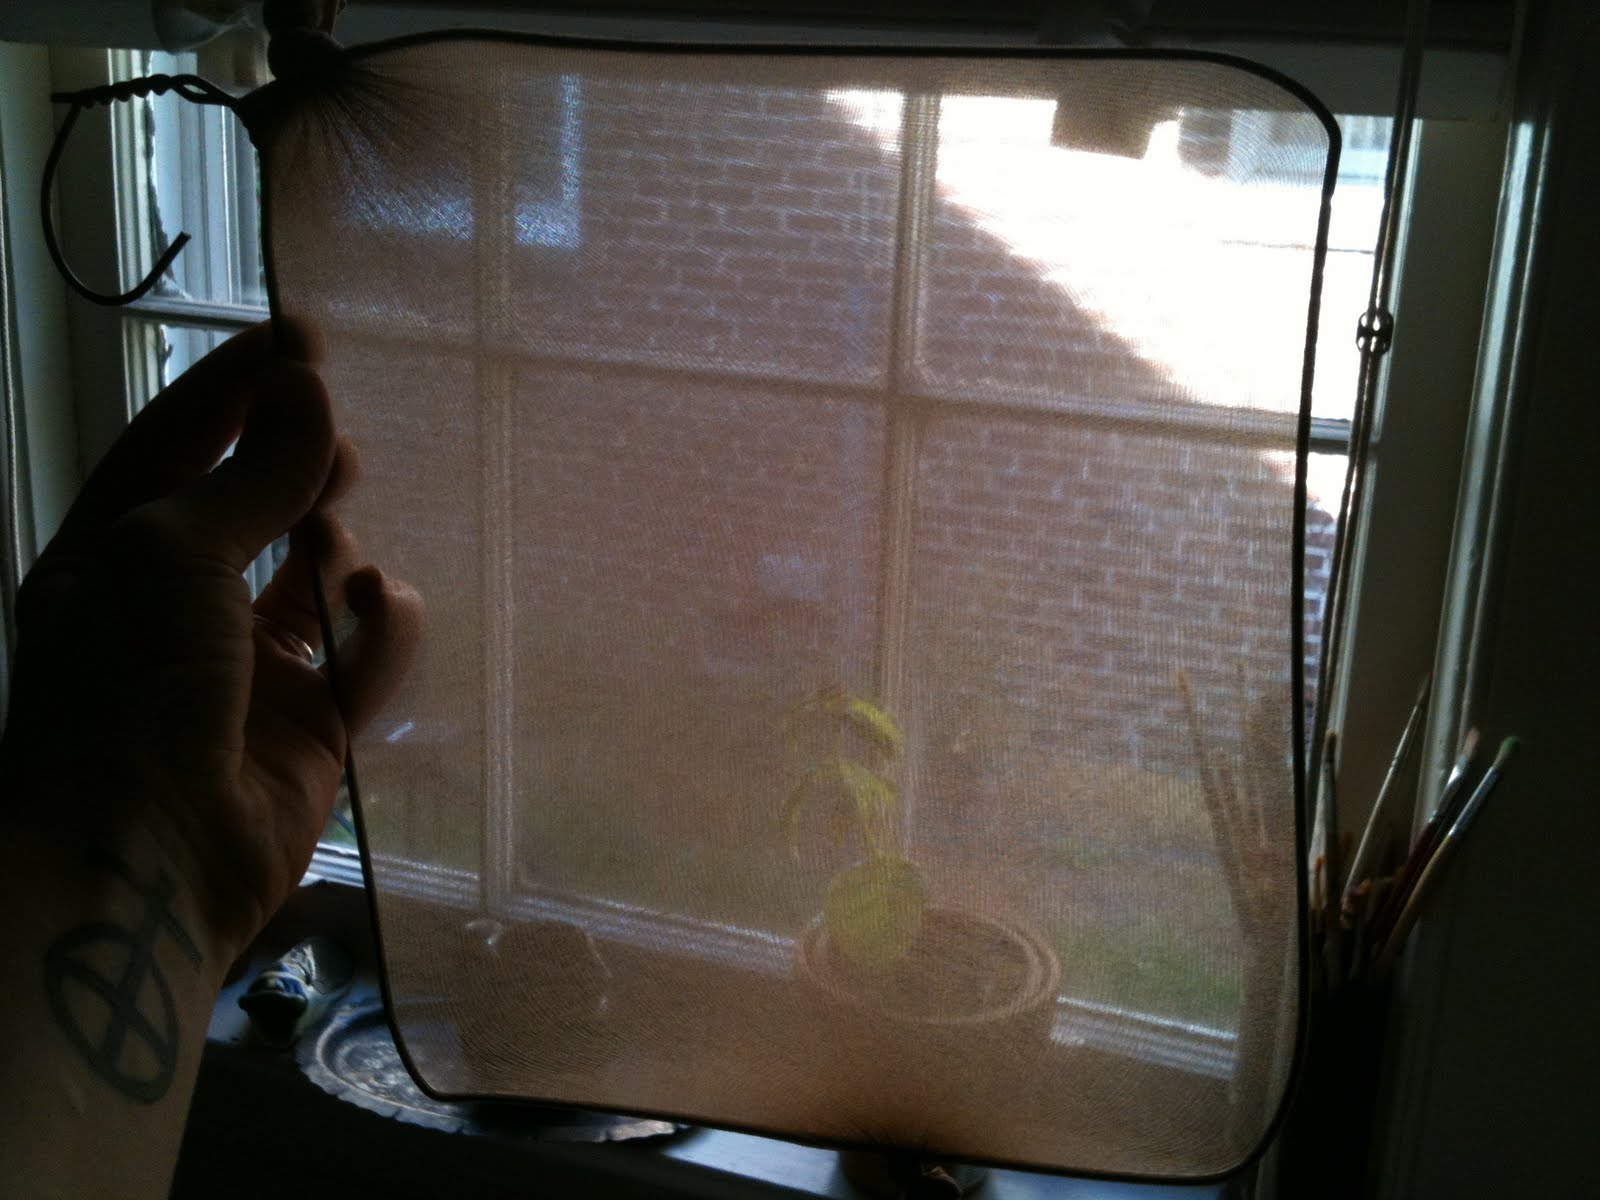
3. Arrange your material onto the glass into a pattern that pleases you — checking your layout with a strong light-source behind it is recommended

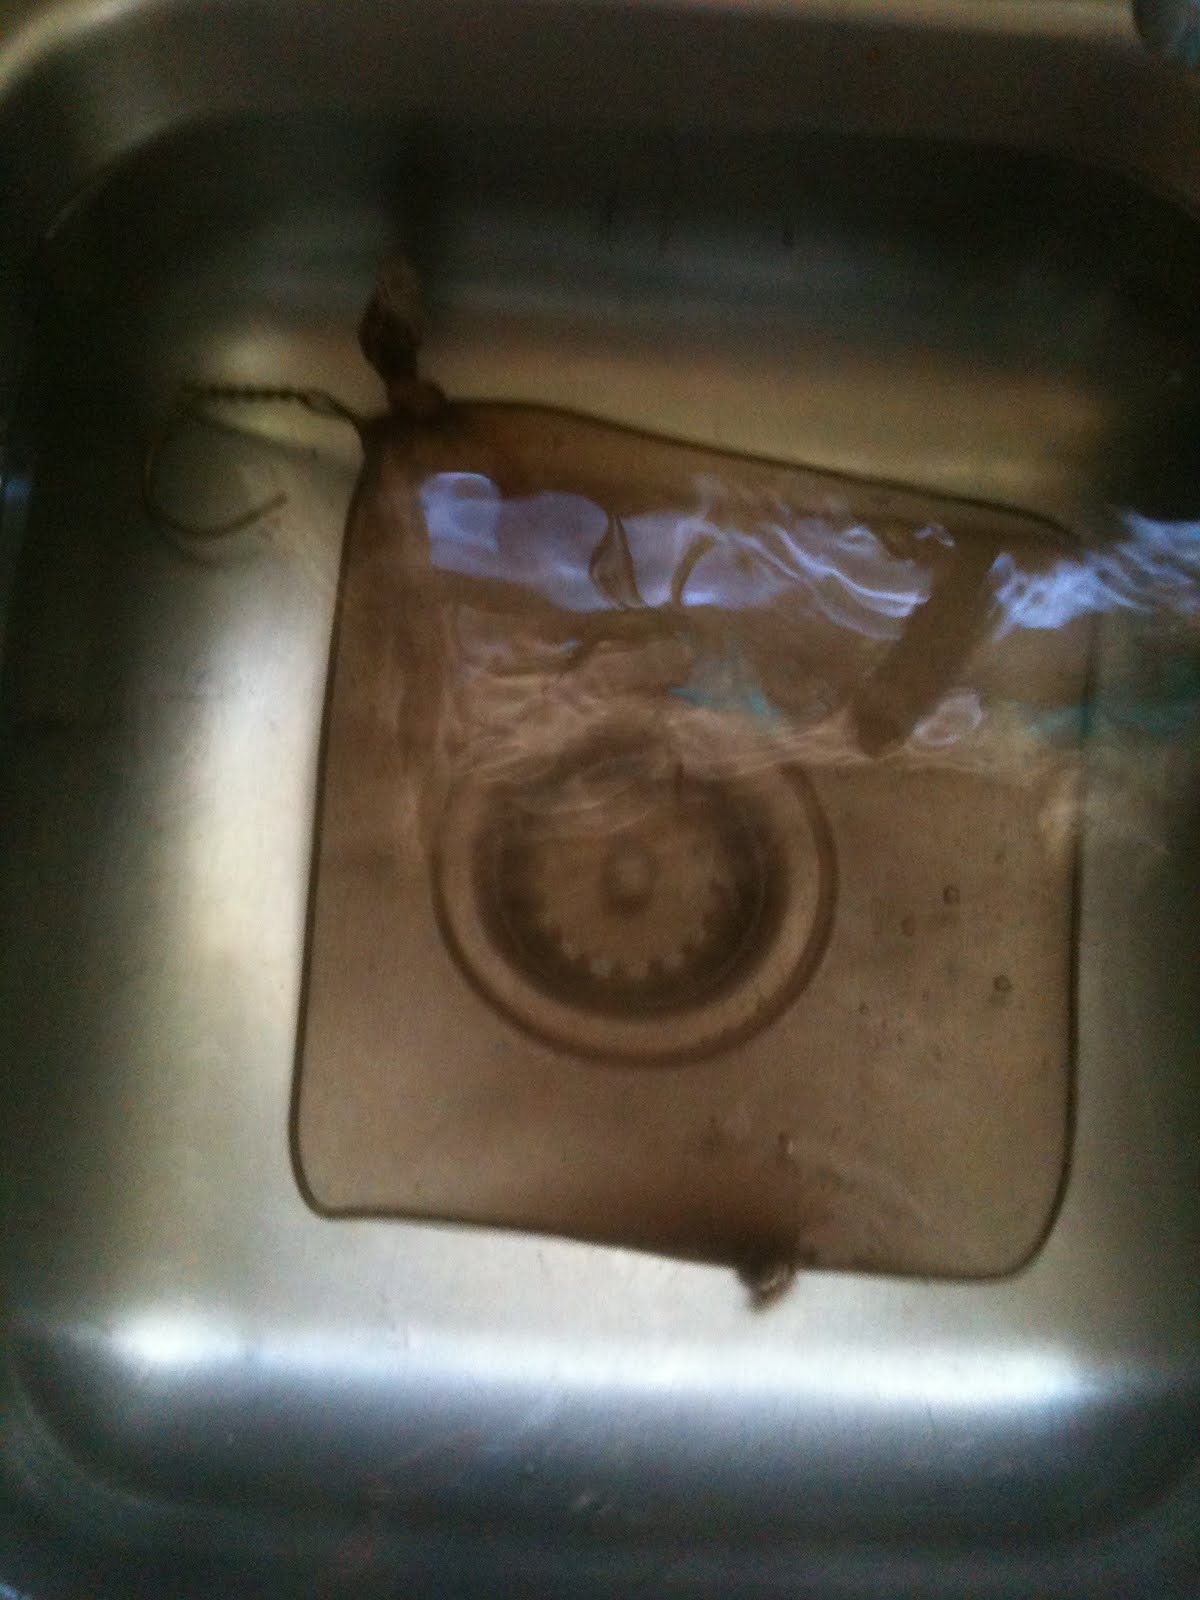
4. Once you are satisfied with your layout, prepare your resin. Pour evenly over glass and material

5. Allow to dry completely (this will take hours — I suggest leaving it overnight)

6. Fit glass into frame. Glass can be secured using superglue, caulk, or brads.

7. Admire your work!

No light:

Light!:

1 Comment

Filed under Uncategorized

How to Make Paper at Home

Yep, you read that correctly: today’s project is homemade paper! Ambitious, I know…Let me say, first of all, that this is definitely a lot easier than you would think, but admittedly does take a bit of practice to get really good at. But hey, it’s fun even while you’re getting the hang of it, and how many people do you know who make their own paper? Not too many I’d bet….Homemade paper makes a terrific gift and you can personalize it any way you like to make your very own super-unique signature stationary — dried flower petals, perfumes, leaves, bits of string, even dryer lint can be added to your paper to make something totally beautiful and totally you. Best of all, making your own paper requires no special equipment (a blender is all you need) and uses items which you most likely already have at home — the only thing I had to buy was panty hose!
Aside from being a fun and rewarding activity, making your own paper is also a great way to recycle. You can use whatever paper you have lying around — old newspapers, used wrapping or tissue paper, junk mail, construction paper, old receipts — turn your trash into something useful and gorgeous!

What You’ll Need:

– Whatever paper(s) you’d like to use
– A large bowl
– A blender
– Glue (just regular school glue like Elmer’s)
– Panty Hose
– Wire Hangers
– Something to plug your sink with
– Whatever you’d like to add to your paper (leaves, string, etc)
– Perfume or essential oil if you want scented paper
– Sunshine

Directions:

1. Assemble the paper you’d like to use. (As a general rule, every 1 cup of loosely packed paper pieces yields one sheet.) I used a combination of newspaper, junk mail, and expired coupons:

2. Tear up your paper into small pieces, approximately one inch square. The larger the pieces the longer they will have to soak before you can work will them. Also, thinner, cheaper papers like newspaper and tissue will take less time to soften and break down than printer paper or card stock. Measure your paper pieces and place in a heat proof bowl:

3. Boil an amount of water equal to the amount of paper you’re using. For example, I started with 2 cups of torn paper so I used 2 cups of boiling water which yielded two 7in x 9in sheets of paper. Pour boiling water into bowl with paper pieces:

4. Let paper sit in hot water for 2 or more hours. Meanwhile, it’s time to begin making your screens!

5. First, figure out how many screens you will need. As I said, I was using 2 cups of paper, anticipating a 2 sheet yield, so I made two screens. If you are using three cups of torn paper, you will want to make three screens, and so on….

6. Shape coat hangers into rectangles or squares. You could also use empty picture frames with the glass and back removed or something similar, but coat hangers are cheap and readily available.

7. Stretch panty hose over hangers, being careful not to tear them or create a run. Cut and tie so that hose are fairly taut and you have a sturdy screen:

8. Now that your screens are done you can return your attention to that paper! Once the pieces have soaked in water for a couple of hours (you can also help accelerate this process if you are getting impatient by tearing up the pieces into smaller bits with your hands) they should be broken down enough to blend. Add about a cup of the water/paper mixture to the blender at a time and pulse, adding more water if necessary. Keep in mind though that the more watery your paper pulp the thinner and more difficult your sheets of paper will be to work with.

9. Now you can add whatever you’d like to your pulp. I added dried rose and hydrangea petals, lavender, and rose oil. Mix well.

10. Fill your kitchen sink with about four inches of tepid water. As water is running add glue (about 4 tablespoons of glue per 2 cups of paper, but this does not have to be precise — you can eyeball it)

11. Press your first screen to the bottom of the sink

12. Spoon a portion of your paper pulp over the screen until covered and let settle:

13. Very slowly lift your screen up out of the water, try for 45-60 seconds from sink bottom to water surface, if you can.

14. Set somewhere flat and sunny to let dry:

15. Repeat steps 11-14 for remaining screens. You may have to drain and refill your sink if the water becomes too murky

16. Let paper dry completely. How long it takes will depend upon the thickness of your paper. I put my screens out in late-afternoon, left them out overnight, and then let them sit and soak up the first few hours of morning sun too, just to be safe.

17. Slowly peel paper from screens

18. Trim edges if you like (a matter of aesthetic preference), and you’re ready to write! How cool is that?!

* My paper smelled AMAZING but I used rose petals that were yellow with red tips and after the hours in the sun the yellow parts of the petals turned a rather unpleasant shade of brown. My suggestion is that if you’re going to use flower petals use ones at the darker end of the color spectrum.

1 Comment

Filed under Uncategorized