Tag Archives: healthy

Raspberry Jam

This recipe for Homemade Raspberry Jam is not only delicious, but surprisingly quick and easy to make. Raspberries won’t be in season much longer, so preserve some while you can!

This recipe is for a small batch of jam, but you could certainly multiply the measurements to make larger quantities.

Ingredients:

– 2 cups of mashed raspberries

– 1/2 c. honey or 1 c. sugar

– 3 Tbsp. water

– 1 tsp. fruit pectin*


*Pectin is a thickening agent, usually extracted from citrus fruits or apples and is available in many grocery stores and most health food stores.


Directions:

1.  Select the jar you wish to put your jam in. It can be a mason jar, or an old pickle or jelly jar — whatever you have available. This recipe will yield about 16 oz. of jam, so you do want whatever jar you choose for this to be pint-sized.

2. Wash and rinse your jar; let stand in hot water. Meanwhile, boil your lid and ring in a large pot to sanitize. Let stand in hot water also.

3. Wash and mash your raspberries. You can use a pestle, fork, a hand-juicer — whatever you have handy!

4. Put fruit into a saucepan with the water and cook at medium heat, stirring frequently. Bring to a boil


5. Measure out honey or sugar; thoroughly mix pectin into sweetener


6. Add pectin-sweetener mixture to boiling fruit. Stir vigorously for 2 minutes to dissolve the pectin.


7. Return to a boil and remove from heat


8. Remove your jar lid and ring from your large pot and return water to a boil


9. While waiting for water to boil fill your jar to 1/4” of top and wipe clean. Do not overfill or jar will not seal properly.

10. Screw on lid (with ring) tightly. Place jar into boiling water to cover. Boil for 10 minutes.

11. Remove jar (carefully!) from water. Let cool. Check seal — lid should be sucked down/un-popped.

12. Label and enjoy! Jam should last about 3 weeks once opened.

3 Comments

Filed under Uncategorized

Sweet Plum and Blueberry Jam: How to Make Jams

Plums always remind me of me childhood. I grew up in central California where we had several fruit trees growing around our house — lime, dwarf apple, orange, lemon… but my favorite was the plum tree in our front yard. It was the perfect size to climb, and I loved to swing on its branches. I eagerly awaited the appearance of the tiny fruits each May and tore them down greedily, often before they even had the chance to ripen; chewing the sour flesh, spitting their tiny pits as far as I could….I love how such small things can transport you: how smells (for me; eucalyptus, black pepper, chlorine, horse manure), or sounds (wind chimes, steel guitar), or flavors (black walnut, wild licorice, sour plum) can take you instantly back to some shadowed, half-forgotten piece of childhood…..Anyway, I still look forward to eating plums this time of year — even if I must buy them from the market instead of plucking them from the boughs of my own fragrant and sun-filled tree…

This recipe is for a small batch of jam, but you could certainly multiply the measurements to make larger quantities. Similarly, the plums and blueberries could be replaced here with any kind of berry, cherries, currants, any stone fruit, pears — even mangoes or kiwis! Get creative and make something wonderful!

Ingredients:

– 1 cup of peeled, sliced, and pitted plums (about 1 lb. whole)
– 1 pint blueberries
– 1/2 cup honey or 1 cup sugar
– 1 Tbsp. any unsweetened citrus juice (I used grapefruit juice this time)
– 3 Tbsp. water
– 1 tsp. fruit pectin*

*Pectin is a thickening agent, usually extracted from citrus fruits or apples and is available in many grocery stores and most health food stores.

Directions:

1. Select the jar you wish to put your jam in. It can be a mason jar, or an old pickle or jelly jar — whatever you have available. This recipe will yield about 16 oz. of jam, so you do want whatever jar you choose for this to be pint-sized.

2. Wash and rinse your jar; let stand in hot water. Meanwhile, boil your lid and ring in a large pot to sanitize. Let stand in hot water also.

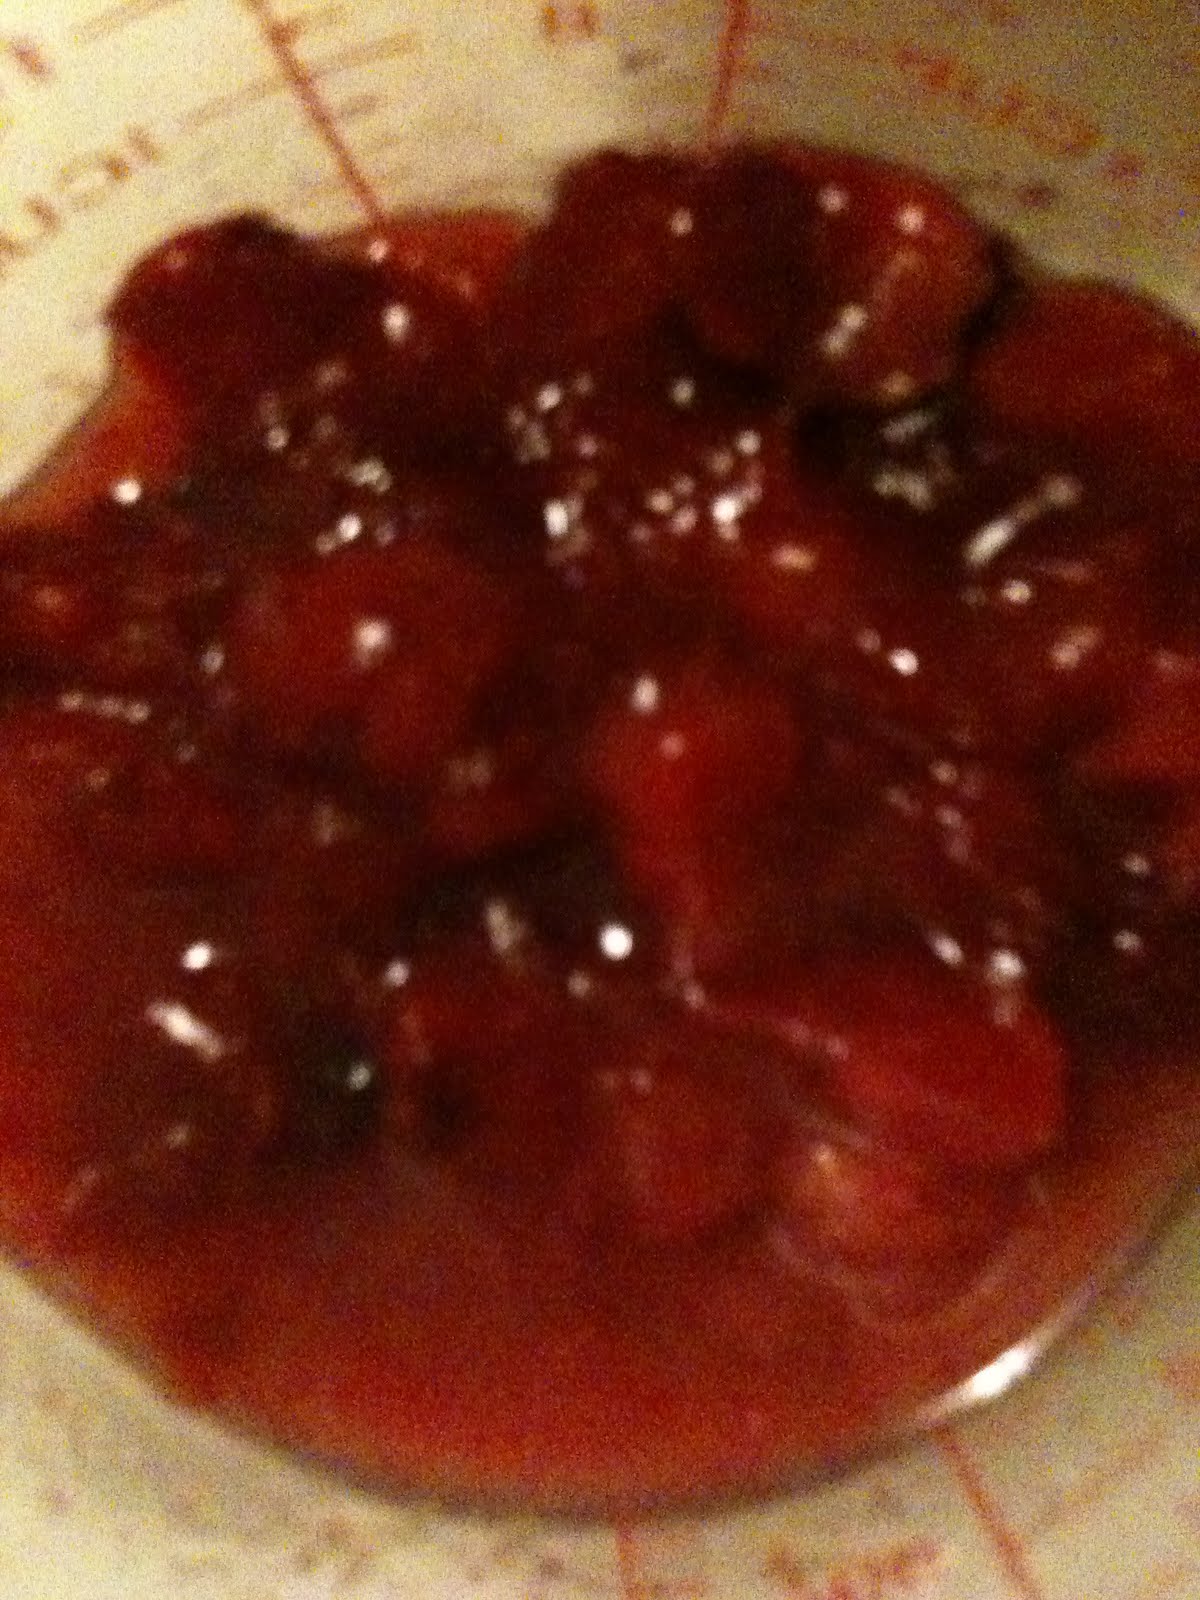
3.  Peel, pit, and slice plums, make sure to catch as much juice from the plums as you can

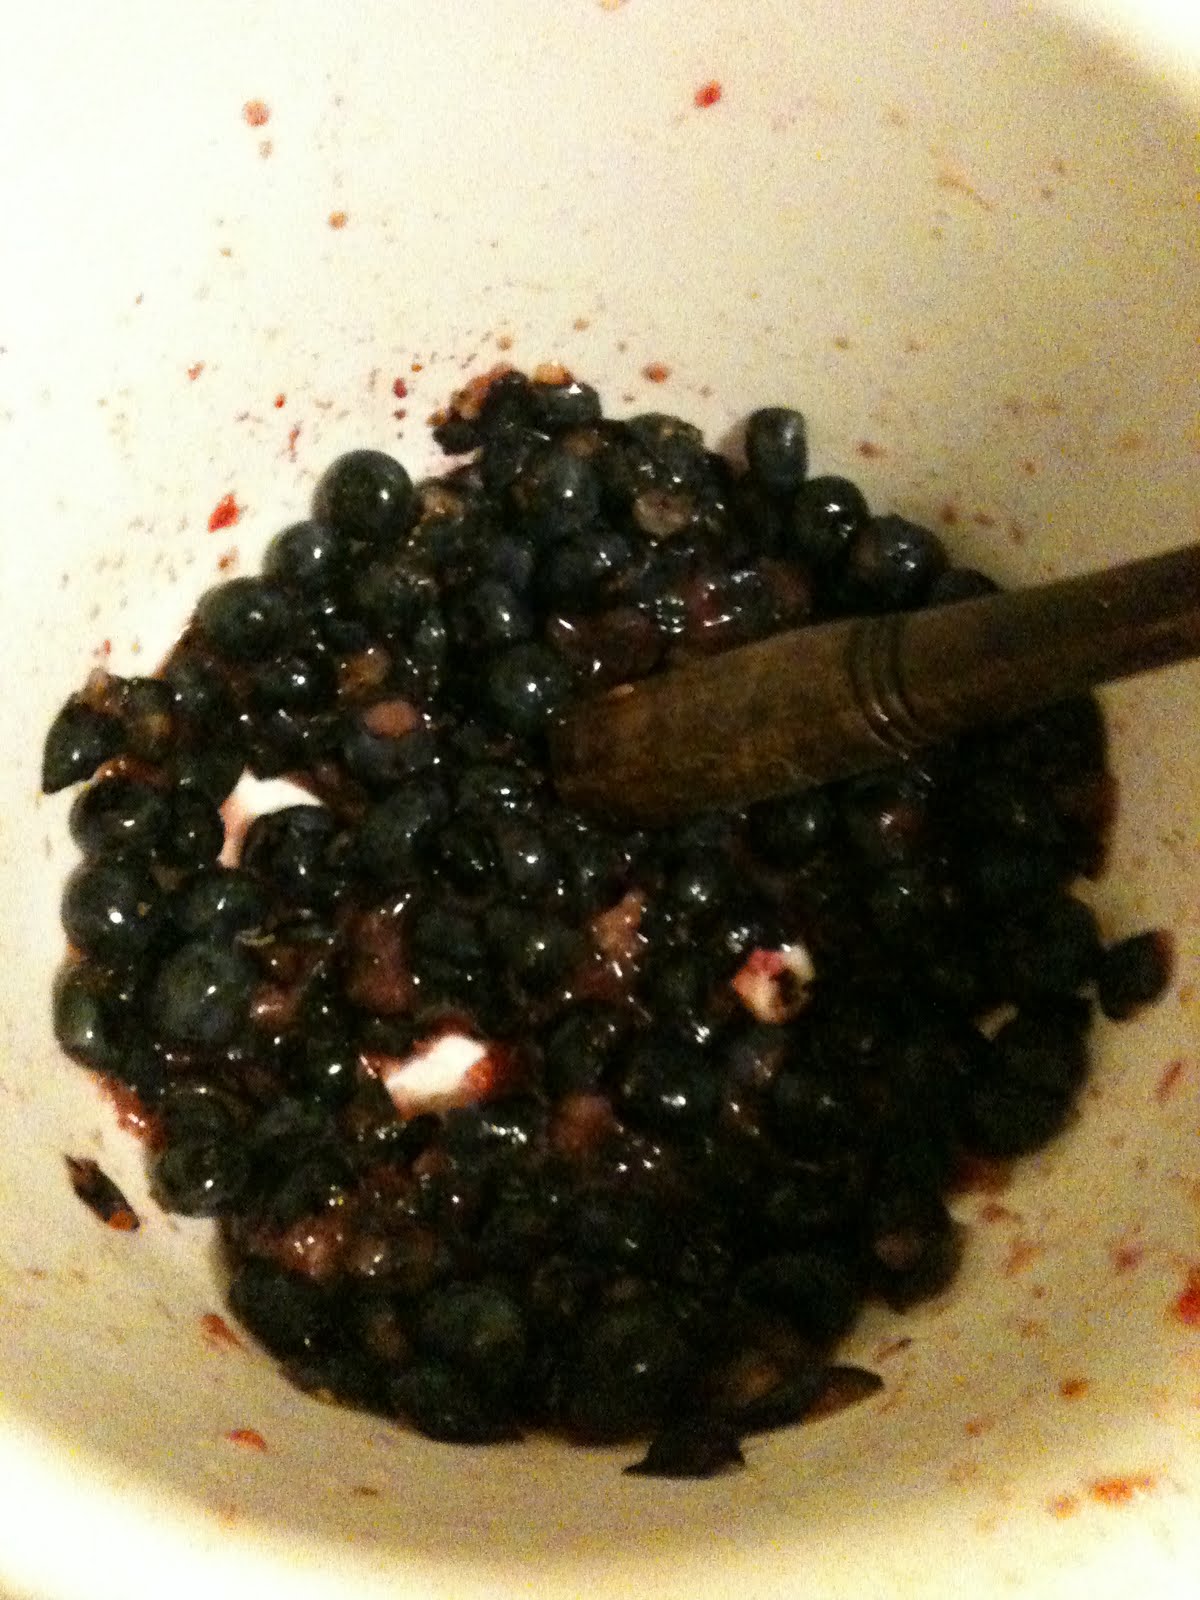
4. Place blueberries in a bowl and mash using a pestle, or any other blunt kitchen instrument. (Tip: Mash blueberries a bit at a time: it’s much easier than trying to mash them all at once, and this way you can ensure that you mash the proper amount according to how much fruit and juice your plums wind up yielding)

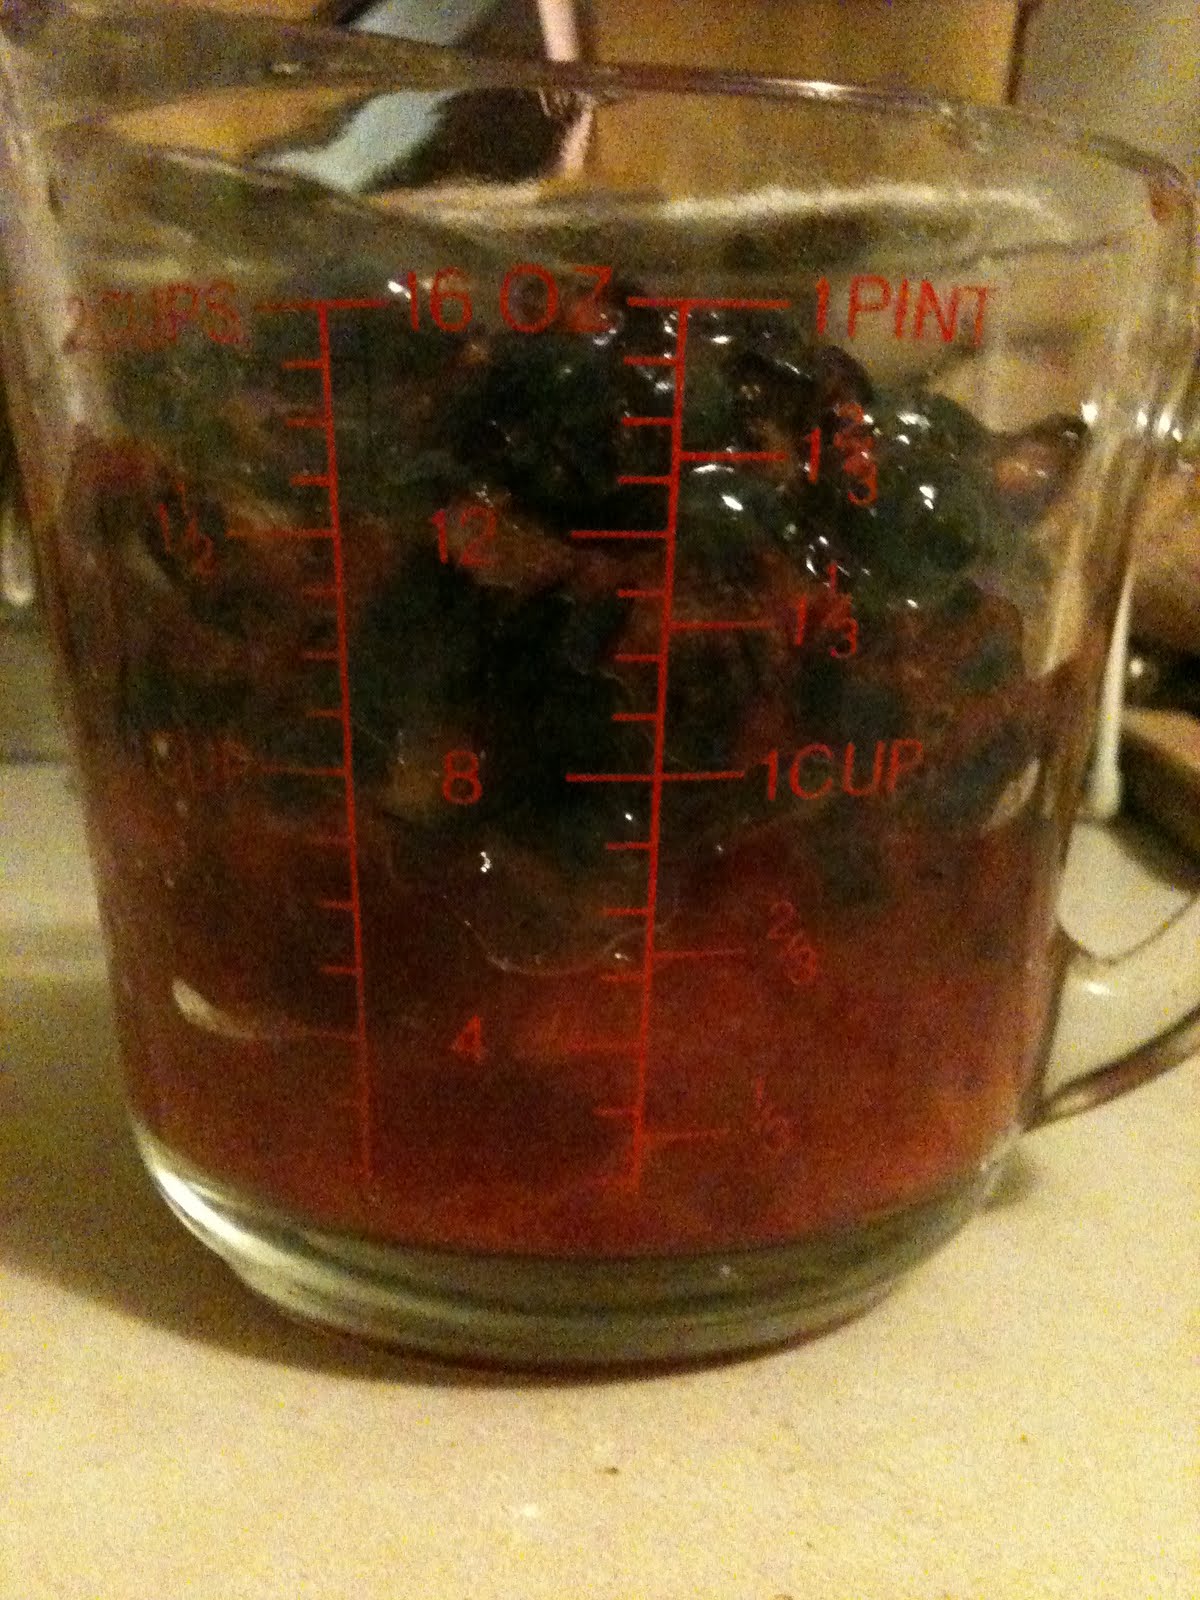
5. Combine fruits, making sure that you have at least 2 cups of fruit and juice

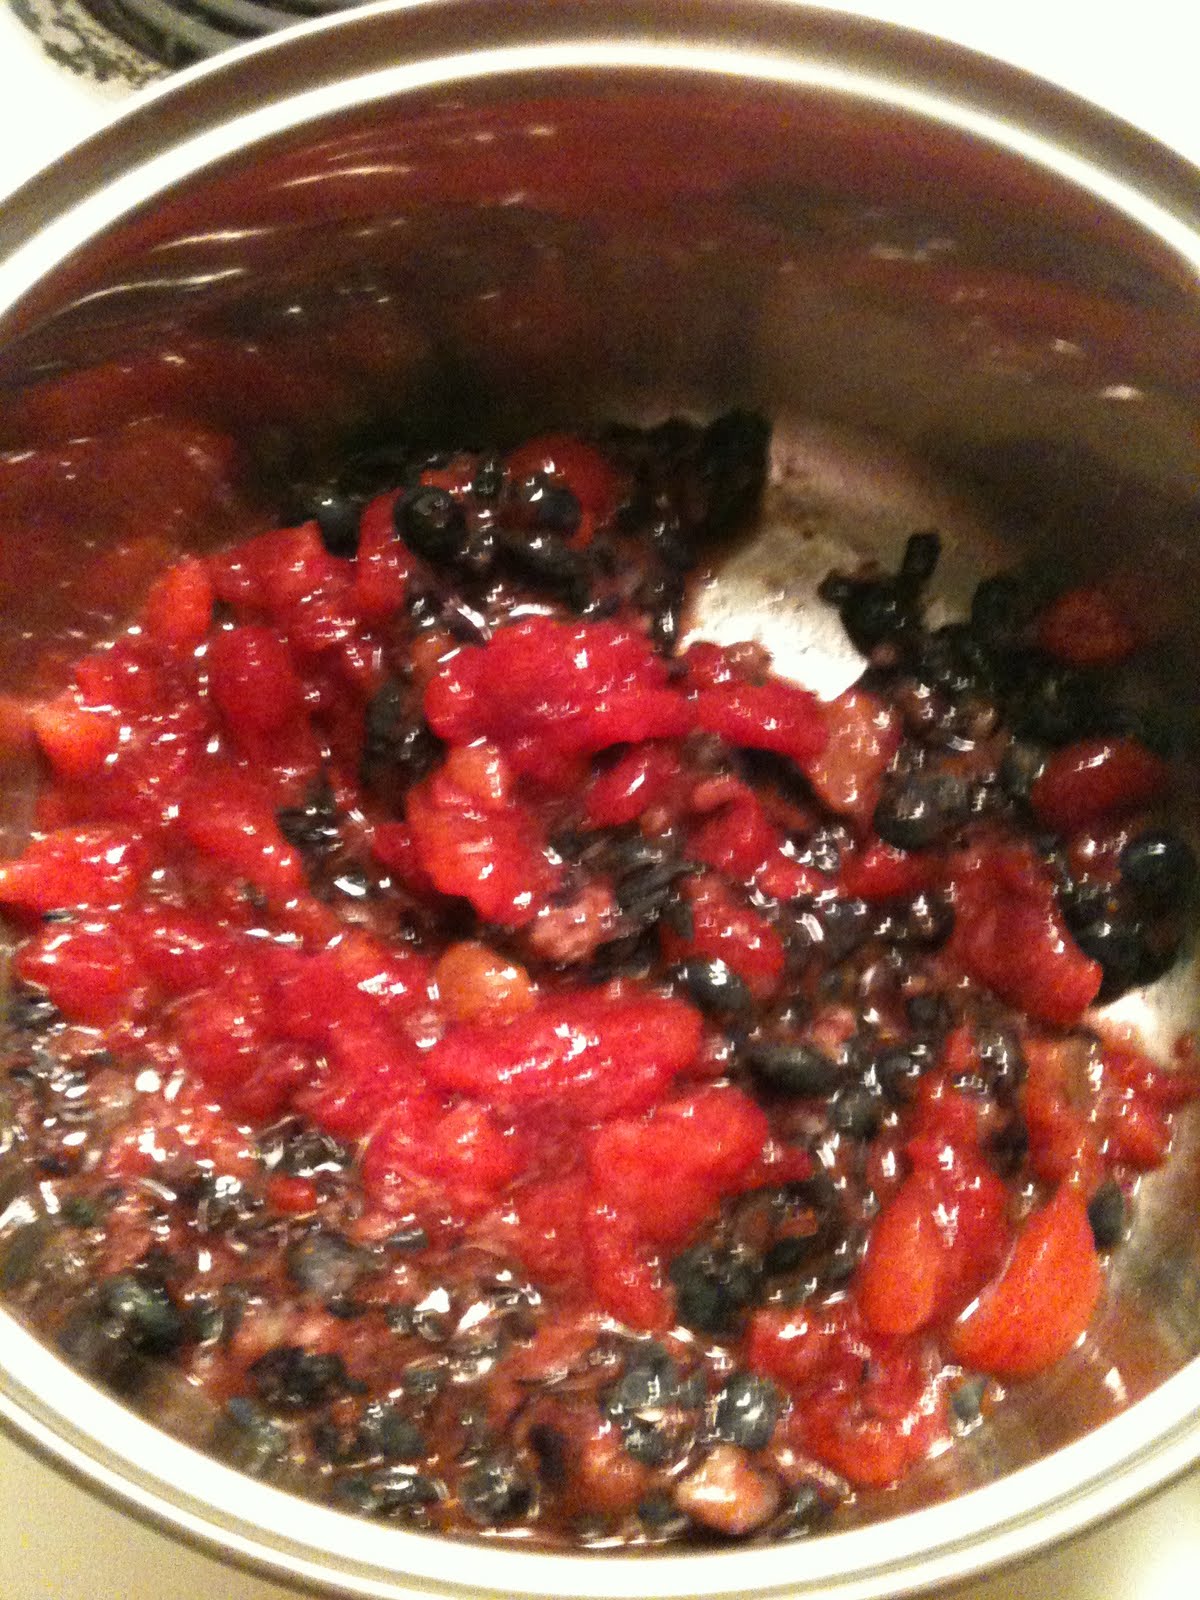
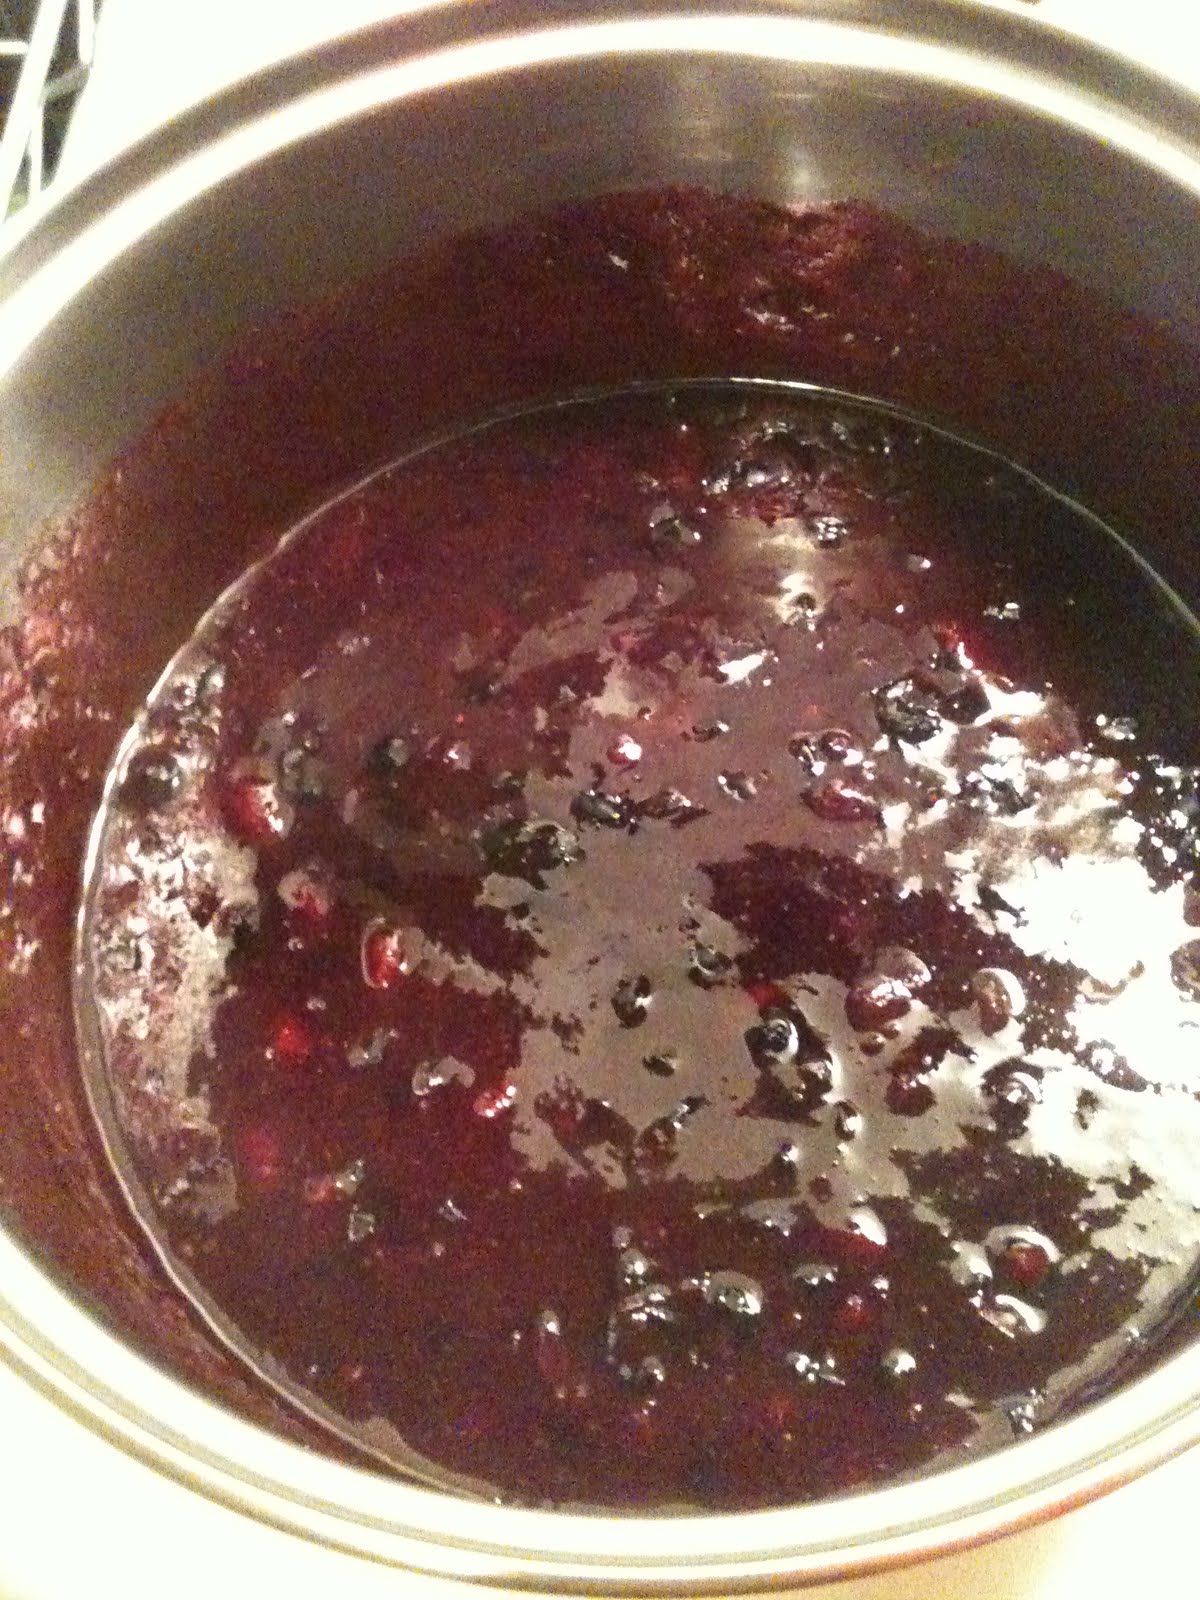
6. Put fruit into a saucepan with citrus juice and water and cook at medium heat, stirring frequently. Bring to a boil

7. Measure out honey or sugar; thoroughly mix pectin into sweetener

8. Add pectin-sweetener mixture to boiling fruit. Stir vigorously for 2 minutes to dissolve the pectin.

9. Return to a boil and remove from heat

10. Remove your jar lid and ring from your large pot and return water to a boil

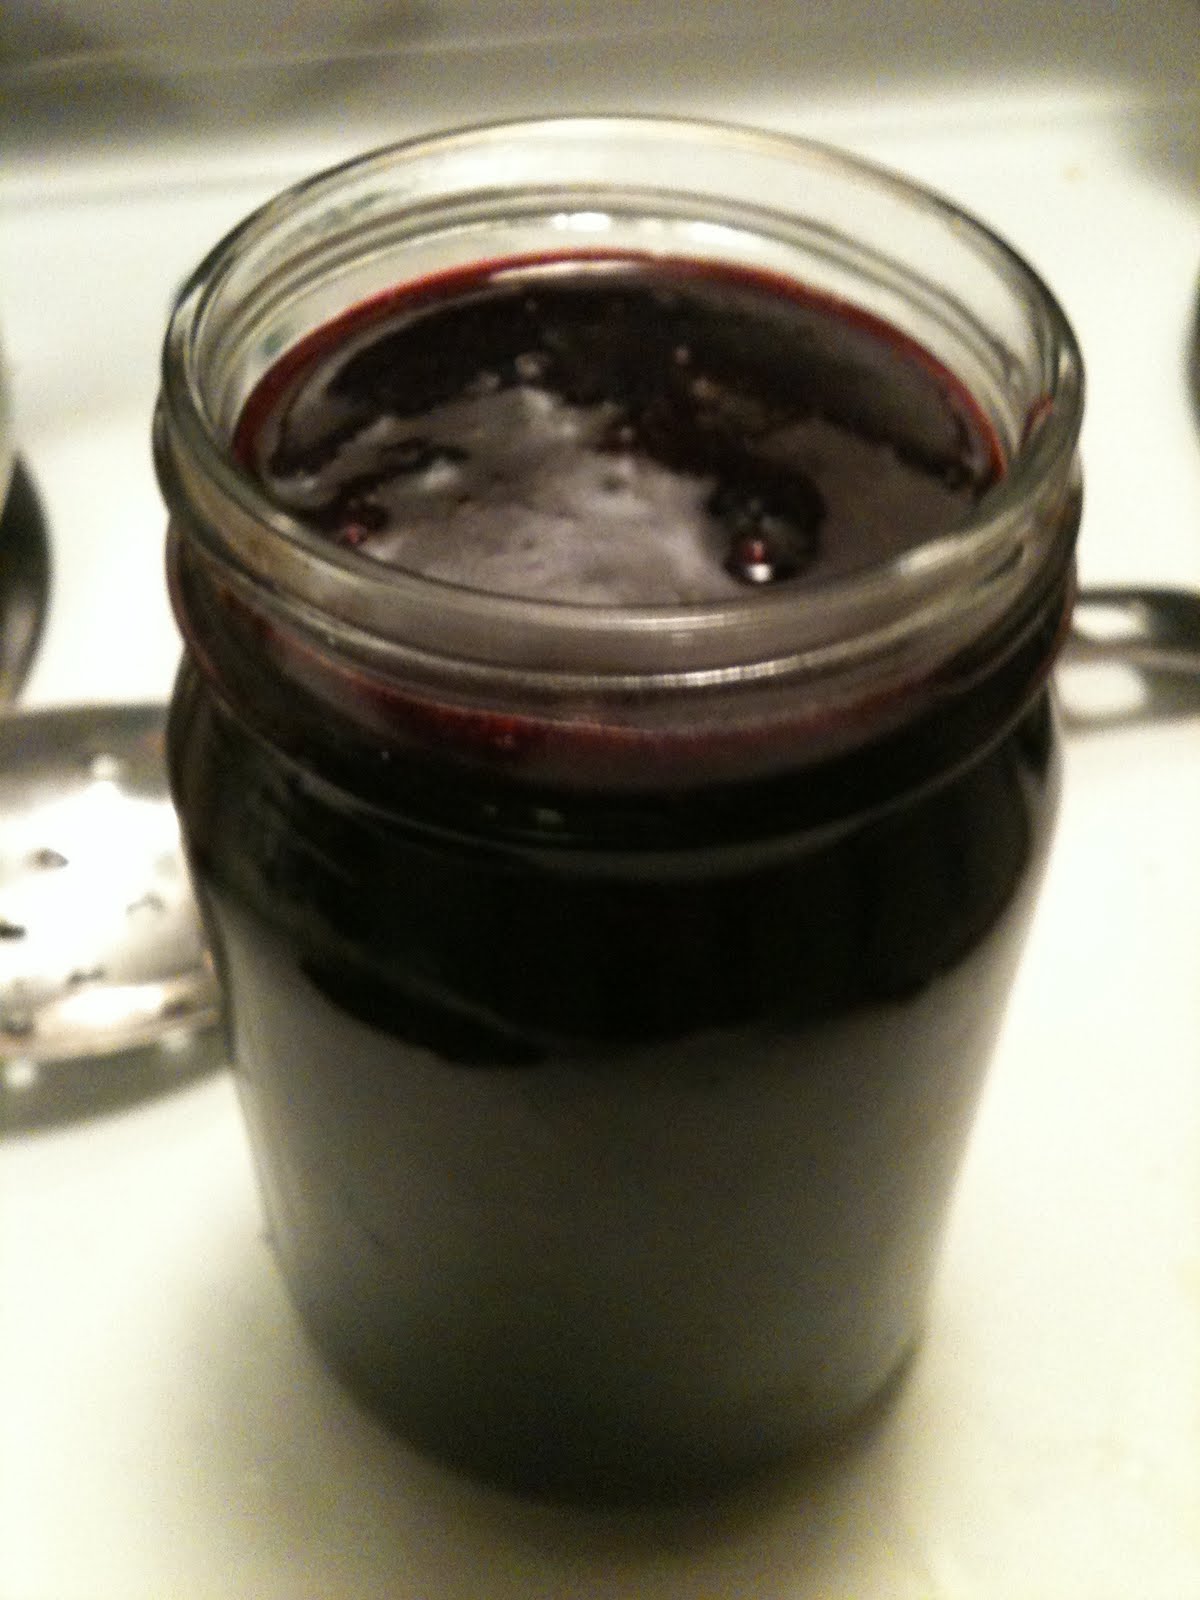
11. While waiting for water to boil fill your jar to 1/4” of top and wipe clean

12. Screw on lid (with ring) tightly. Place jar into boiling water to cover. Boil for 10 minutes.

13. Remove jar (carefully!) from water. Let cool. Check seal — lid should be sucked down/un-popped.

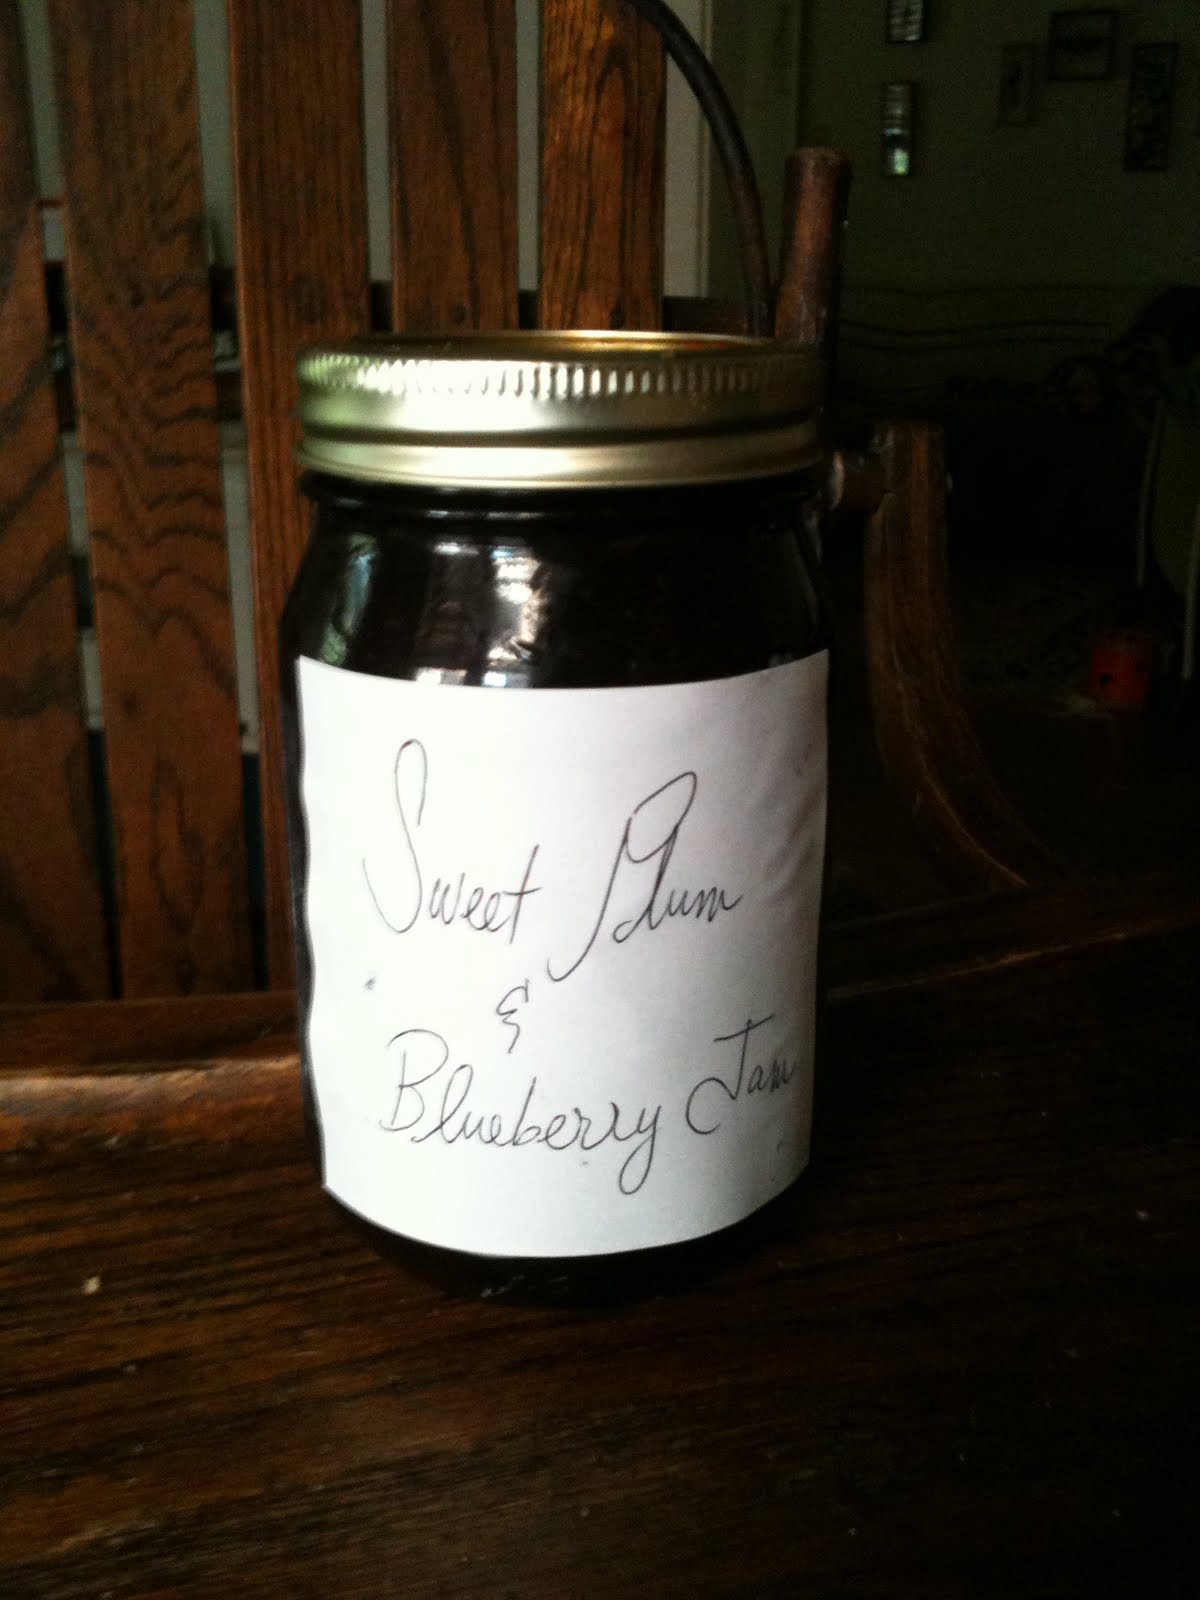
14. Label and enjoy! Jam should last about 3 weeks once opened.

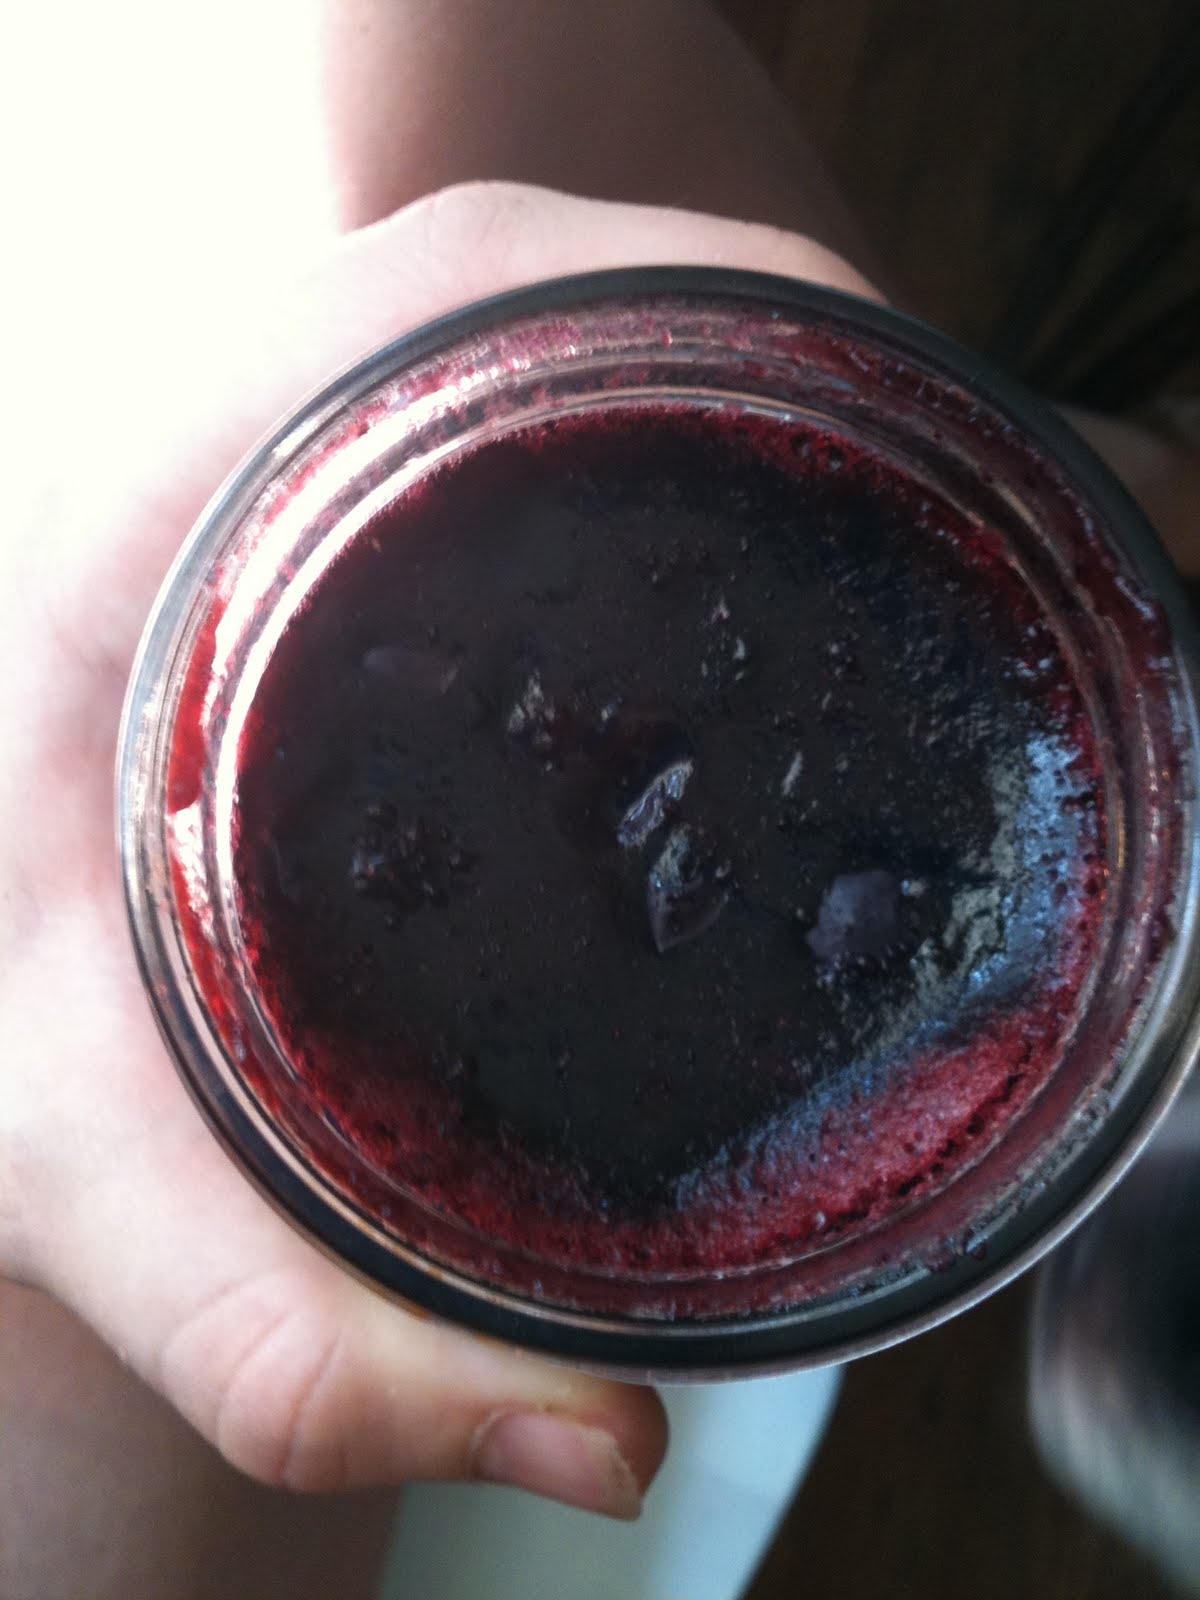
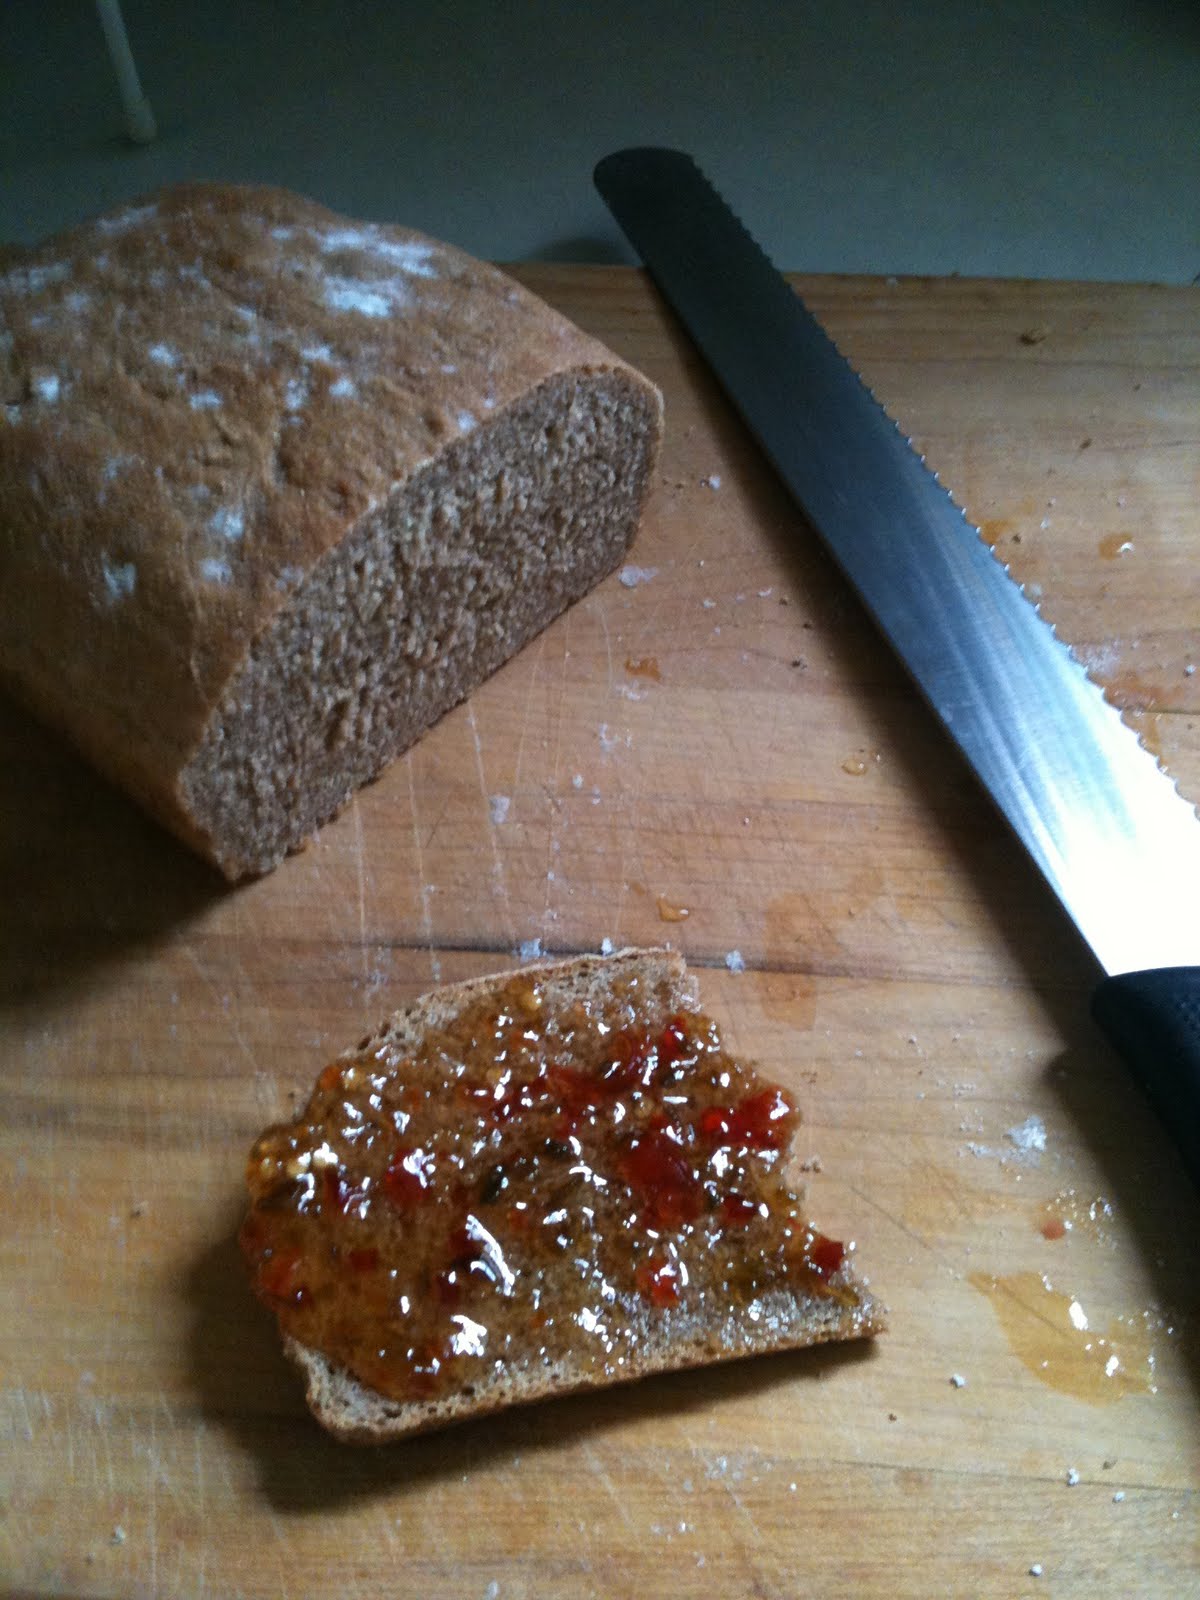
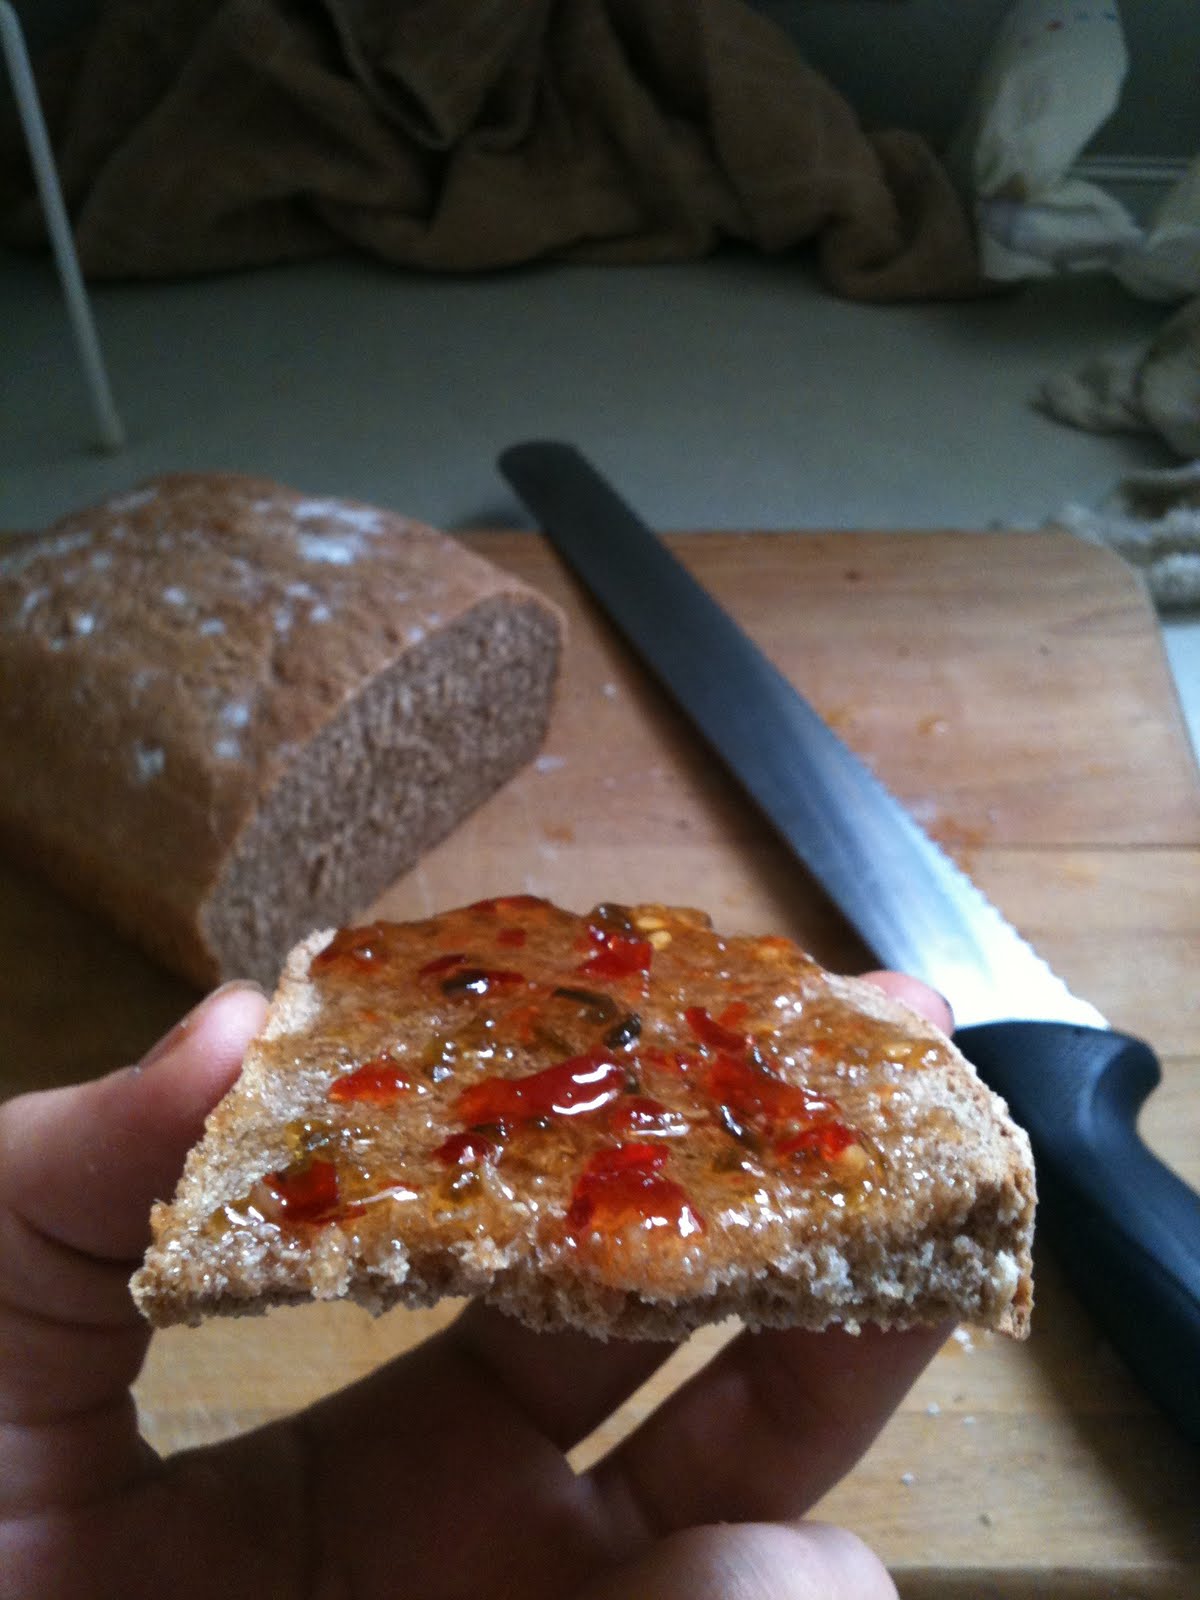
I’ve never claimed to be a patient woman…I decided to try my jam for breakfast the next morning. Here’s what it looked like when I opened it:

I spread it on a couple of pieces of coconut-oatmeal bread (recipe to follow shortly) and it was absolutely heavenly — soooo much better than Smucker’s or any of those other store-bought brands! Hey, I’ve never claimed to be humble either…..:)

1 Comment

Filed under Uncategorized

How to Make Bread by Hand

I was really intimidated at first by the idea of making my own bread, but now that I have been doing it for a while I really enjoy it. There is something almost therapeutic about baking — especially about baking breads. The precision and patience it requires is almost zen….and kneading the dough helps to work out a little aggression too! I’ve never used a bread machine and bake bread by hand at least once a week — though sometimes as often as three times (my husband has been known to eat bread with every meal…). This is a really good basic recipe for a farmhouse-style loaf that you can make with white or whole wheat flour, and is a great bread for beginning bakers. Don’t be daunted: making your own bread is really quite easy, much better for you, way cheaper, and how cool is it to be able to say that you bake all of your own bread?! Give it a try!

Ingredients:

– 2 2/3 cups white or whole wheat flour
– 1 tablespoon butter, butter substitute, or oil
– 1 tsp. sugar
– 1 pinch salt
– 1 tsp. active dry yeast
– 3/4 – 1 cup warm water

Directions:

1. Measure flour into a large bowl

2. Add butter or oil. If using butter cut into small pieces and work in to flour with your hands until it resembles fine bread crumbs:

3. Mix in salt, sugar, and yeast

4. Add water slowly while stirring with a spoon. Use 3/4 c. if working with white flour, 1 cup if using whole wheat. It is very important that the water be quite warm as this is what begins to activate the yeast.

5. Flour your work surface.

6. Move dough onto floured surface and knead vigorously for 5 minutes. Dough should become smooth and elastic. You may have to continue to add more flour to prevent dough from sticking

 It’s hard to take a picture of yourself kneading bread!

7. After 5 minutes of kneading, shape dough into a ball and return it to your bowl. Cover with oiled cling-film or a damp dishtowel and place somewhere warm. Again, warmth is very important as you dough will not rise properly if you place it somewhere too cool. Let rise for 45 minutes or until doubled in size.

8. Remove from bowl and knead for 2 minutes. Don’t worry — your dough is supposed to shrink back down as you knead it!

9. Place dough in a lightly greased 9in x 5in bread tin. Cover with oiled cling-film or towel and let rise for another 30 minutes or until it reaches the edges and top of the tin.
Before:

After:

10. Remove film or towel, sprinkle top with flour, and bake in a preheated oven at 400F for 25 minutes

11. Let cool for 5 minutes then flip out of tin and finish cooling on a towel or wire rack:

12. Slice and enjoy!

Toasted with some hot pepper jelly….Hello!

1 Comment

Filed under Uncategorized

Zucchini!!! How to Make the Best Zucchini Bread Ever!

As you can see, humility is not one of my strong suits….

It’s June and, in my opinion, unless you live in Antarctica there is absolutely no excuse not to eat seasonally (and locally) this time of year. This is the first year that we have not had a garden — between having a new baby and my husband’s work schedule it just got away from us this year. Now that it’s June and I’m thinking about all of the delicious stuff we would normally have growing in our own backyard I really wish that we had made a point of planting, but oh well, c’est la vie I suppose….Luckily I live in an area where tons of fresh, local produce is available, like the zucchinis I found yesterday for 49 cents a pound…..can’t beat that! This bread is vegan and I think that the recipe is pretty perfect (again, that humility), but I have included options for a non-vegan version of this bread as well.

Zucchini Bread
Ingredients:
– 3 cups of flour — I use whole wheat but you can use white if you like
– 1 tsp. salt
– 1 tsp. baking soda
– 1 tsp. baking powder
– 1 tsp. nutmeg
– 3 tsp. cinnamon
– 2/3 c. unsweetened applesauce (I think that the applesauce makes this bread really moist and wonderful but you could use 3 eggs here instead)
– 1 cup vegetable oil, butter substitute, or butter
– 1 cup light brown sugar
– 1 Tbsp. honey (optional)
– 1 Tbsp. grated or chopped ginger (you could also try mincing crystallized ginger for an added kick)
– 3 tsp. vanilla extract
– 3 cups of shredded zucchini (about two medium sized squash)
– 1 Tbsp. flax seeds (optional)
– 1 c. walnuts or pecans (optional)

Directions:
1. Preheat your oven to 325 F.

2. Grease and flour a 9in x 5in bread tin. I suppose you could use cake tins too though if you prefer.

3. Grate your zucchinis. Some recipes would have you drain your zucchini, but I don’t and the result is a super moist, decadent bread.

4. In a separate bowl, mix all of your dry ingredients together (the flour through the cinnamon).

5. In a separate bowl mix all of your wet ingredients together (applesauce through vanilla). If you are using butter or butter substitute  you will want to cream your butter and sugar together first, and then add the other wet ingredients to that.

6. Add your wet ingredient mixture to your dry ingredients. Mix well.

7. Fold in your grated zucchini, flax seeds, and the nuts if you are using them.

8. Put your batter into your bread pan or cake tins. This bread will rise, so you do need to make sure there is room at the top. It should be about this high in whatever tin you decide to use:

9. Bake in the oven at 325F for 75 minutes. To check whether your bread is done insert a toothpick, knife, or some type of skewer into the middle of the loaf; if it comes out clean it’s done!

10. Let cool for 15-20 minutes, then flip the bread out onto a towel or a wire rack to finish cooling.

This bread is perfect for breakfast, but you could totally slice and toast it too and use it to make savory sandwiches. The ginger adds a really nice depth of flavor that makes it perfect for a sweet afternoon snack…
I just had an awesome idea: I should totally turn this bread into a cake recipe! It would be a great way to trick my stepsons into eating zucchini….At any rate this was the perfect way to start my day: coffee with almond milk, fresh berries, and two thick slices of bangin warm zucchini bread. Mm-mm-mmm!

Leave a comment

Filed under Uncategorized