Tag Archives: plum

Jam-Filled Sandwich Cookies


These may be the most delicious thing I’ve ever made. If not, they’re definitely close to the top of the list. Of all of the sweets in the world, sandwich cookie-type-things are definitely amongst my favorites. Whoopie Pies, French Macarons, Oreos….I’m salivating just typing this. Though not as refined  (or anywhere near as difficult to make) as the macaron, these jam-filled cookies are elegant in their own right, and certainly just as delicious. Shoot, I’d take one of these over a whole sleeve of Oreos any day! You wont believe how incredibly easy these are to make — especially if you opt to use store-bought or pre-made jam.


Ingredients:

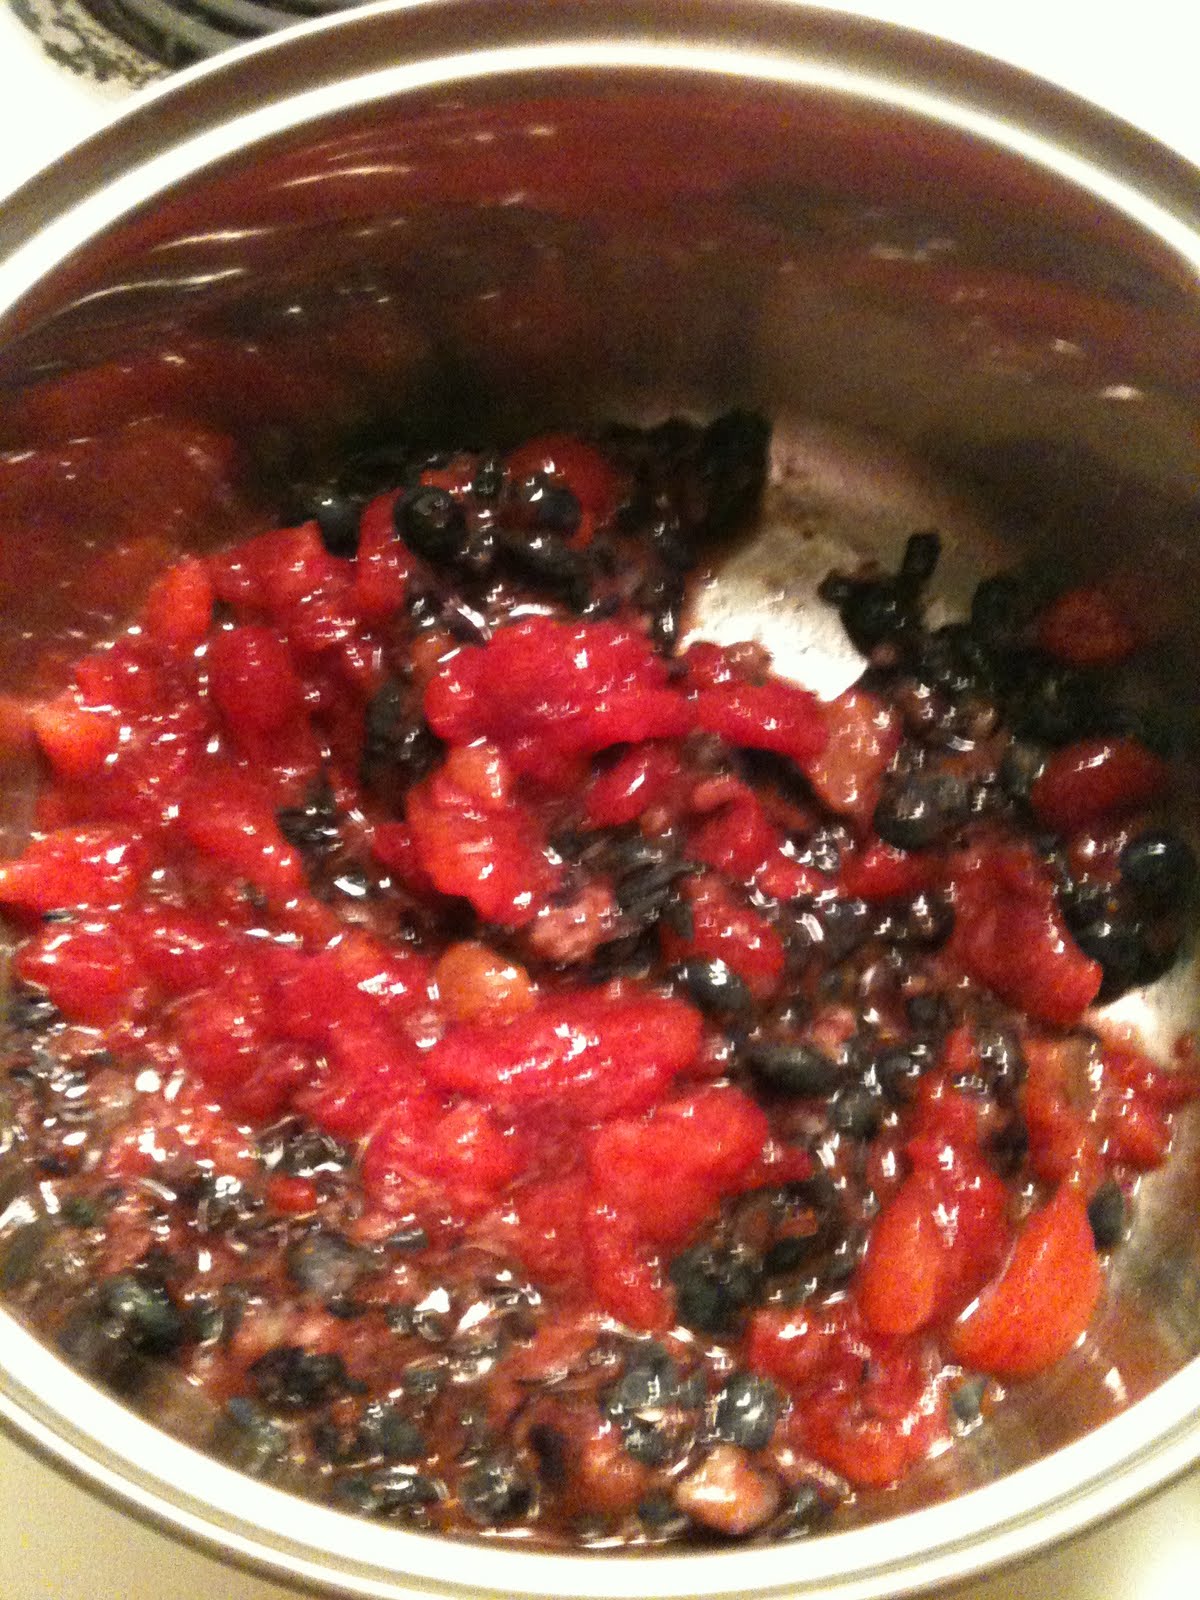
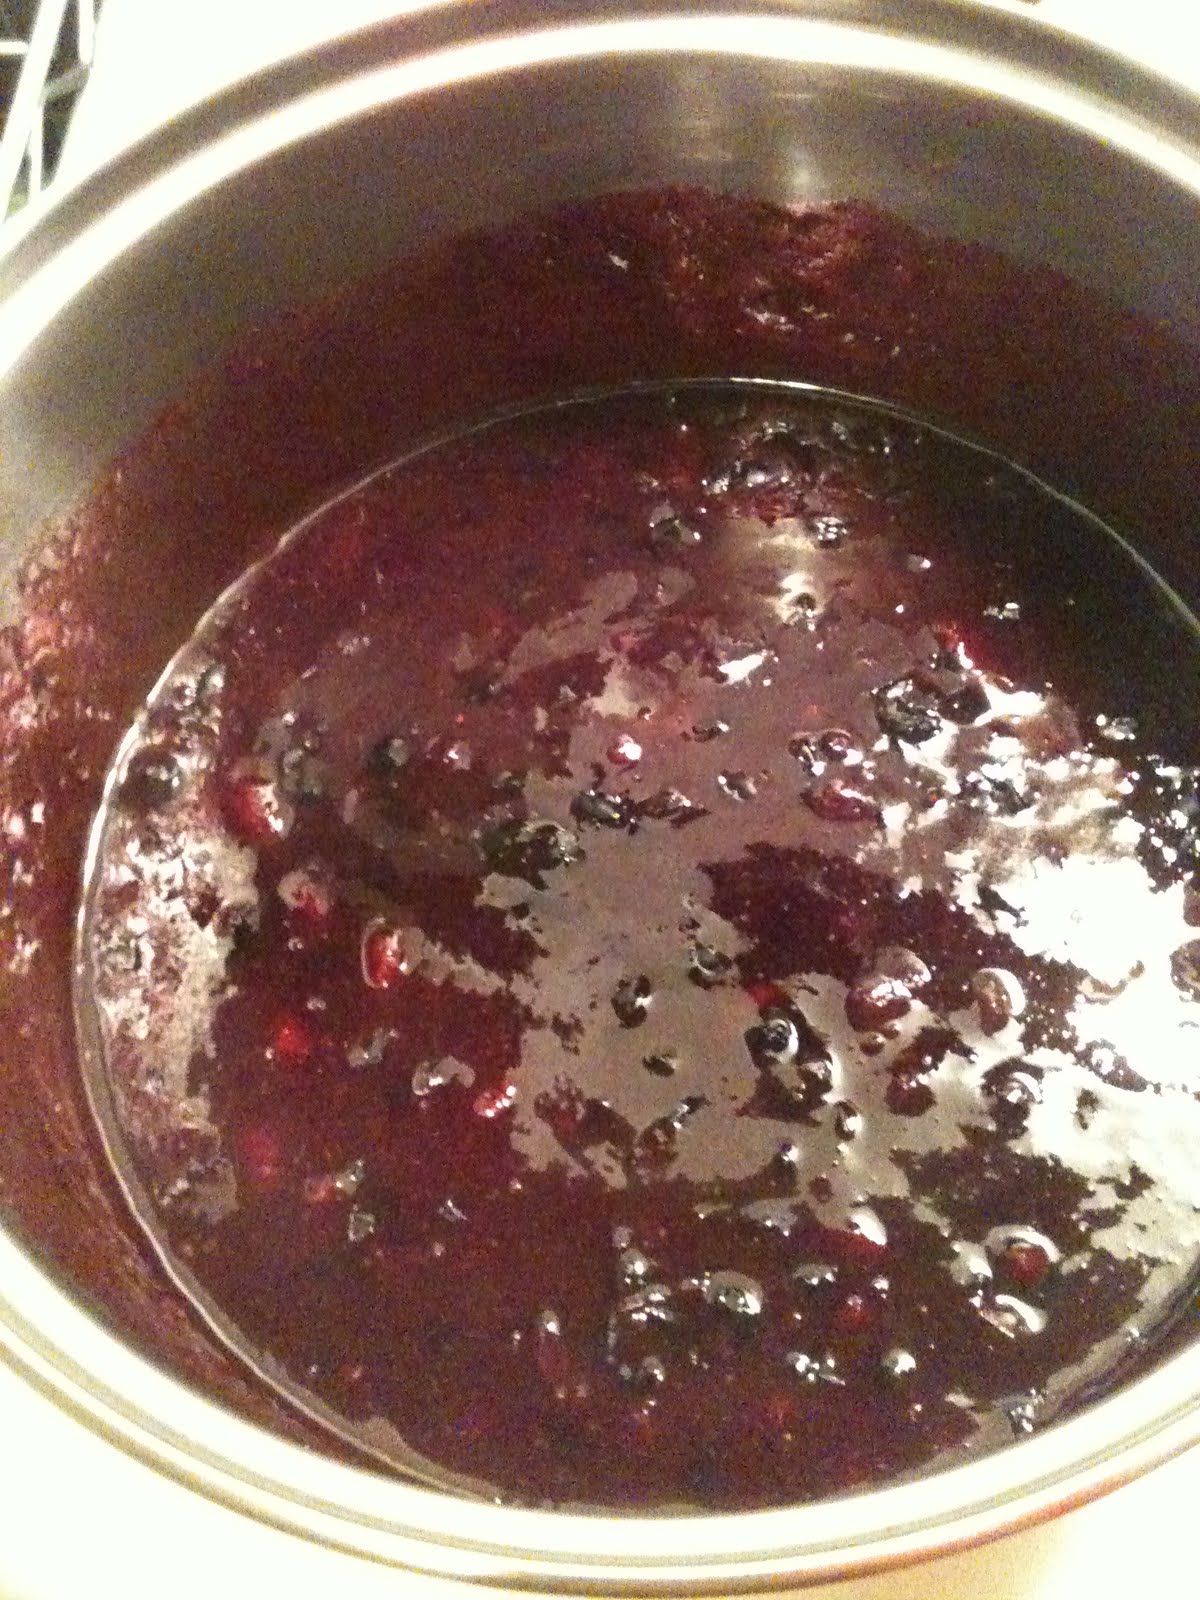
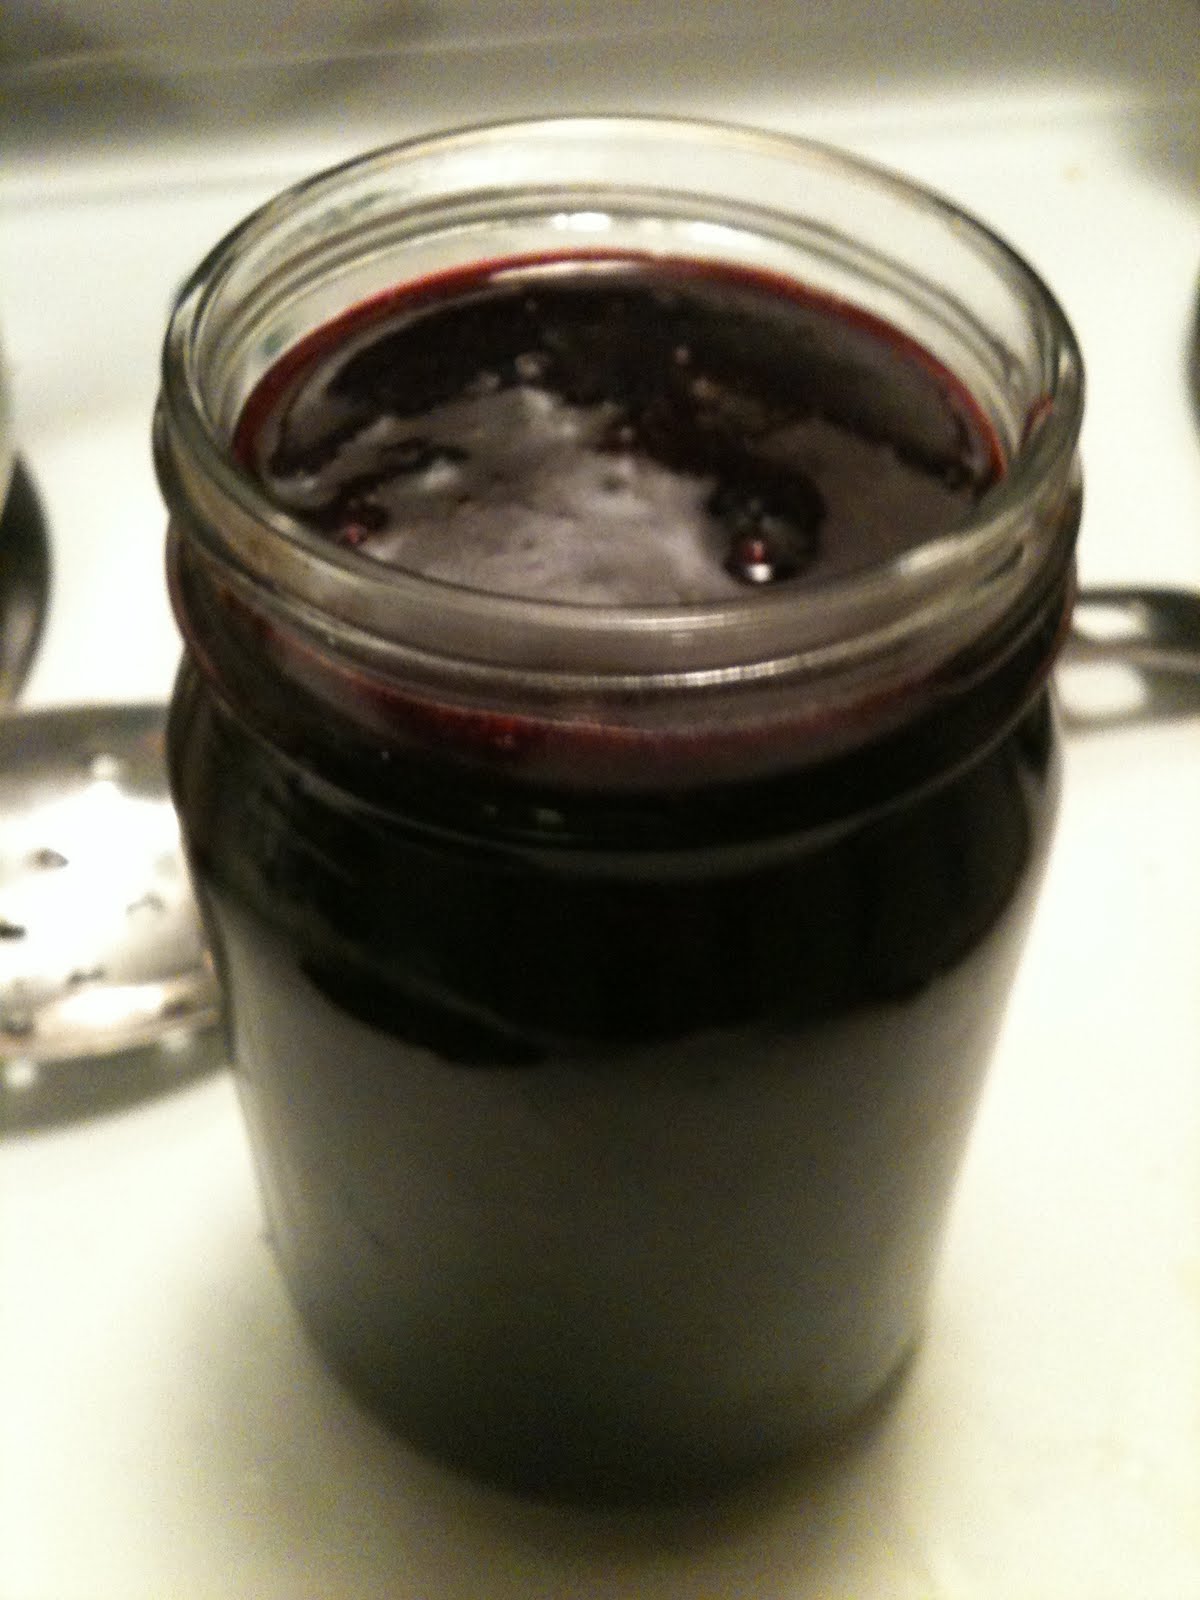
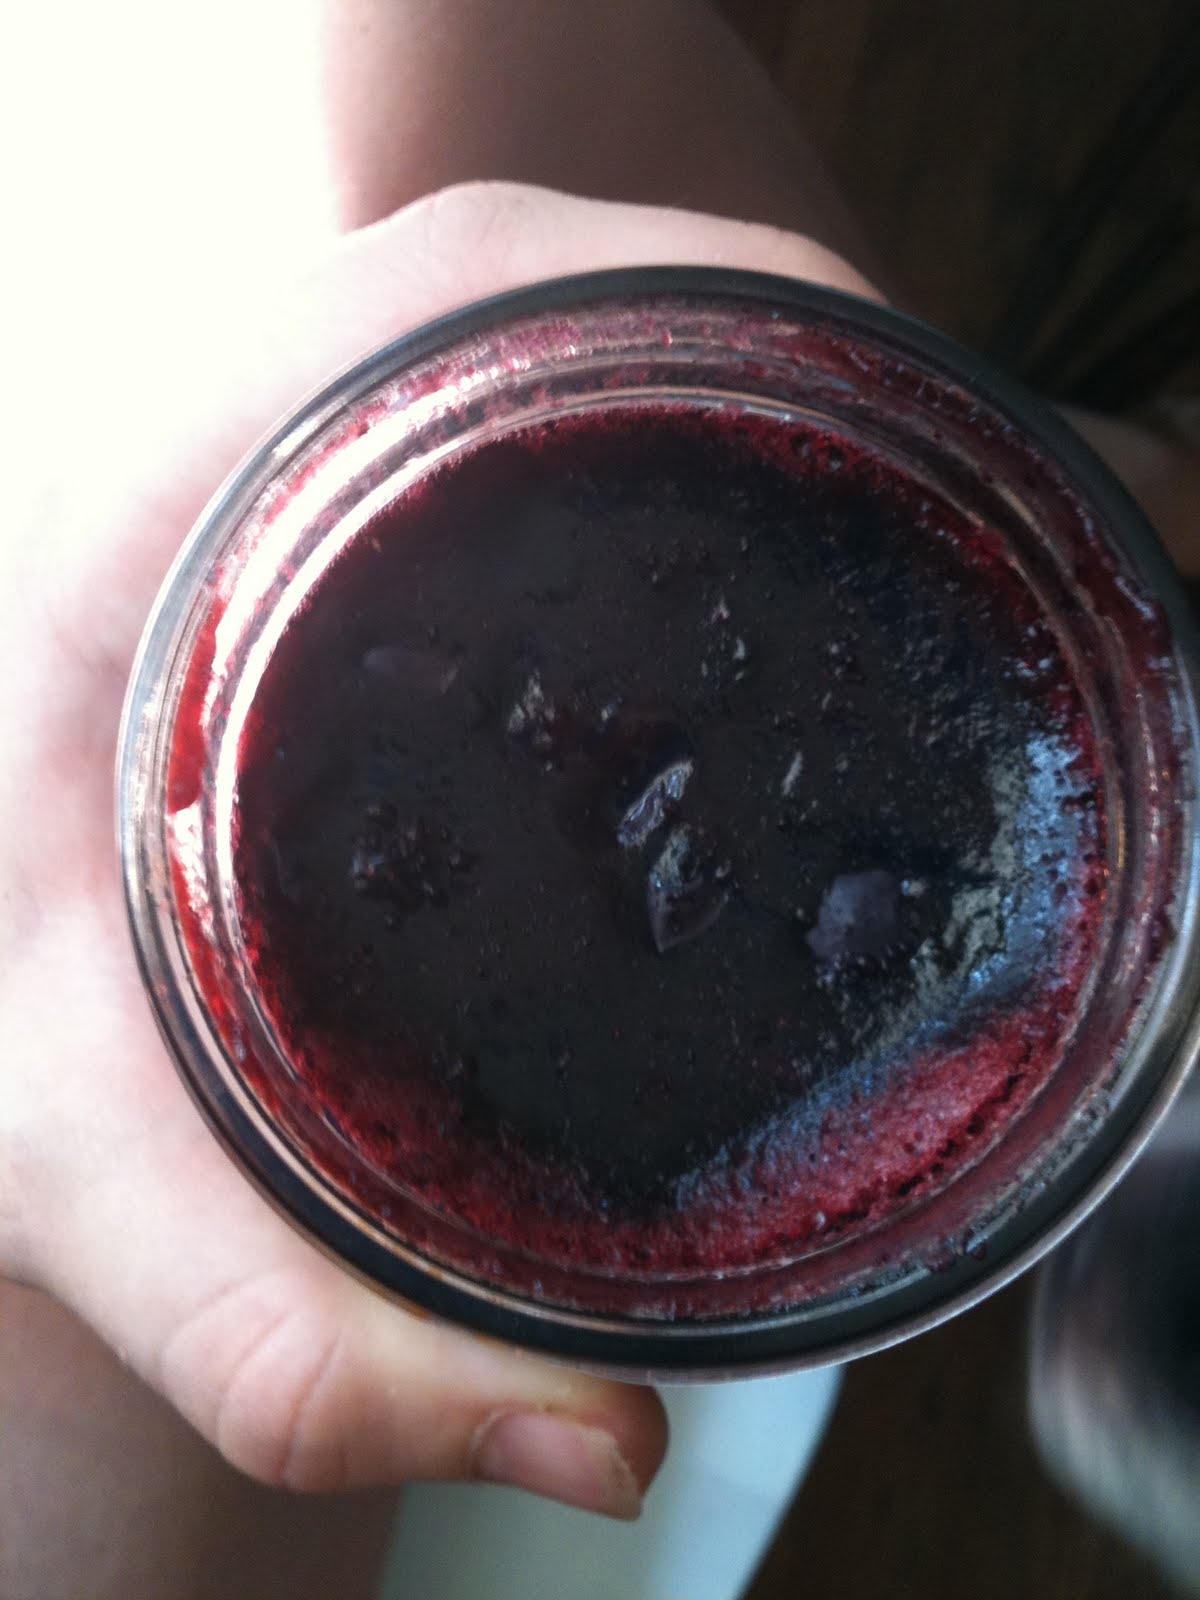
– 12 oz jam of any flavor. I used the Sweet Plum and Blueberry Jam that I made a couple of weeks ago, but peach, raspberry, apricot, or strawberry would be wonderful choices too — get creative!

– 1 c. (2 sticks) unsalted butter

– 1 c. sugar

– 3 Tbsp. lemon zest

– 1/4 tsp. salt

– 2 large egg yolks

– 2 1/4 c. flour

– powdered sugar, for sprinkling


Directions:

1. In the bowl for an electric mixer (you can do this by hand, but your arm may get tired!) combine butter, sugar, lemon zest and salt

2. Beat until light and fluffy — 2-3 minutes

3. Add egg yolks and mix well

4. Add flour, one half at a time and beat until well-incorporated

5. Divide dough in half. Form first half into a long log, about 1 3/4” – 2” in diameter. Wrap log in wax paper

6. Repeat step six with second half of dough

7. Chill both rolls of dough in the refrigerator until firm, at least two hours. If you are in a hurry you can place dough in freezer, but let it chill in the refrigerator at least one hour first. Can be done one day ahead.

8. If making your own jam for these cookies, or using the recipe linked above, make it now so that it has time to cool.

9. Once dough has chilled sufficiently, preheat oven to 400F

10. Line baking sheet with wax paper

11. Using a sharp knife, cut dough into thin rounds, about 1/3” thick — you may have to reshape rounds a bit with your fingers — and place on lined baking sheet

12. Bake cookies one sheet at a time on a rack in the center of the oven. Bake for 10 minutes — edges should be golden brown

13. Allow cookies to cool completely, sprinkle with powdered sugar if desired

14. Spread as much jam as desired on flat side of cookie, then top with another cookie, thus making a sandwich

15. Try not to eat them all at once….

Super-duper close-up:

Yum….These were so good I had to make my stepson hide them from me….


Adapted from Bon Appetit, June 2009

1 Comment

Filed under Uncategorized

Sweet Plum and Blueberry Jam: How to Make Jams

Plums always remind me of me childhood. I grew up in central California where we had several fruit trees growing around our house — lime, dwarf apple, orange, lemon… but my favorite was the plum tree in our front yard. It was the perfect size to climb, and I loved to swing on its branches. I eagerly awaited the appearance of the tiny fruits each May and tore them down greedily, often before they even had the chance to ripen; chewing the sour flesh, spitting their tiny pits as far as I could….I love how such small things can transport you: how smells (for me; eucalyptus, black pepper, chlorine, horse manure), or sounds (wind chimes, steel guitar), or flavors (black walnut, wild licorice, sour plum) can take you instantly back to some shadowed, half-forgotten piece of childhood…..Anyway, I still look forward to eating plums this time of year — even if I must buy them from the market instead of plucking them from the boughs of my own fragrant and sun-filled tree…

This recipe is for a small batch of jam, but you could certainly multiply the measurements to make larger quantities. Similarly, the plums and blueberries could be replaced here with any kind of berry, cherries, currants, any stone fruit, pears — even mangoes or kiwis! Get creative and make something wonderful!

Ingredients:

– 1 cup of peeled, sliced, and pitted plums (about 1 lb. whole)
– 1 pint blueberries
– 1/2 cup honey or 1 cup sugar
– 1 Tbsp. any unsweetened citrus juice (I used grapefruit juice this time)
– 3 Tbsp. water
– 1 tsp. fruit pectin*

*Pectin is a thickening agent, usually extracted from citrus fruits or apples and is available in many grocery stores and most health food stores.

Directions:

1. Select the jar you wish to put your jam in. It can be a mason jar, or an old pickle or jelly jar — whatever you have available. This recipe will yield about 16 oz. of jam, so you do want whatever jar you choose for this to be pint-sized.

2. Wash and rinse your jar; let stand in hot water. Meanwhile, boil your lid and ring in a large pot to sanitize. Let stand in hot water also.

3.  Peel, pit, and slice plums, make sure to catch as much juice from the plums as you can

4. Place blueberries in a bowl and mash using a pestle, or any other blunt kitchen instrument. (Tip: Mash blueberries a bit at a time: it’s much easier than trying to mash them all at once, and this way you can ensure that you mash the proper amount according to how much fruit and juice your plums wind up yielding)

5. Combine fruits, making sure that you have at least 2 cups of fruit and juice

6. Put fruit into a saucepan with citrus juice and water and cook at medium heat, stirring frequently. Bring to a boil

7. Measure out honey or sugar; thoroughly mix pectin into sweetener

8. Add pectin-sweetener mixture to boiling fruit. Stir vigorously for 2 minutes to dissolve the pectin.

9. Return to a boil and remove from heat

10. Remove your jar lid and ring from your large pot and return water to a boil

11. While waiting for water to boil fill your jar to 1/4” of top and wipe clean

12. Screw on lid (with ring) tightly. Place jar into boiling water to cover. Boil for 10 minutes.

13. Remove jar (carefully!) from water. Let cool. Check seal — lid should be sucked down/un-popped.

14. Label and enjoy! Jam should last about 3 weeks once opened.

I’ve never claimed to be a patient woman…I decided to try my jam for breakfast the next morning. Here’s what it looked like when I opened it:

I spread it on a couple of pieces of coconut-oatmeal bread (recipe to follow shortly) and it was absolutely heavenly — soooo much better than Smucker’s or any of those other store-bought brands! Hey, I’ve never claimed to be humble either…..:)

1 Comment

Filed under Uncategorized

Stone Fruit Pie with Lattice Top

On Sundays I always like to bake something for us to enjoy throughout the week. Today at the market I found the loveliest plums, apricots, and cherries. Normally so expensive, when these fruits are in season I try to use them as often as possible. Today they looked so good I bought plenty so that we will be able to snack on them throughout the week and so that I could also make a wonderful stone fruit pie.

I love making pies, and make them often, especially in the summer. However, someone — I won’t say who — is trying to watch their cholesterol so today I tried making a vegan version of this pie and substituted half of the white flour in the pie crust with whole wheat flour. Substituting the butter in the pie crust proved not to be as much of an issue as I had feared it might. The wheat flour on the other hand was. I usually prefer wheat — I think it has a more robust flavor. I guess that’s just the thing though: you don’t want your pastries to be “robust” — you want them to be light, and flaky, and decadent. Don’t get me wrong — the crust was still quite good, but it wasn’t nearly as indulgent and delicious as a white flour crust… This pie filling is to-die-for though — just the right balance of sweet and tart — but you can use this basic recipe for a pie with any summer fruit (berries, peaches, etc.) My philosophy with fresh, seasonal fruits and vegetables is to do as little to them as possible: simpler is always better with quality ingredients!

Stone Fruit Pie

Ingredients:

– 1 Pie Crust (See my preceding blog entry — “Perfect Pie Crust”)
– 2 cups pitted quartered cherries
– 2 cups pitted sliced plums
– 2 cups pitted sliced apricots (fresh, not dried)
– 1/2 cup sugar
– 3 Tbsp. cornstarch (this is what will bind the sugars from your fruits so that your pie isn’t runny and your crust doesn’t get soggy)
– 1 egg (optional)

Directions:

1. Preheat oven to 400F

2. Make pie dough

3. While dough is chilling, remove pits from fruits and slice. Put fruit pieces in a large bowl

4. Add sugar and cornstarch to fruit and mix well

5. Let fruit sit

6. Roll out one half of your pie crust and fit into a 9” pie pan

7. Make the lattice top for your pie (See preceding blog “How to Make a Lattice Top for a Pie Crust” for detailed instructions)

8. Your fruit should now look a bit syrupy — in other words, it should look like pie filling 🙂

9. Pour filling into pie crust

10. Place lattice on top of pie

11. Tear excess ends from lattice

12. Fold overhanging pieces of bottom crust over lattice ends

13. If you’d like to use an egg wash (I did not since I was making vegan pie today) simply beat an egg with a little bit of milk or water and coat lattice using a pastry brush. This will add a little bit of shine to your crust but is purely aesthetic and does not affect the taste.

14. Bake in oven at 400F for 50 minutes. Check after 35-40 minutes — if crust looks too dark cover with aluminum foil and continue baking

15. Remove from oven

16. Let cool for at least 20 minutes.

17. Slice, top with ice cream of whipped cream if you desire, and enjoy

And about 30 seconds later….

Leave a comment

Filed under Uncategorized