Tag Archives: wholesome

Blackberry Shortcakes with Lemon Biscuits

I was so excited to find what appeared to be ripe, gorgeous local blackberries at the market the other today. Upon getting them home however, I discovered them to be horribly sour. Like, so sour as to almost be inedible. I assure you, my disappointment was immense… Since they couldn’t very well be eaten alone, I figured that the best thing to do was to make something sweet and delicious out of them. Inspired, I decided to do a spin on the classic strawberry shortcake. I love citrus in desserts, and berries with citrus are one of my favorite flavor combinations, so I decided to add lemon zest to the biscuits. The result was a bright, and surprisingly light dessert, and incredibly easy to make.

Ingredients:

Yields 6 Shortcakes

Berries:

– 5 c. blackberries

– 2/3 c. powdered sugar

– 2 Tbsp. water


Biscuits:

– 3/4 c. chilled buttermilk

– 2 Tbsp. lemon zest

– 2 1/4 c. flour

– 1/2 c. packed light brown sugar

– 1 1/2 tsp. baking powder

– 1 tsp. baking soda

– 1/4 tsp. salt

– 6 Tbsp. chilled unsalted butter (3/4 stick)

– 1 Tbsp. raw or demerara sugar


Directions:

Berries:

1. Combine all ingredients in a saucepan

2. Stir over medium heat until berries soften and become syrupy — about 10-15 minutes

3. Remove from heat and let cool. Berries should be served at room temperature. Can be made up to 3 days ahead and refrigerated.


Biscuits:

1. Preheat oven to 425F

2. Line a large baking sheet with parchment paper

3. Combine buttermilk and lemon zest in a small bowl

4. In a large bowl mix flour, brown sugar, baking powder, soda, and salt. Be sure to break up any large clumps of sugar

5. Cut butter into small cubes and add to four mixture

6. Rub butter into flour with your fingertips until the mixture resembles coarse breadcrumbs

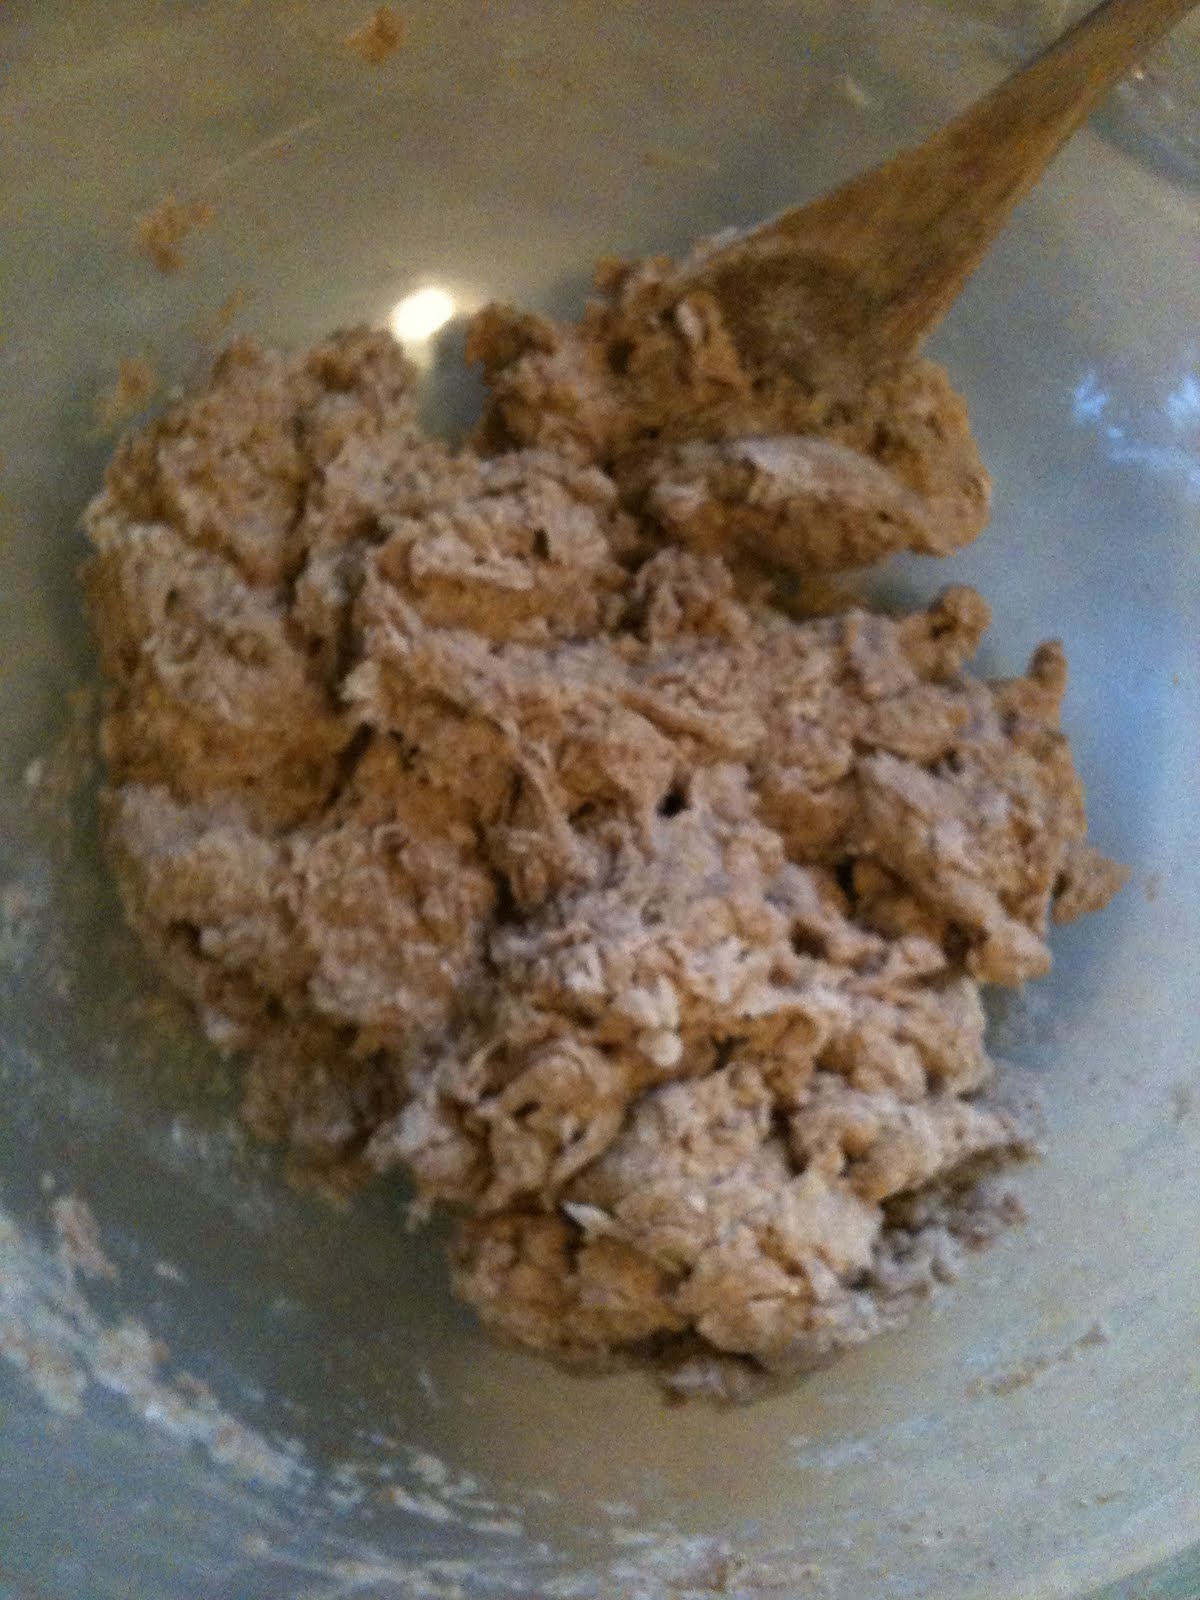
7. Add the buttermilk mixture and combine with a fork until just blended. Dough will be sticky and may seem “loose” but don’t add more flour!

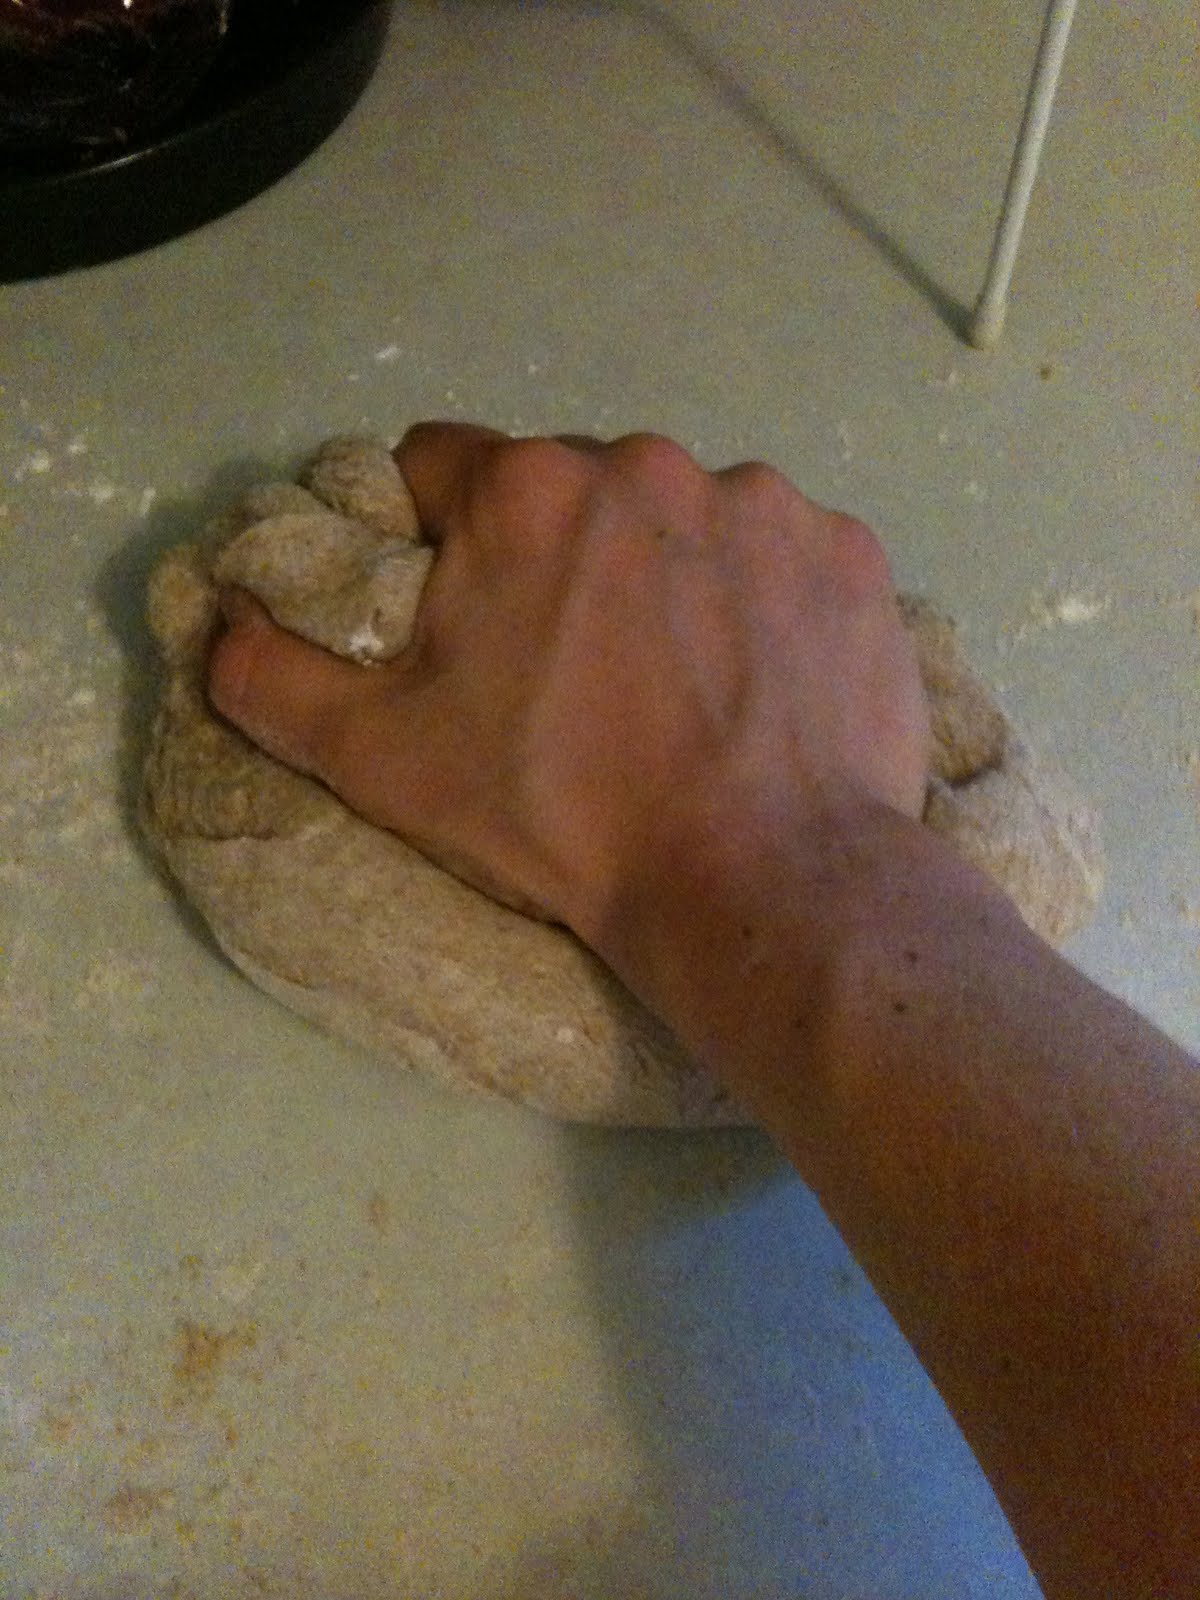
8. Transfer dough to a clean, lightly floured surface. Knead 4-5 times, but be careful not to overwork (over-handling will make your biscuits tough)

9. Pat dough out until about 3/4” thick

10. Using a 3” cookie cutter (you could also use a greased drinking glass or mug if you don’t own a cookie cutter), cut dough into rounds

11. Combine dough scraps, pat out, and cut into rounds until no dough remains. You should have 6-7 in total

12. Place rounds on your lined baking sheet and sprinkle with sugar

13. Bake biscuits at 425F for 15 minutes, or until golden and a toothpick or knife inserted into the center comes out clean

14. Cool slightly — about 15 minutes

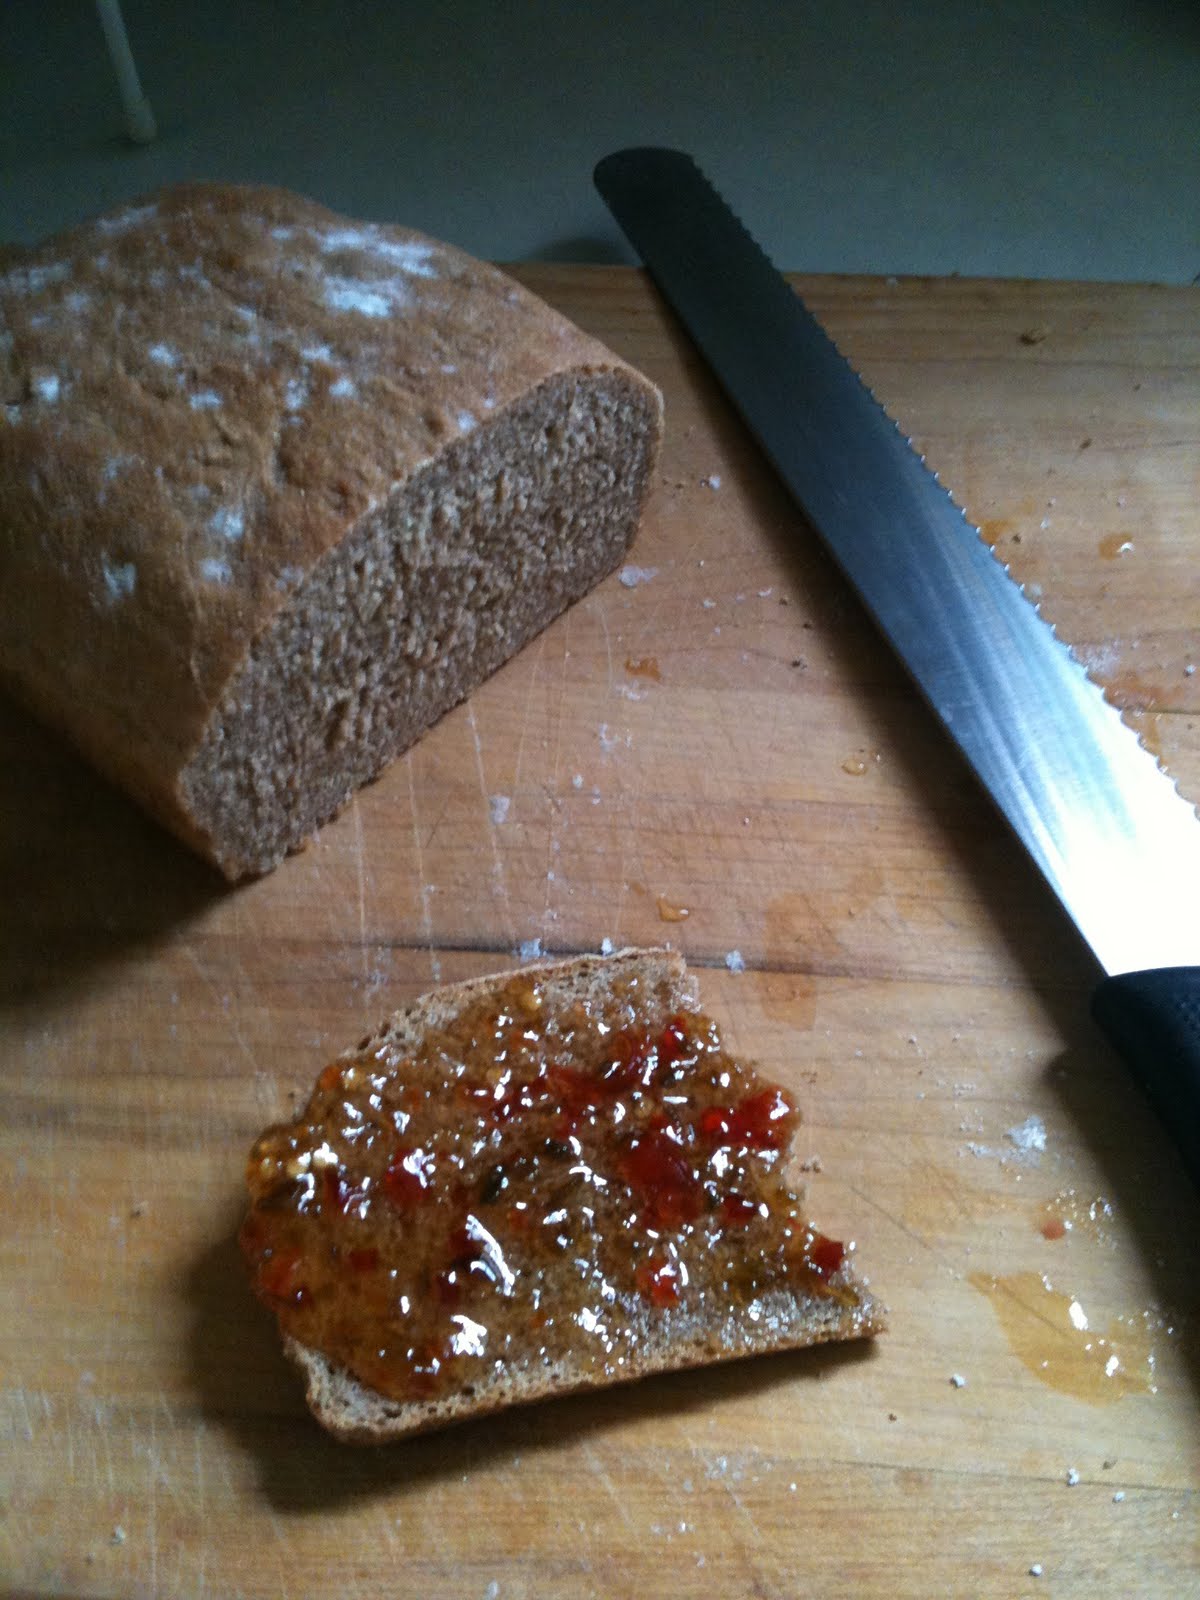
15. Using a serrated knife, cut each biscuit in half. Spread blackberry mixture over each bottom-half, dividing equally. Place top half of biscuits on blackberries, then top each with an equal portion of the remaining blackberry mixture.

16. Top shortcakes with vanilla ice cream or whipped cream. Serve and enjoy!

Adapted from Bon Appetit, June 2009

2 Comments

Filed under Uncategorized

Orange-Almond Blueberry Muffins

I’m so super-excited — I finally bought a copy of Country Wisdom & Know-How! In case you don’t know, it’s a collection of small booklets that were published during the 1970s, “during the ‘back to the land era’ when hippies were homesteading  and gas and energy prices were sky-high.” (Sound familiar?) Each booklet addressed some simple skill or piece of country know-how — this book covers everything from how to attract hummingbirds to making your own beer and wine, from drawing maple syrup to making milk soap, and everything in between. I seriously want to try to do everything in this book. Okay, maybe not killing and skinning a rabbit….And I don’t I don’t foresee myself breeding livestock anytime soon…but pretty much everything else I definitely want to do! There are also a ton of wonderful-sounding recipes in here, one of which inspired today’s blog entry.

When berries are in season I go through quarts of them every week. At this point in the summer I’m sure my husband’s starting to get sick of berry-somethings for breakfast every morning….Anyway, I had about three pints of blueberries in my refrigerator when I came across the recipe for Classic Blueberry Muffins in the book. I always like to modify things and make them my own so I first decided to add some nutmeg and shaved almonds to the recipe. Then I started thinking about how nothing enhances the flavor of blueberries more than cinnamon and orange. Berries and citrus are pretty much always outstanding together. Some pairings (Strawberry + Lime, Blackberry + Lemon, Grapefruit + Raspberry) go especially well together, but my favorite combination has to be blueberry and orange. The orange adds an edge and a brightness to the blueberry that is sublime. Yes, sublime…So by the time the muffins were done they had gone from Classic Blueberry to Orange-Almond…typical. I have included vegan alternatives in the recipe if you’d like to make an eggless, non-dairy version of these muffins. Either way, they’re delish!

Ingredients:

– 1 3/4 c. flour

– 1/2 c. sugar

– 1 Tbsp. baking powder

– 1/2 tsp. salt

– 1 tsp. cinnamon

– 1/2 tsp. nutmeg

– 4 Tbsp. butter or butter substitute like Earth Balance

– 1 egg, beaten, or 1/3 c. unsweetened applesauce

– 2/3 c. milk, or almond milk

– 1 tsp. vanilla extract

– 1 c. blueberries

– 1/4 c. shaved almonds

– 1 Tbsp. orange zest

Directions:

1. Preheat the oven to 375F

2. In a large bowl, mix your dry ingredients together — flour through nutmeg

3. Cut in the butter (substitute)

4. In a separate bowl, mix together the milk, egg, and vanilla (or almond milk, applesauce and vanilla)

5. Pour the wet ingredients into the dry. Stir until just moistened

6. Gently fold in the blueberries, almonds, and orange zest

7. Fill greased muffin tins (recipe makes 12 medium-sized muffins)

8. Bake for 20 minutes at 375F, or until a toothpick or a knife inserted into the center comes out clean

9. Cool and remove from muffin tin. Enjoy!

1 Comment

Filed under Uncategorized

How to Make Bread by Hand

I was really intimidated at first by the idea of making my own bread, but now that I have been doing it for a while I really enjoy it. There is something almost therapeutic about baking — especially about baking breads. The precision and patience it requires is almost zen….and kneading the dough helps to work out a little aggression too! I’ve never used a bread machine and bake bread by hand at least once a week — though sometimes as often as three times (my husband has been known to eat bread with every meal…). This is a really good basic recipe for a farmhouse-style loaf that you can make with white or whole wheat flour, and is a great bread for beginning bakers. Don’t be daunted: making your own bread is really quite easy, much better for you, way cheaper, and how cool is it to be able to say that you bake all of your own bread?! Give it a try!

Ingredients:

– 2 2/3 cups white or whole wheat flour
– 1 tablespoon butter, butter substitute, or oil
– 1 tsp. sugar
– 1 pinch salt
– 1 tsp. active dry yeast
– 3/4 – 1 cup warm water

Directions:

1. Measure flour into a large bowl

2. Add butter or oil. If using butter cut into small pieces and work in to flour with your hands until it resembles fine bread crumbs:

3. Mix in salt, sugar, and yeast

4. Add water slowly while stirring with a spoon. Use 3/4 c. if working with white flour, 1 cup if using whole wheat. It is very important that the water be quite warm as this is what begins to activate the yeast.

5. Flour your work surface.

6. Move dough onto floured surface and knead vigorously for 5 minutes. Dough should become smooth and elastic. You may have to continue to add more flour to prevent dough from sticking

 It’s hard to take a picture of yourself kneading bread!

7. After 5 minutes of kneading, shape dough into a ball and return it to your bowl. Cover with oiled cling-film or a damp dishtowel and place somewhere warm. Again, warmth is very important as you dough will not rise properly if you place it somewhere too cool. Let rise for 45 minutes or until doubled in size.

8. Remove from bowl and knead for 2 minutes. Don’t worry — your dough is supposed to shrink back down as you knead it!

9. Place dough in a lightly greased 9in x 5in bread tin. Cover with oiled cling-film or towel and let rise for another 30 minutes or until it reaches the edges and top of the tin.
Before:

After:

10. Remove film or towel, sprinkle top with flour, and bake in a preheated oven at 400F for 25 minutes

11. Let cool for 5 minutes then flip out of tin and finish cooling on a towel or wire rack:

12. Slice and enjoy!

Toasted with some hot pepper jelly….Hello!

1 Comment

Filed under Uncategorized